Is It Hard to Wrap Your Car Yourself
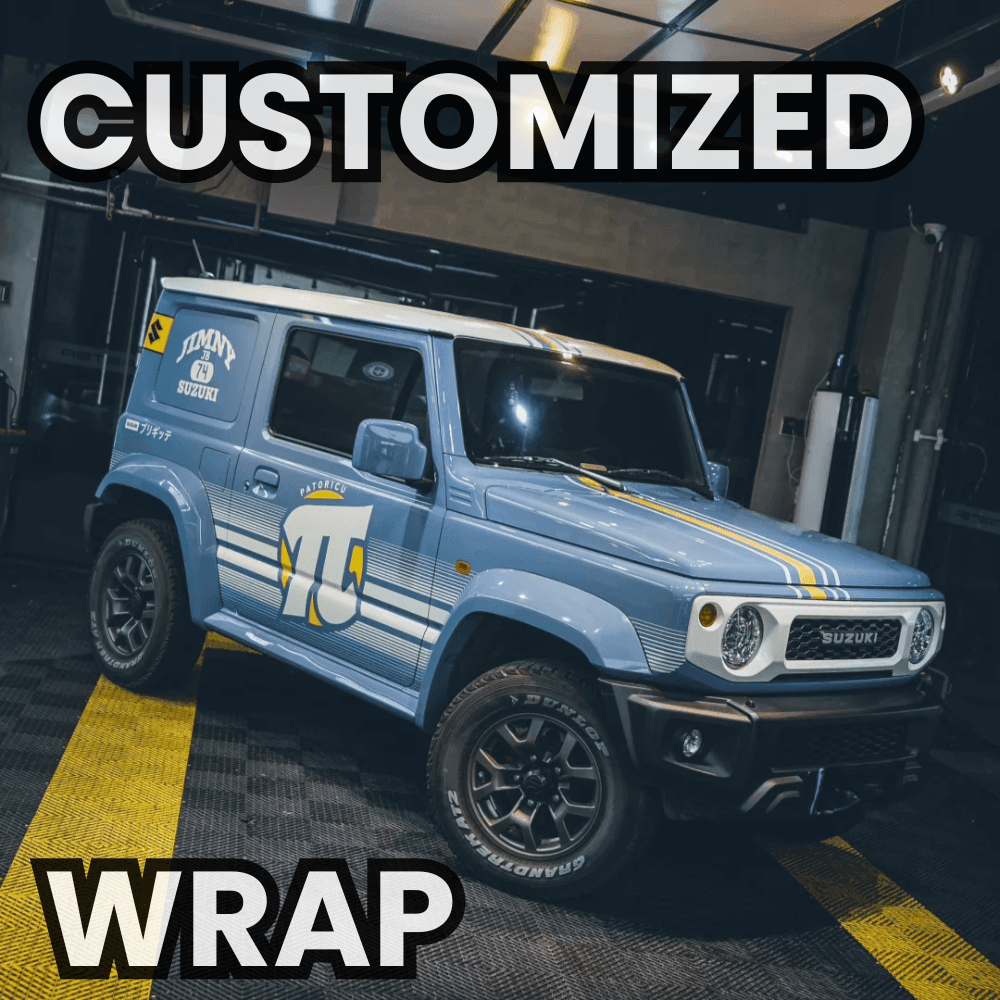
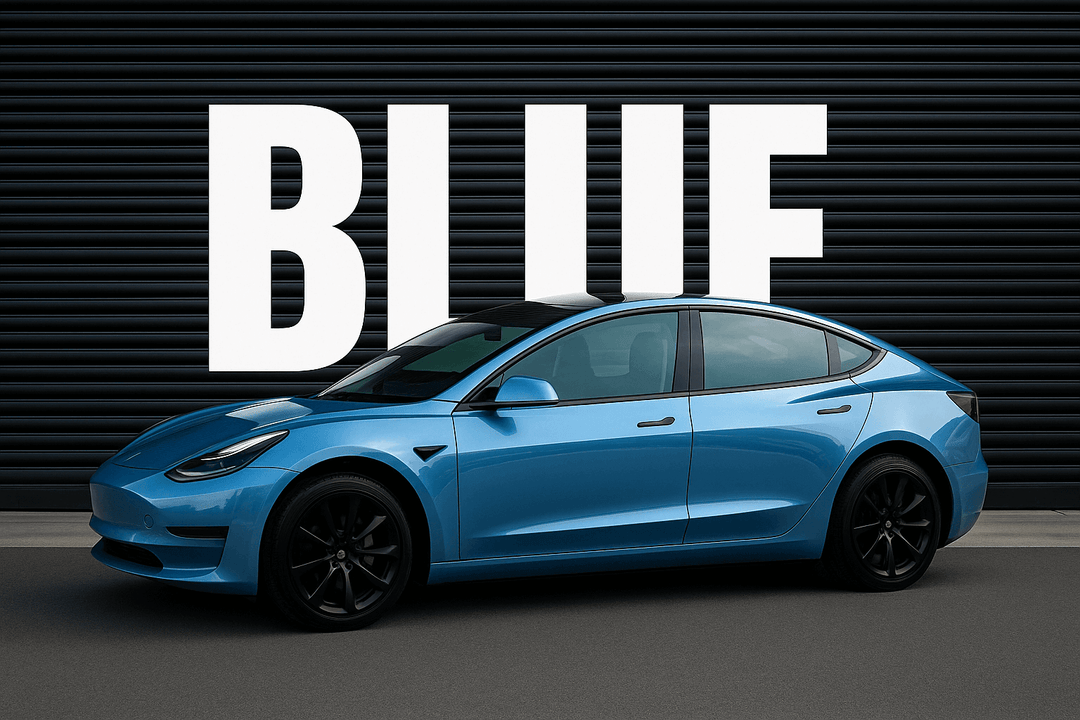
Thinking about wrapping your car yourself? You may be drawn to vinyl wraps for their ability to transform a vehicle’s look without the permanence or price tag of a custom paint job. With endless color choices, sleek finishes, and the promise of a personalized ride, vinyl wraps seem like the perfect weekend project.
But before you dive in, it’s natural to ask: Is wrapping a car really as easy as it looks in YouTubers' videos? While wrapping your own car can be rewarding, it’s also more technical than it appears. It’s not just about peeling and sticking sheets of vinyl. Successful wrapping demands planning, patience, precision, and the right tools.
This article walks you through what makes DIY car wrapping a challenge, what factors influence the difficulty, and how you can decide if this project is a good fit for your skills and setup. Whether you’re looking to save money or enjoy the hands-on experience, you’ll want to know what you’re getting into before grabbing that squeegee.
Factors That Affect DIY Vinyl Wrap Difficulty
Vehicle Condition: The Foundation of a Flawless Wrap
Many first-time wrappers underestimate how much the base surface affects the final outcome. Vinyl is designed to enhance your car’s appearance, but it cannot cover up imperfections. If your vehicle has dents, scratches, rust spots, or peeling paint, those flaws will show through the wrap and may interfere with how well it adheres.
A successful vinyl wrap begins with a clean, dry, and completely smooth surface. That means washing the car thoroughly to remove dust, grime, or any road residue. Pay special attention to panel edges, crevices near trim pieces, and around emblems where contaminants can easily hide. Any leftover dirt or debris can weaken the bond between the vinyl and the paint, increasing the risk of bubbling or lifting over time.
If you have previously waxed your vehicle, be sure to remove any residual wax completely. Even small amounts of wax or polish can prevent the adhesive from sticking properly. Areas that have been regularly waxed need extra attention, especially around weather trims and fenders where wax often collects. Use isopropyl alcohol and a lint-free cloth to clean these spots thoroughly before you begin the installation.
Visible damage, such as chipped paint or body dents, should be repaired before wrapping. Vinyl needs a stable and uniform surface to lay flat. Wrapping over rough or broken areas can lead to an uneven appearance and premature wear. If necessary, consult a body shop to correct these issues before moving forward with the wrap.
It is also important to let the surface dry completely after cleaning. Trapped moisture beneath the vinyl can affect adhesion and may lead to visible bubbles or creases after installation. Taking the time to ensure the car is dry, smooth, and contaminant-free is not just a good practice but also for achieving a professional-looking wrap.
Planning and Measuring: Precision Before Application
Before you begin applying any vinyl, you need to map out every section of your vehicle and calculate exactly how much film you will need. Unlike a simple craft project, you cannot rely on rough estimates or guesswork. Each panel of your vehicle has a unique shape, curvature, and size. You must take precise measurements of the hood, roof, doors, fenders, bumpers, mirrors, and any other surface you intend to wrap. Even small inaccuracies can result in cuts that are too short or wasted material.
It is also wise to plan for extra vinyl beyond your measured requirements. We always recommend keeping an additional two to three meters of material on hand. This buffer allows room for handling errors, test cuts, and reapplications if a piece is accidentally stretched or creased. Running out of vinyl mid-project can delay your progress and potentially lead to mismatched panels if you need to order more later.
Beyond quantity, planning involves understanding how the vinyl will be applied to each section of the car. Think through where the seams will fall and how the film will wrap around curves, edges, and recessed areas. Consider the orientation of the pattern or finish as well. For example, brushed or carbon fiber textures need to be aligned consistently across panels for a seamless look.
Installation Tools: The Right Gear Makes All the Difference
One of the most overlooked factors that affects the difficulty of wrapping your car by yourself is the tools you use. While vinyl wrapping is often promoted as a beginner-friendly project, the reality is that without the right tools, even the best vinyl film can be poorly applied.
The good news is that most of the essential tools are easy to find and affordable. Some of the most important tools you’ll need include:
-
Squeegee with felt edge – Helps smooth out the vinyl and remove air without scratching the surface.
-
Heat gun – Used to soften the vinyl, especially around curves, edges, and recessed areas.
-
Infrared thermometer – Allows you to monitor the vinyl’s temperature, preventing overheating or under-heating.
-
Snitty blade or precision knife – Essential for cutting the vinyl cleanly along edges, seams, and trim lines.
-
Wrapstick or edge tool – Helps tuck vinyl into tight spaces such as window seals and trim areas.
-
Magnets or masking tape – Useful for positioning large vinyl sheets before applying them.
-
Microfiber cloth and isopropyl alcohol – Used to clean the surface thoroughly and remove any contaminants before installation.
-
Gloves – Provide grip and protect the vinyl from oils on your hands.
-
Spray bottle and clay bar – Help clean the surface during preparation to ensure proper adhesion.
Each of these tools has a specific role, and using the wrong tool or skipping one altogether can lead to mistakes that are hard to fix once the vinyl is in place. For example, trying to apply vinyl without a heat gun can make it difficult to stretch around complex curves or body lines, while using a dull blade can result in jagged edges that ruin the wrap’s appearance.
Workspace Conditions: Creating the Ideal Environment for Wrapping
Even with high-end vinyl and professional-grade tools, a poor workspace can lead to problems that affect both the appearance and durability of the wrap. If you want to wrap your car successfully, you need a controlled space that supports precision and cleanliness throughout the entire process.
Temperature is one of the most important factors to manage. Vinyl becomes difficult to work with if it is exposed to extreme conditions. In high heat, the material can stretch too easily, making it hard to control. In cold temperatures, the vinyl becomes stiff and resists conforming to curves and contours. For the best results, the temperature in your workspace should remain moderate, ideally between 60°F and 75°F (15°C to 24°C). Avoid wrapping outdoors in direct sunlight, where surface temperatures can rise rapidly and cause the adhesive to behave unpredictably.
Cleanliness is equally important. A dust-free, debris-free space prevents small particles from getting trapped under the vinyl as you work. Even the tiniest dirt speck can create a bubble or an uneven texture once the film is applied. This is why most professionals work in enclosed garages or designated wrapping bays. The cleaner the space, the smoother your results will be.
Size and lighting also matter. A cramped area can limit your ability to move freely around the vehicle, increasing the chances of misalignment or handling errors. Ideally, your workspace should be large enough to accommodate the full vehicle with room to walk around comfortably. Good lighting is essential, especially when applying vinyl to edges, corners, and recessed areas where mistakes can go unnoticed in dim environments.
The Complex Body Parts: Where Skill Truly Matters
One of the most challenging aspects of wrapping a car yourself is dealing with complex body parts. While flat panels like the roof or hood are relatively beginner-friendly, wrapping curved or recessed areas requires a much higher level of control and technique. This is where the true test of your DIY skill begins.
Modern vehicles are designed with a mix of sharp angles, soft curves, deep grooves, and tight corners. Areas like door handles, side mirrors, bumpers, wheel arches, and panel edges often present serious challenges. These parts demand careful stretching, heating, and repositioning of the vinyl to ensure a smooth, bubble-free finish that won’t lift or crease over time.
Wrapping complex parts requires not only patience but also a good understanding of how vinyl behaves under tension. If stretched unevenly, the material can distort or weaken, leading to discoloration or early peeling. Even experienced wrappers take their time with areas like front and rear bumpers, which often require precise technique and multiple overlapping pieces to achieve full coverage without visible seams.
In many cases, professional installers will remove certain parts of the car, like mirrors, door handles, trim pieces, or light housings, to make the wrapping process easier and cleaner. As a DIYer, you’ll need to decide whether you’re comfortable taking these components off. Removing parts gives better access and allows for cleaner edges, but it also increases the risk of damaging fragile clips or electronics if done improperly.
If disassembly isn’t an option, you’ll need to learn how to work around these areas carefully using tools like heat guns, wrap sticks, and precision blades. It can be done, but it requires more time and an extra level of finesse. Practicing on spare panels or simpler projects first, such as wrapping mirrors or interior trim, can help build your confidence before tackling the full vehicle.
Time and Patience: The Most Underrated Requirements
At first glance, wrapping a car may seem like a quick and straightforward task—just peel, stick, and smooth. But once you begin, it becomes clear that this is a time-intensive project that demands more than just physical tools. It requires mental focus, attention to detail, and most importantly, patience.
A full vehicle wrap can take anywhere from 20 to 40 hours for a first-time DIY installer. This includes surface preparation, careful measuring and cutting, handling each panel individually, heating and repositioning the vinyl, and completing the final trimming.
Pros and Cons of Wrapping a Car Yourself
Wrapping your car on your own can be a satisfying and cost-effective experience, but it’s important to weigh the advantages and disadvantages to see if it aligns with your expectations, skills, and available time.
Pros of DIY Car Wrapping
1. Save Money on Labor
One of the biggest incentives for wrapping your car yourself is the potential to save a significant amount of money. Professional vinyl wrap services can cost anywhere from $1,000 to $3,000 or more, depending on your car’s size, complexity, and the type of film used. By doing the work yourself, you only pay for materials and tools, which often totals less than half the cost of professional labor.
2. Learn a Valuable Skill
Taking on a vinyl wrap project gives you the chance to develop a hands-on skill that you can use again in the future. Whether you plan to wrap more vehicles, help friends, or work on smaller vinyl projects like trim, mirrors, or decals, the knowledge you gain from a full DIY wrap is a valuable asset.
3. Full Control Over the Process
When you wrap the car yourself, you get to manage every step of the process, from material selection and prep work to application and trimming. This level of control allows you to take your time, make adjustments, and tailor the job exactly to your preferences without relying on someone else’s schedule or interpretation of your vision.
Cons of DIY Car Wrapping
1. Time-Consuming
Even with proper preparation and the right tools, wrapping an entire car is a time-intensive project. For beginners, it often takes 20 to 40 hours or more, especially when learning as you go. You’ll need to set aside several days and be prepared for a slower pace to avoid mistakes and get the best result.
2. Risk of Ruining Vinyl
Vinyl wrap isn’t cheap, and mistakes can be costly. Misaligned cuts, overstretching, improper heat use, or contamination under the film can waste large sections of material. If you're working with a limited supply and no extra buffer, errors can quickly escalate both in time and cost.
3. Aesthetics May Not Match Professional Work
Professional wrap installers bring years of experience, specialized tools, and trained techniques to achieve near-flawless finishes. As a DIYer, especially if it’s your first time, your results may fall short in areas like corners, curves, or trim. While a successful DIY wrap can still look great, it may not have the same polished look or long-term durability as a professionally applied wrap.
Final Thoughts: Should You Wrap Your Car Yourself?
Wrapping your own car can be a rewarding project, but it’s not a decision to take lightly. The process demands careful preparation, a clean and controlled environment, the right tools, and a great deal of patience. While it may appear as simple as applying a large sticker, vinyl wrapping is far more technical and time-consuming than most people expect.
That said, with the proper planning and a willingness to learn, it is possible to achieve impressive results on your own. And if you enjoy working on your car and take pride in doing things yourself, the experience can be incredibly fulfilling—not to mention more affordable than hiring a professional.
No matter how you approach it, vinyl wrapping is an excellent option for transforming your vehicle’s appearance. Compared to traditional paint, wraps offer more variety, reversibility, and often better protection for your factory finish. Whether you go the DIY route or bring in the pros, a well-executed wrap will give your car a fresh, customized look that stands out on the road.
Frequently Asked Questions
Q: Is wrapping your car hard for beginners?
Wrapping a car can be challenging for beginners, especially without prior experience. While basic sections like the hood or roof are manageable, complex curves and detailed trimming require patience, proper tools, and practice. Starting with small parts or trim pieces is a good way to build confidence before attempting a full wrap.
Q: How long does it take to wrap a car yourself?
For most first-time DIY installers, wrapping an entire car can take anywhere from 20 to 40 hours or more. This depends on the vehicle's size, the number of complex parts, and how familiar you are with the tools and techniques involved.
Q: Can I wrap a car without a heat gun?
While it is possible to apply vinyl to flat surfaces without heat, a heat gun is essential for conforming the material to curves, edges, and textured areas. It helps soften the vinyl so it stretches and bonds correctly, especially around bumpers, mirrors, and creases.
Q: Will vinyl wrap damage my car's paint?
A properly applied and removed vinyl wrap will not damage factory paint. In fact, it can protect the paint from UV rays, scratches, and minor abrasions. However, if the paint is already damaged, peeling, or not original, the adhesive might lift it when the wrap is removed.
Q: How much vinyl do I need to wrap a car?
The amount of vinyl needed depends on the size and shape of the vehicle. A compact car typically requires around 50 to 60 feet of vinyl, while larger SUVs or trucks may need up to 70 feet or more. It’s recommended to order extra material, usually 2 to 3 additional meters, to allow for mistakes or adjustments.
Q: What is the hardest part to vinyl wrap on a car?
Bumpers, side mirrors, and door handles are often considered the most difficult parts to wrap. These components have tight curves and complex shapes that require careful stretching, trimming, and sometimes disassembly for the best results.
Q: Can I wash my wrapped car?
Yes, you can wash a wrapped car, but it’s best to use gentle, non-abrasive cleaning methods. Hand washing with a pH-neutral soap and microfiber cloth is recommended. Avoid automatic car washes with brushes, as they can lift or scratch the vinyl over time. Regular cleaning helps maintain the appearance and longevity of the wrap.
Related Resources:
How To Wrap A Car DIY Step-By-Step Car Wrapping Tutorial
How Hard is it to Vinyl Wrap a Car Yourself