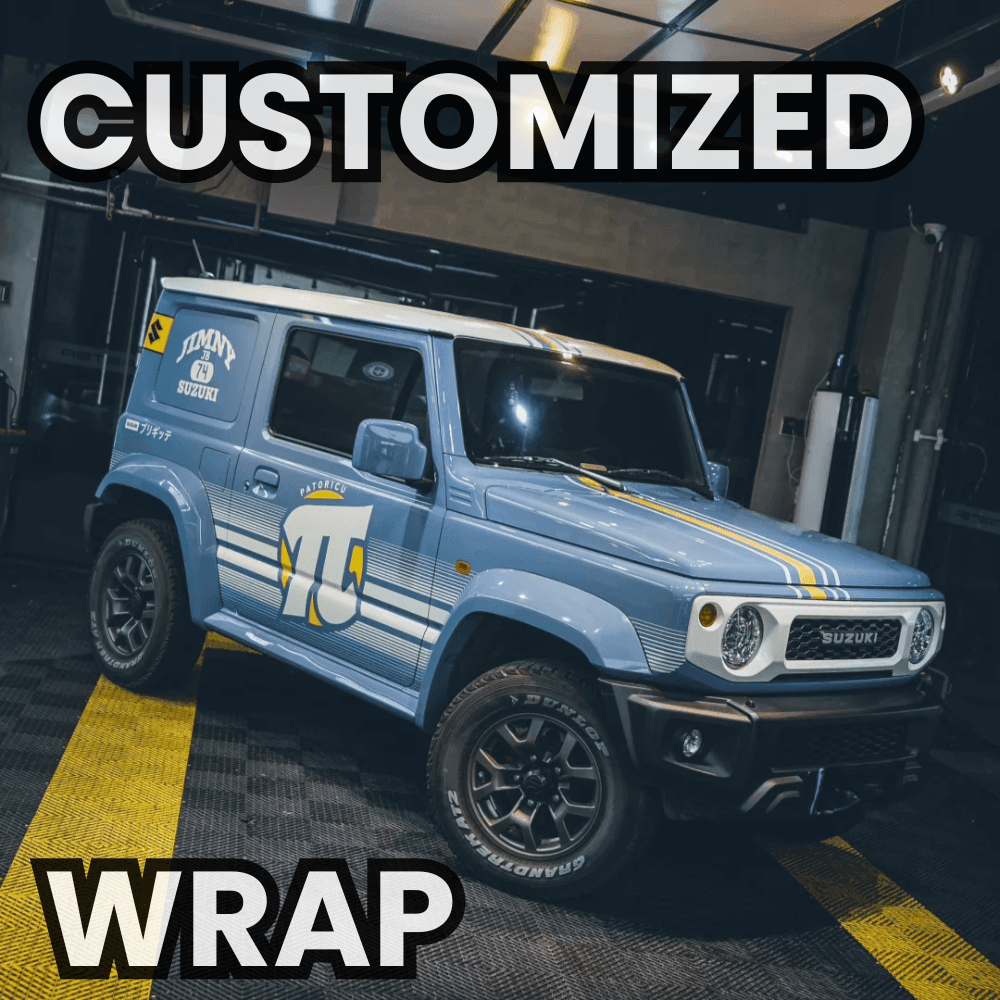
How To Wrap A Car DIY Step-By-Step Car Wrapping Tutorial
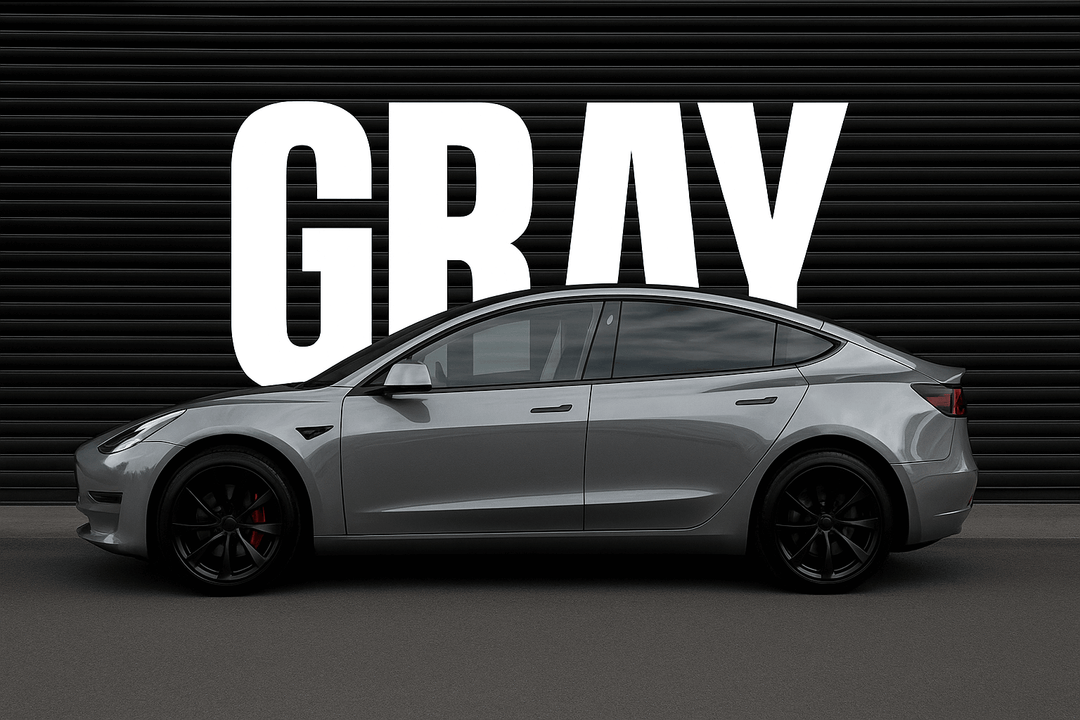
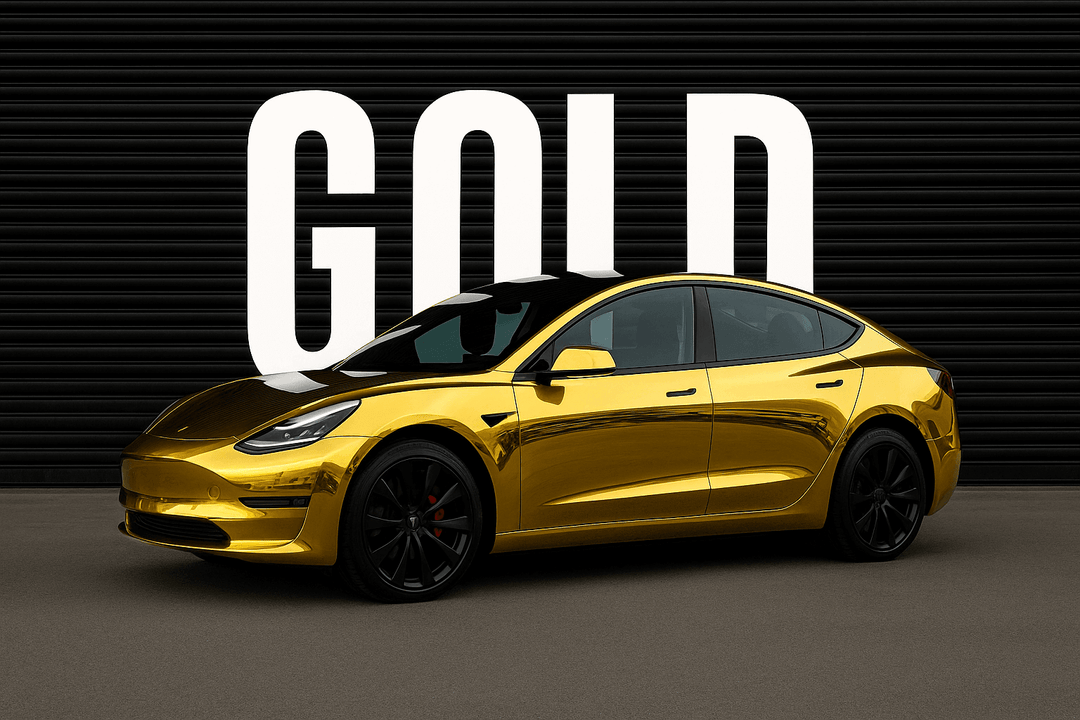
Car wrapping is the process of applying a thin layer of vinyl film to a vehicle's exterior, enabling a complete transformation of its appearance without the permanence of a paint job. This technique has become increasingly popular, particularly among car enthusiasts and those seeking to give their vehicles a unique, personalized look. Unlike traditional painting, car wrapping offers a vast array of colors, finishes, and textures—ranging from matte and gloss to metallic and chrome—making it a highly versatile option for customization.
One of the main reasons DIY car wrapping has become a go-to option for many is the cost-effectiveness it offers. Professional wrapping services can be expensive, but by taking on the project yourself, you can achieve a high-quality finish at a fraction of the cost. Wrapping your car on your own can be a rewarding and creative project, beyond savings, DIY car wrapping also gives you full control over the design process, allowing you to experiment with different styles and make your car truly one-of-a-kind.
So, if you want to wrap it yourself, but don't know how to wrap a car, then follow our step-by-step vinyl car wrap tutorial, let's do it!
Tools Needed to DIY Vinyl Wrap a Car
Before you dive into your DIY wrapping your vehicle, it’s important to gather all the necessary materials and tools to ensure a smooth and successful application. Here’s a list of the essentials and Vinyl Wrap Tool Kit you’ll need:
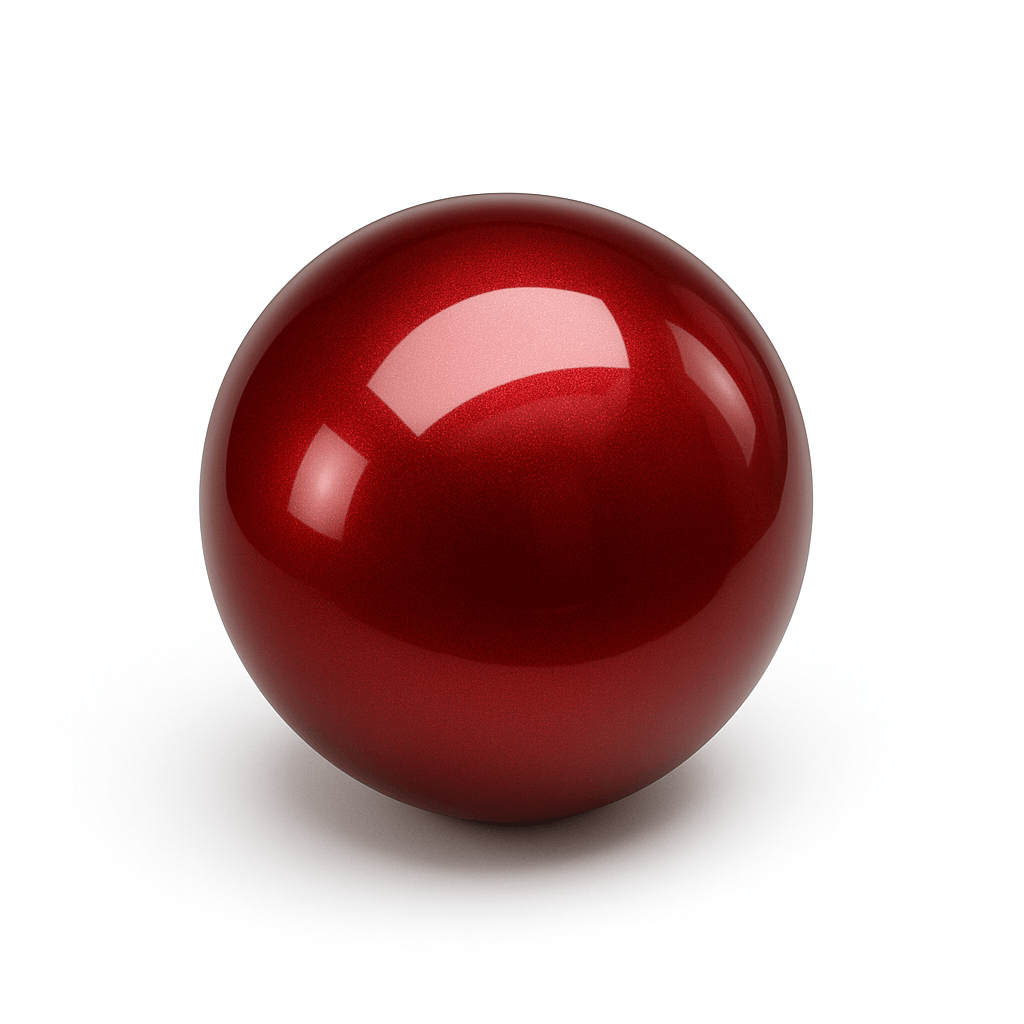
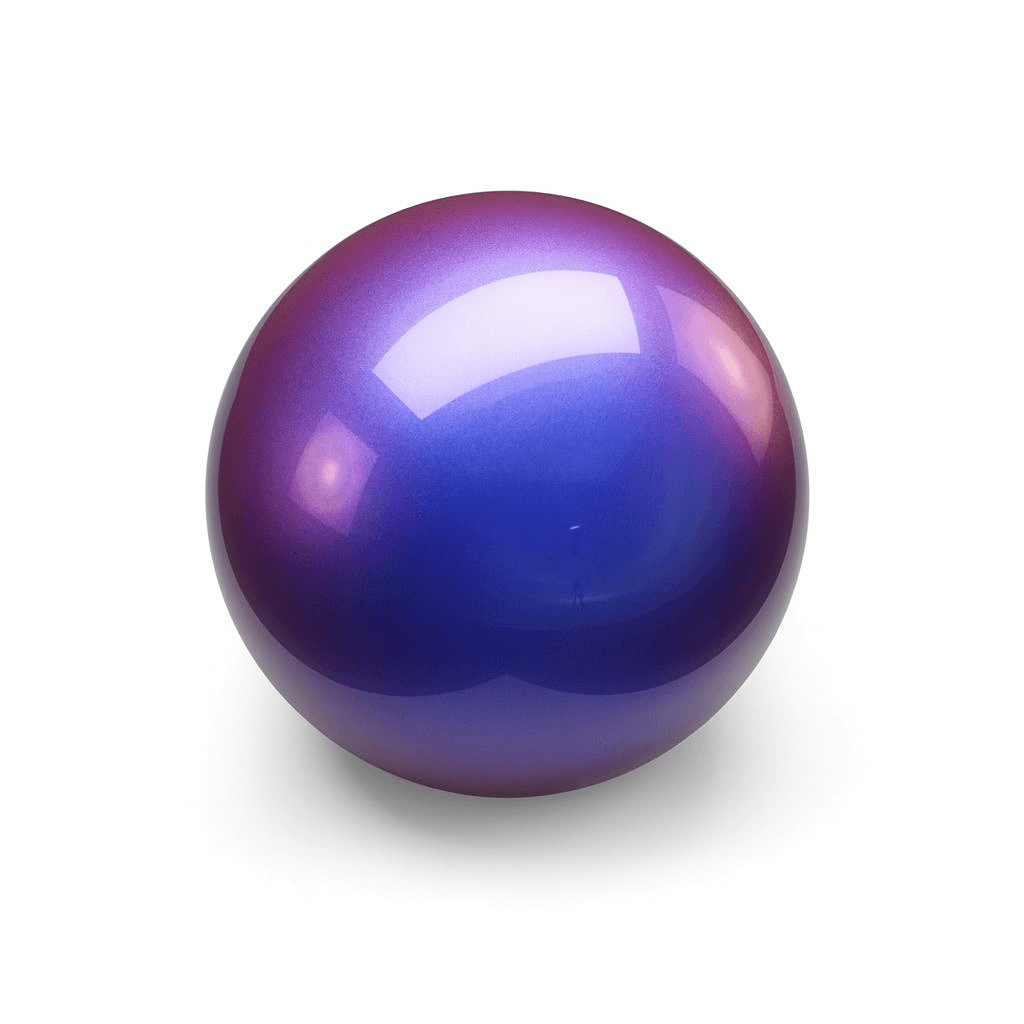
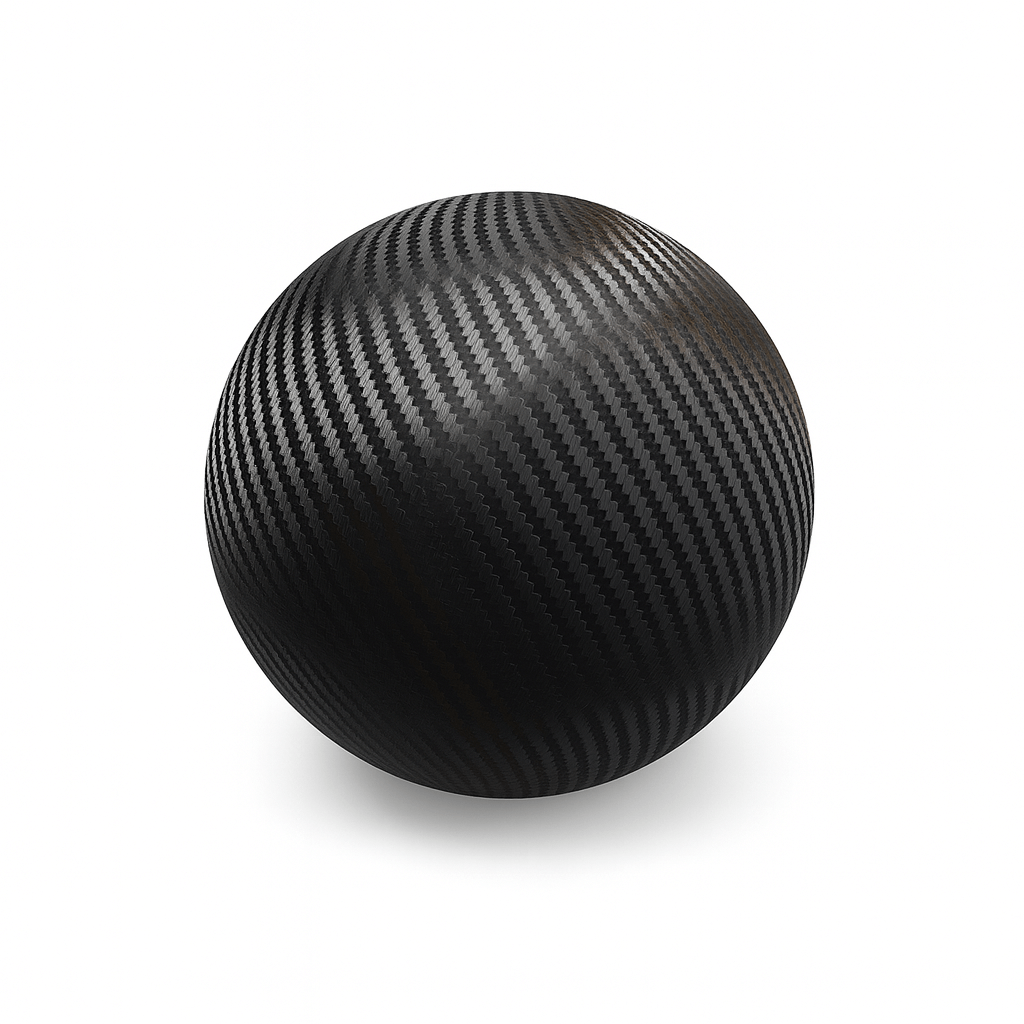
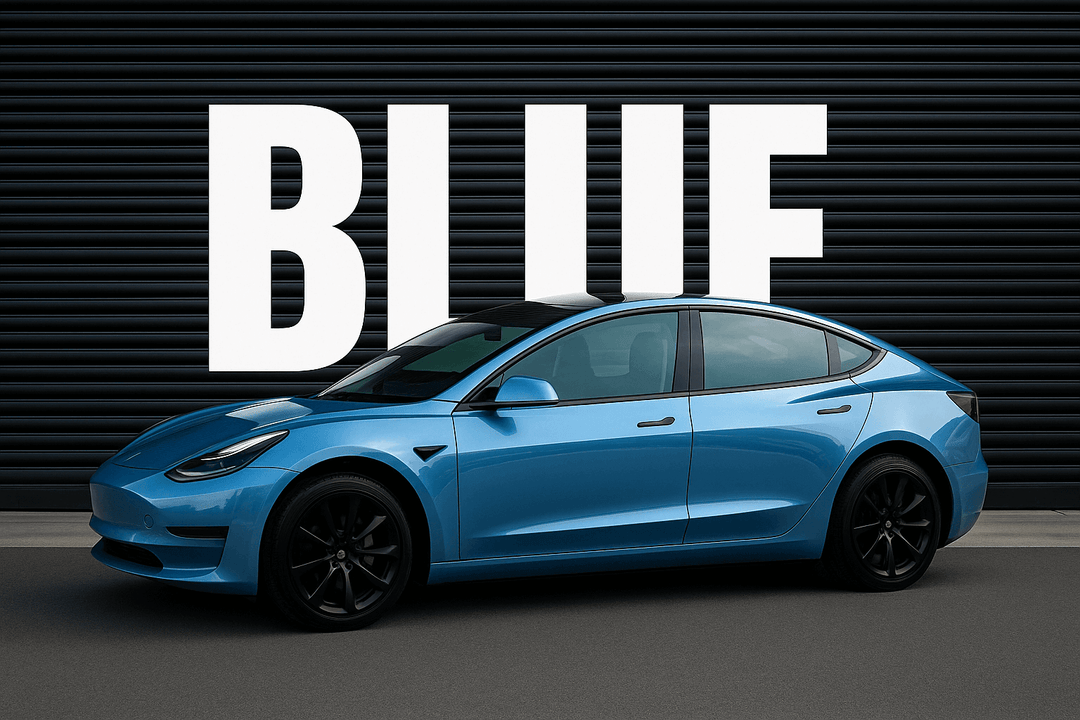
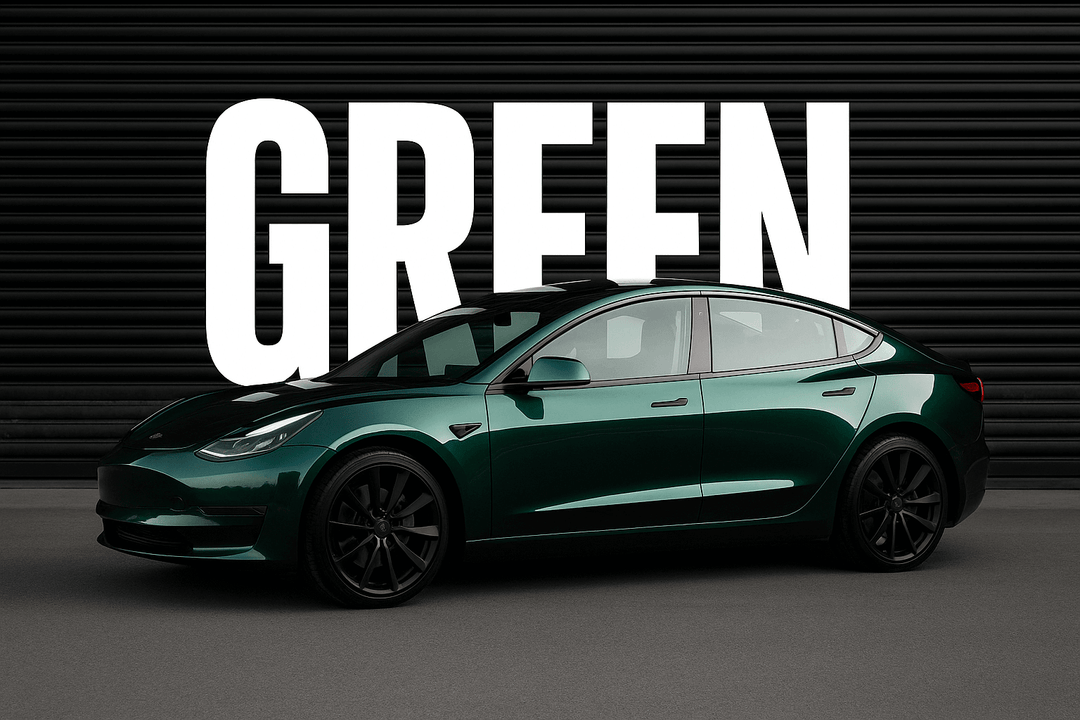
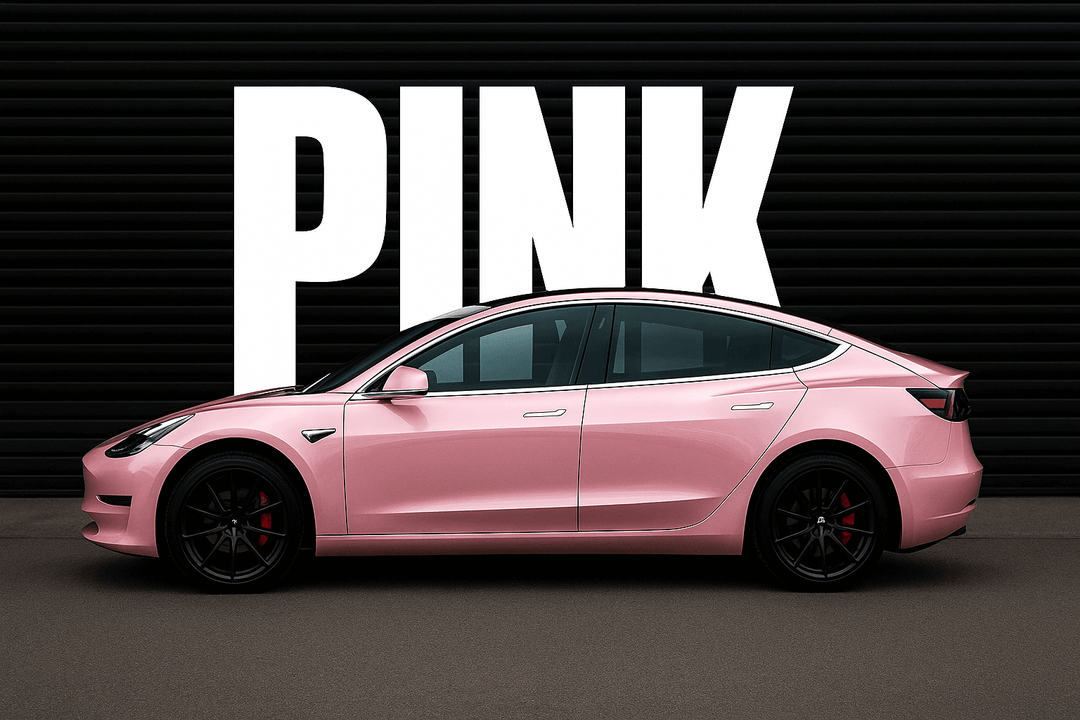
Vinyl Wrap
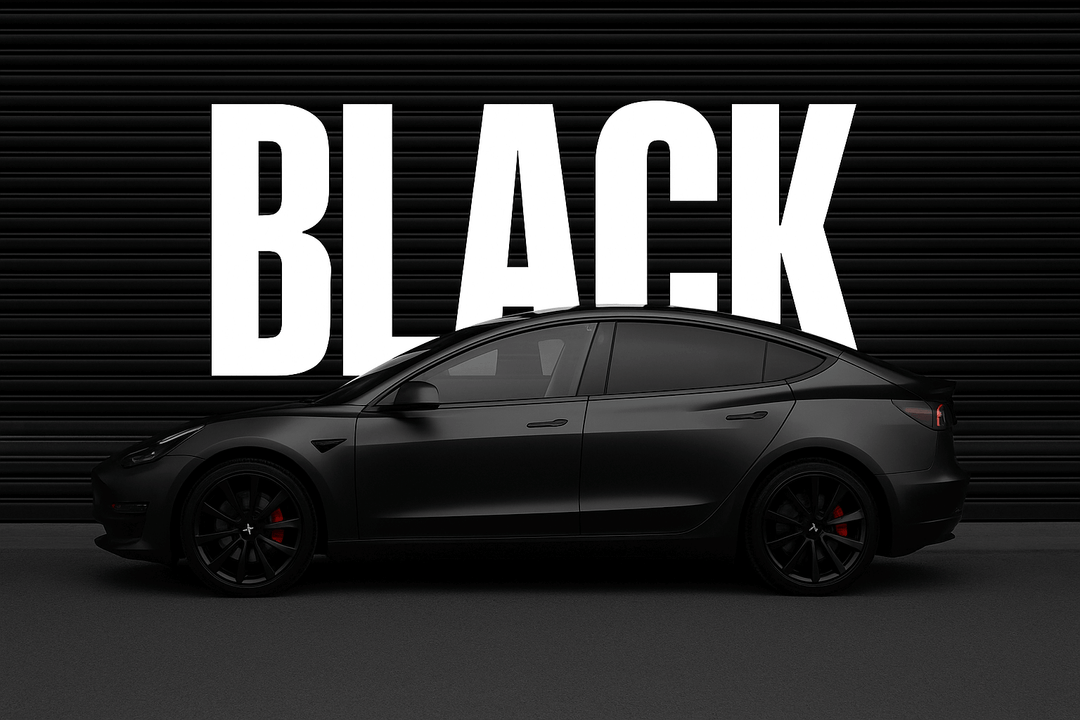
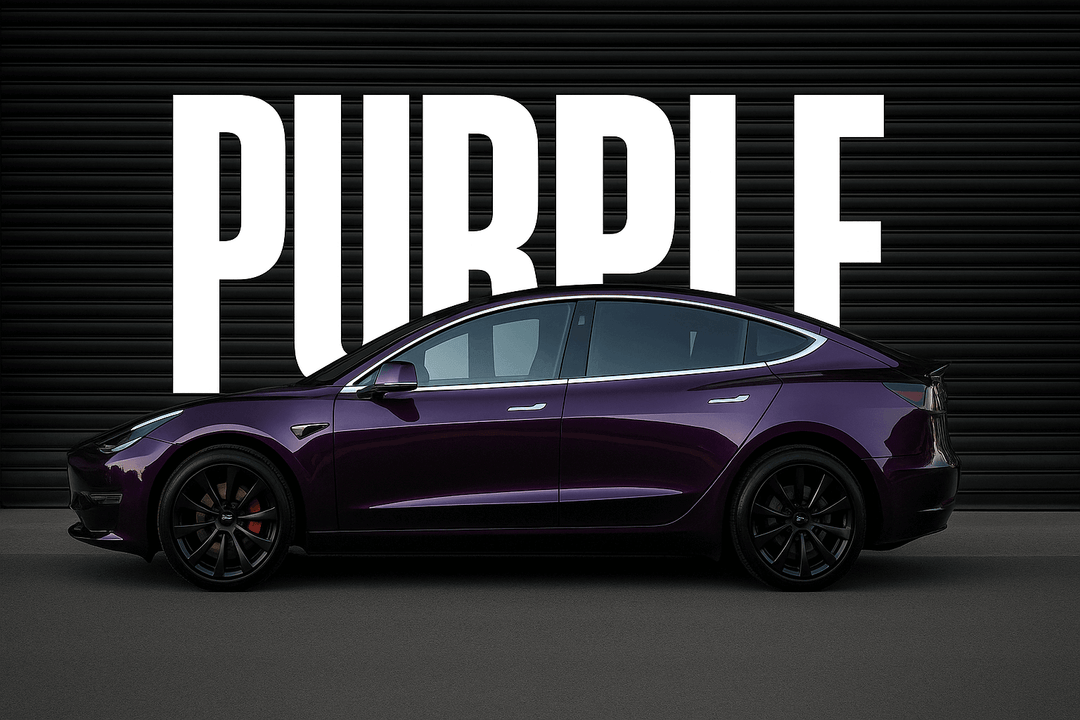
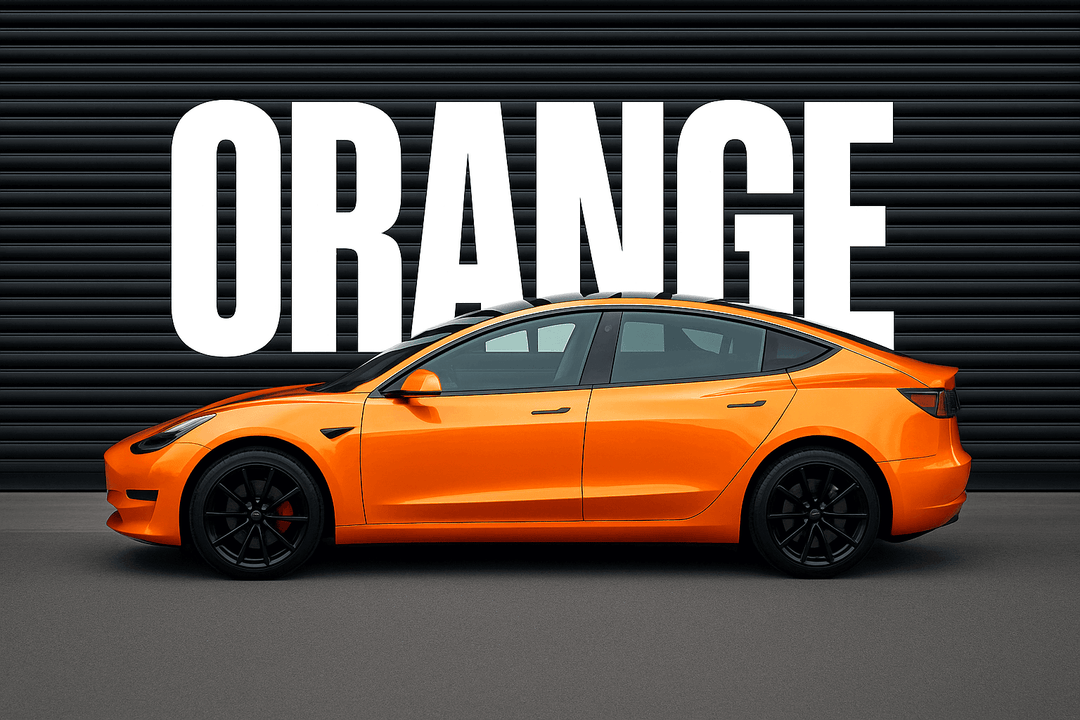
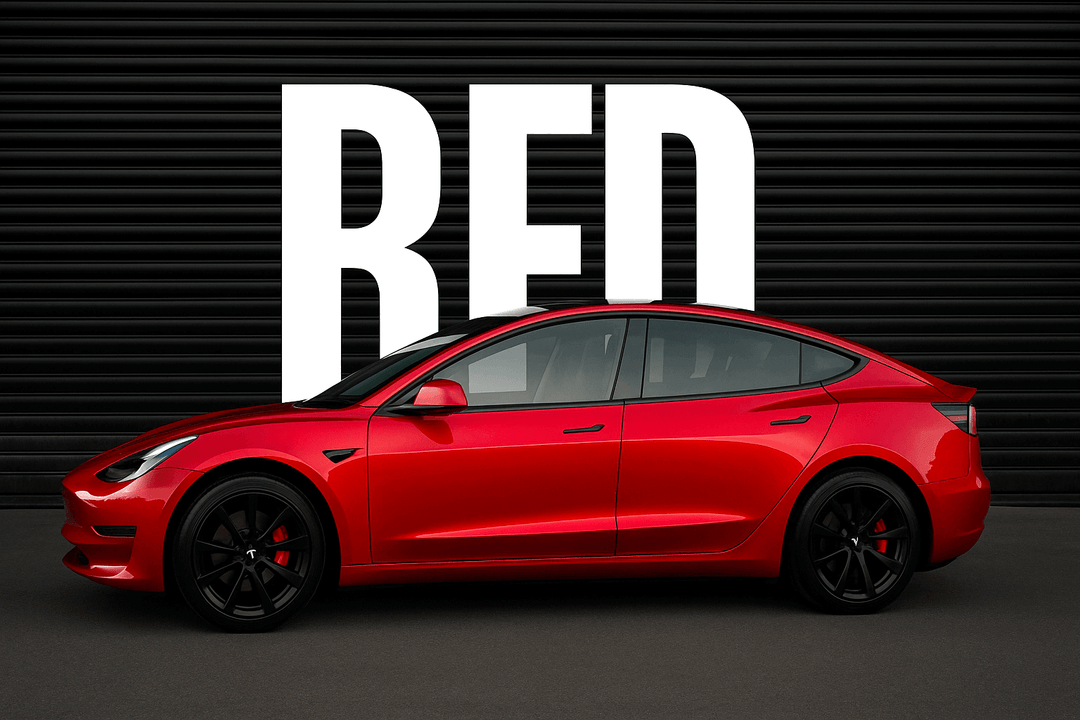
The star of the show, vinyl wrap comes in a wide array of colors, finishes, and textures. When selecting your vinyl, consider choosing a high-quality brand that’s known for durability and ease of application. Brands like Yeswrap are made from premium vinyl but are very affordable, you can buy a roll (5ft x 59ft) of vinyl for less than $600. You can purchase vinyl wrap online from www.yeswrap.com, with free shipping and 7-10 days can be delivered. Clik to browse how much vinyl to wrap your vehicle.

Squeegee
A squeegee is a must-have tool for smoothing out the vinyl as you apply it to your car’s surface. One with a soft, felt edge to avoid scratching the vinyl.
Heat Gun
A heat gun is essential for stretching the vinyl around curves and edges, as well as for activating the adhesive to ensure a strong bond. Make sure to get a heat gun with adjustable temperature settings so you can apply just the right amount of heat without damaging the vinyl.
Utility Knife
You’ll need a sharp utility knife to trim excess vinyl around the edges. Opt for a knife with replaceable blades, as you’ll want to keep it sharp for precise cuts.
Surface Cleaner
Proper surface preparation is key to a successful wrap. Use a high-quality surface cleaner to remove dirt, grease, and wax from your car’s exterior before applying the vinyl. Isopropyl alcohol is often recommended for this step because it evaporates quickly and leaves no residue.
Tape Measure or Ruler
Accurately measuring the dimensions of your vehicle is crucial when preparing for a car wrap. This step ensures you know exactly how much vinyl film to cut and install on different parts of the body, preventing waste and ensuring a precise fit.
Microfiber Cloths
A soft cloths are perfect for wiping down the car after cleaning and for gently buffing the vinyl during application. They’re lint-free, so they won’t leave behind any debris that could get trapped under the wrap.
Gloves
Wearing gloves during the wrapping process can prevent fingerprints and oils from your hands from transferring onto the vinyl. Look for gloves made from a material that provides a good grip, such as nitrile.
Preparation of Wrapping Your Vehicle
Proper preparation is key to a successful DIY car wrap. By following these steps—cleaning the surface, removing interfering parts, and measuring and cutting the vinyl carefully—you’ll set yourself up for a smooth and professional-looking application.
Cleaning Your Vehicle Surface
- Wash the Car: Begin by thoroughly washing your car with soap and water to remove any surface dirt and grime. Use a mild car shampoo and a soft sponge or wash mitt to avoid scratching the paint. Rinse the car thoroughly to remove all soap residue.
- Dry the Surface: After washing, dry the car completely using a clean, soft microfiber towel. Ensure no water spots remain, as these can interfere with the vinyl’s adhesive.
- Remove Contaminants: Use a dedicated surface cleaner or isopropyl alcohol to remove any remaining grease, wax, or residue. Apply the cleaner to a microfiber cloth and wipe down the entire surface of the car. Pay special attention to areas where the vinyl will be applied, such as the edges and corners.
- Inspect for Debris: Check the surface for any leftover particles or contaminants. For a thorough clean, you may want to use a clay bar to remove embedded contaminants and smooth the surface. This step is especially important for achieving a flawless finish.
Removing Car Parts
- Identify Removable Parts: Examine your car to identify parts that might interfere with the wrapping process, such as mirrors, door handles, trim pieces, and badges. Removing these parts allows for a cleaner application and helps ensure the vinyl adheres properly to all areas.
- Consult the Manual: Refer to your car’s owner’s manual or a repair guide to find instructions for removing these parts. If a manual is not available, online forums and video tutorials can be helpful.
- Use Proper Tools: For removing parts, use the appropriate tools such as screwdrivers, trim removal tools, and pliers. Be gentle to avoid damaging any components or the car’s surface.
- Keep Track of Hardware: As you remove parts, keep track of all screws, clips, and other hardware by storing them in labeled containers. This will make reinstallation easier later on.
Measuring and Cutting Vinyl
- Measure the Vehicle: Start by measuring the areas you plan to wrap. Use a tape measure to get accurate dimensions of each panel or surface. Note any curves or contours, as these will affect how you cut and apply the vinyl.
- Cut the Vinyl: Lay out the vinyl wrap on a flat surface and use your measurements to cut the vinyl to the appropriate sizes. It’s a good idea to cut slightly larger pieces than needed to ensure complete coverage. Use a sharp utility knife for precise cutting and avoid using dull blades, which can lead to jagged edges.
- Align and Test Fit: Before applying, do a test fit of the vinyl on the vehicle. This will help you check the fit and make any necessary adjustments. Make sure the vinyl covers the entire area and aligns well with edges and contours.
- Trim Excess Vinyl: Once you’ve applied the vinyl, trim away any excess material around the edges. Use a sharp utility knife for clean, precise cuts. Be careful not to cut into the car’s paint or trim.
Step-by-Step DIY Car Wrapping Process

Once you’ve prepared your vehicle and cut your vinyl, it’s time to apply the wrap. Follow these steps for a smooth and professional-looking result.
Applying the Vinyl Wrap
- Start with Smaller Areas: Begin the wrapping process with smaller, flat areas of the vehicle, such as the hood or roof. This allows you to get a feel for handling the vinyl and makes it easier to manage as you become more comfortable with the technique.
- Align the Vinyl: Position the vinyl over the area you’re working on, making sure it aligns with the edges and contours of the vehicle. Leave some extra material around the edges to ensure full coverage. Carefully peel off the backing paper while aligning the vinyl with the car surface.
- Apply Gradually: Start applying the vinyl from one end and work your way across the surface. Use your hands to gently press the vinyl onto the car, ensuring it sticks well. Avoid applying too much pressure initially to prevent any potential misalignment.
- Avoid Air Bubbles: As you apply the vinyl, use a squeegee to push out any air bubbles and wrinkles. It’s best to work in small sections, smoothing out the vinyl as you go to ensure a smooth application.
Using a Heat Gun
- Heat for Stretching: Use a heat gun to gently warm the vinyl as you apply it. Heating the vinyl makes it more pliable, allowing it to conform to the car’s curves and contours. Keep the heat gun moving to avoid overheating any one area.
- Stretch and Conform: Apply heat to the vinyl as you stretch it around edges and curves. This helps the vinyl mold to the shape of the car without creating wrinkles or distortions. Be cautious with the temperature—too much heat can damage the vinyl, while too little won’t allow it to stretch properly.
- Set the Vinyl: After stretching and conforming the vinyl, allow it to cool and set in place. This helps the adhesive bond securely to the car’s surface.
Smoothing the Vinyl
- Use a Squeegee: With the vinyl in place, use a squeegee to smooth out any remaining bubbles and wrinkles. Start from the center and work your way outwards, applying firm, even pressure. This ensures that the vinyl adheres evenly and removes any trapped air.
- Apply Gentle Pressure: Be careful not to press too hard, as excessive force can stretch the vinyl too much or damage it. Use the squeegee’s edge to work out stubborn bubbles, and use a microfiber cloth to wipe away any residual adhesive or dirt.
Trimming the Excess Vinyl
- Trim Neatly: Use a sharp utility knife to trim away any excess vinyl around the edges and corners. Take your time to make clean, precise cuts to avoid damaging the car’s paint or the vinyl wrap itself.
- Work in Sections: For areas with complex shapes or tight corners, trim the excess vinyl in small sections. Carefully follow the edges of the car parts, such as around door handles and mirrors, to ensure a snug fit.
- Check for Gaps: After trimming, inspect the wrap for any gaps or loose edges. Use the heat gun and squeegee to press down any areas where the vinyl may not be adhering properly.
Reinstalling Car Parts
- Reattach Removed Parts: Once the vinyl is applied and trimmed, reattach any parts you removed earlier, such as mirrors, door handles, and trim pieces. Ensure all screws and clips are securely fastened.
- Check Alignment: Verify that all parts are correctly aligned and that the vinyl wrap is not interfering with their fit. Make any necessary adjustments to ensure a clean and professional finish.
Car Wrapping Troubleshooting Common Issues
Even with careful preparation and application, you might encounter some issues while wrapping your car. Here’s how to troubleshoot and resolve common problems such as air bubbles, wrinkles, and misalignment.
Air Bubbles
- Preventing Air Bubbles: To avoid air bubbles, ensure that the surface of your car is thoroughly cleaned before applying the vinyl. Work in small sections and use a squeegee to push out air as you apply the vinyl. Applying the vinyl gradually and using a heat gun to make the vinyl more pliable can also help prevent bubbles.
- Removing Air Bubbles: If you notice air bubbles after application, you can use a small pin or needle to carefully puncture the bubble. Gently push the air towards the hole with a squeegee or your fingers, then smooth the area out. Be cautious not to stretch the vinyl or create additional bubbles.
- Using a Squeegee: For persistent bubbles, use the squeegee to work the air out from under the vinyl. Start from the center of the bubble and push towards the edge. If needed, apply a bit of heat with a heat gun to make the vinyl more flexible while you smooth it out.
Wrinkles
- Preventing Wrinkles: Wrinkles can often be avoided by properly heating the vinyl and applying it in small sections. Ensure the vinyl is warm enough to stretch over curves and contours. Avoid over-stretching the vinyl, as this can lead to wrinkles and distortions.
- Removing Wrinkles: If you encounter wrinkles, use a heat gun to gently warm the affected area. Once heated, use a squeegee to smooth out the wrinkles while the vinyl is still pliable. Be careful not to overheat the vinyl, as this can cause it to become too soft and lose its adhesive properties.
- Reapplying Vinyl: For severe wrinkles, you may need to lift and reapply the vinyl. Carefully peel back the section with wrinkles, reheat it, and then reapply it to the surface, smoothing out any creases as you go.
Misalignment
- Preventing Misalignment: To avoid misalignment, measure your car’s surfaces accurately and cut the vinyl slightly larger than needed. Align the vinyl carefully before applying it, and check its position frequently as you work.
- Correcting Misalignment: If you find that the vinyl is misaligned, carefully peel it back from the affected area. Reposition the vinyl, ensuring it aligns correctly with the car’s surface and any features like trim and handles. Use a heat gun to warm the vinyl if needed, which can make repositioning easier.
- Ensuring Proper Adhesion: After realigning, use a squeegee to press the vinyl down and ensure it adheres properly to the surface. Check the edges and corners to ensure they are securely adhered and free of gaps.
General Tips for Avoiding and Correcting Mistakes
- Take Your Time: Rushing the application process can lead to mistakes. Take your time with each section to ensure proper application and avoid common issues.
- Practice Makes Perfect: If you’re new to car wrapping, practice on smaller or less visible areas first. This can help you get a feel for handling the vinyl and using the tools effectively.
- Stay Calm: If issues arise, stay calm and address them methodically. Most problems can be corrected with patience and careful adjustment.
- Consult Resources: Utilize online tutorials, videos, and forums for additional tips and solutions. Many experienced DIY wrappers share their solutions for common problems, which can be helpful.
Vinyl Wrap Aftercare and Maintenance
Once you’ve completed your DIY car wrap, proper care and maintenance are essential to keep your vehicle looking great and ensure the longevity of the vinyl. Here’s how to maintain your vinyl-wrapped car and protect it from damage.
Vinyl Wrapped Car Cleaning Tips
- Regular Washing: Wash your vinyl-wrapped car regularly to keep it clean and free of dirt and grime. Use a mild car shampoo and a soft sponge or microfiber cloth to avoid scratching the wrap. Avoid using abrasive cleaners or brushes that can damage the vinyl.
- Gentle Drying: After washing, dry the car with a clean, soft microfiber towel. Pat the surface dry rather than rubbing it to prevent scratching the vinyl. Ensure the wrap is completely dry before applying any protectants or driving.
- Avoid High Pressure: When washing, avoid using high-pressure water jets, as these can force water under the edges of the vinyl and potentially cause lifting. Stick to a gentle spray or hand wash method.
- Spot Cleaning: For stubborn stains or spots, use a vinyl-safe cleaner and a soft cloth. Avoid using harsh chemicals or solvents, as these can damage the wrap’s surface.
Protecting Your Car Wrap Tips
- Avoid Harsh Chemicals: Steer clear of using strong cleaning agents, solvents, or abrasive materials that can damage the vinyl. Opt for products specifically designed for vinyl wraps.
- Park in Shade: Whenever possible, park your vehicle in a shaded area or a garage. Prolonged exposure to direct sunlight and UV rays can cause the vinyl to fade and deteriorate more quickly.
- Apply a Vinyl Protectant: Consider applying a vinyl-safe protectant to help maintain the wrap’s appearance and provide an additional layer of protection against environmental elements. This can help repel dirt and water, making it easier to clean.
- Avoid Extreme Conditions: Try to minimize exposure to extreme temperatures, such as very hot or very cold weather, as well as harsh chemicals like bird droppings or tree sap. These conditions can adversely affect the vinyl’s adhesion and longevity.
Longevity of Vinyl Wraps
- Typical Lifespan: Vinyl wraps generally last between 5 to 7 years, depending on the quality of the vinyl, the application, and how well the wrap is maintained. Higher-quality vinyl and proper care can extend the lifespan of the wrap.
- Signs of Wear: Watch for signs of wear such as fading, peeling, lifting, or significant discoloration. If you notice these issues, it may be time to consider reapplying or replacing the wrap.
- Reapplying or Replacing: If your vinyl wrap starts showing significant signs of age or damage, you may need to replace it. Before reapplying, ensure the old wrap is completely removed and the surface is thoroughly cleaned and prepped to avoid issues with the new application.
- Professional Assessment: If you’re unsure about the condition of your wrap or how to care for it properly, consider consulting a professional. They can provide expert advice and help with any maintenance or replacement needs.
FAQs About DIY Car Wrapping
How long does a DIY car wrap take?
The time required for a DIY car wrap can vary depending on several factors, including the size of your vehicle, the complexity of the design, and your level of experience. On average, a full car wrap might take anywhere from 12 to 24 hours. If you're wrapping the vehicle in stages or working on a smaller section at a time, it could take several days to complete the job. For beginners, it’s advisable to allow extra time for practice and adjustments.
How difficult is it to wrap a car yourself?
Wrapping a car yourself can be challenging, especially if you’re new to the process. It requires patience, precision, and some specialized tools. While DIY car wrapping is feasible and can yield professional results with practice, it’s important to approach it with care. The difficulty level can vary based on the complexity of the wrap and your familiarity with the techniques involved. Starting with smaller or less complex areas can help build your skills before tackling larger sections. Many people find it helpful to watch tutorials and practice on smaller projects before attempting a full wrap.
Can vinyl wrap damage the original paint?
When applied correctly, vinyl wraps should not damage the original paint of your vehicle. The adhesive used in high-quality vinyl wraps is designed to adhere securely without harming the underlying paint. However, improper application, such as using excessive heat or not cleaning the surface properly, can potentially lead to issues. If the wrap is removed, the paint should be in the same condition as before, provided the wrap was applied and removed carefully. Always use high-quality vinyl and follow proper application and removal procedures to minimize any risk to your vehicle’s paint.
Wrapping your car yourself may seem daunting at first, but with the right tools and techniques, it’s definitely achievable. Not only can you save money, but you also gain the satisfaction of a job well done.
We’d love to hear about your experiences with DIY car wrapping. If you have any questions, tips, or stories to share, please drop a comment below. Your insights could help others who are considering taking on this exciting project. Happy wrapping!