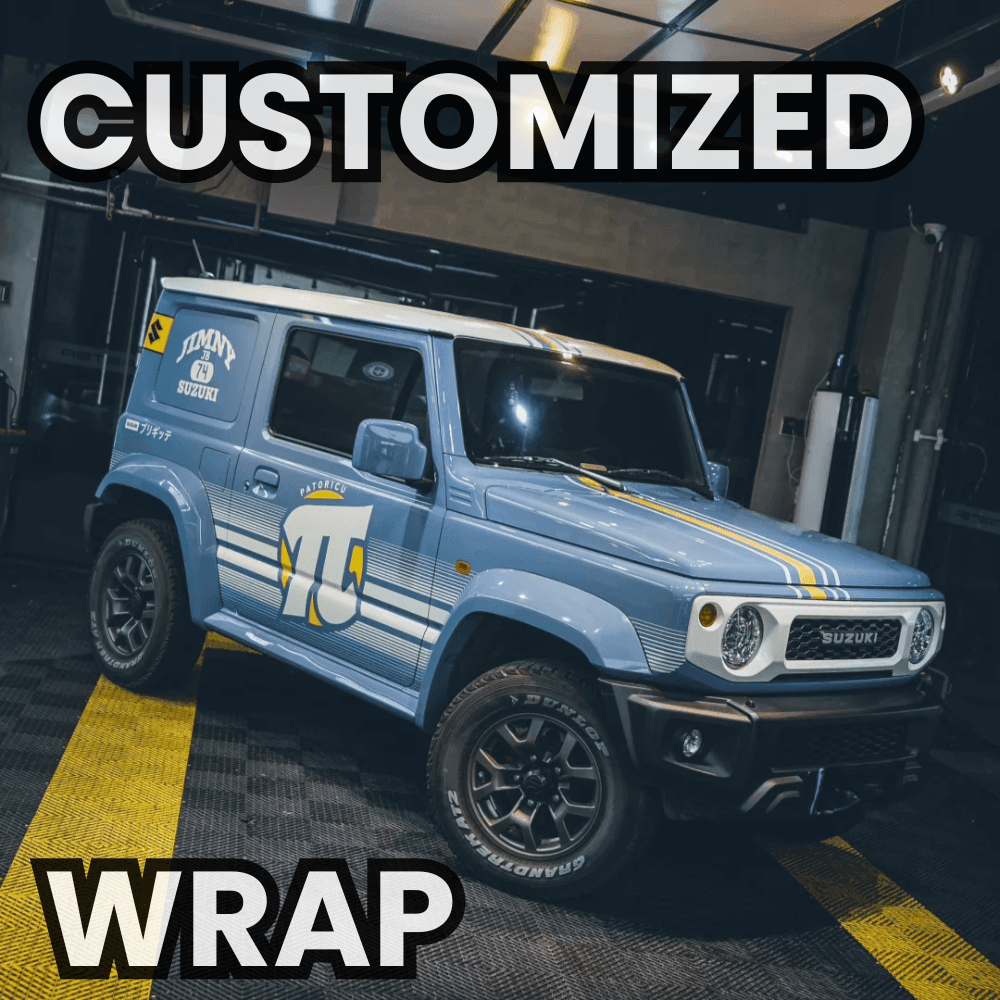
How to Vinyl Wrap Your Car Hood
Looking to upgrade your ride without breaking the bank? Vinyl wrapping your car hood is a fantastic way to give your vehicle a bold, new look while protecting the paint underneath. Whether you want a sleek matte finish, a glossy shine, or a striking carbon fiber texture, a vinyl hood wrap lets you customize your car effortlessly.
Unlike a full car wrap, which requires a larger budget and more time, hood wraps are one of the easiest and most affordable ways to make an impact. Plus, they’re a great project for beginners who want to try their hand at DIY vehicle customization. With the right tools and a little patience, you can achieve a professional-looking wrap in just a few steps.
In this guide, we’ll walk you through everything you need to know—from preparation to application—so you can confidently wrap your car hood like a pro.
Tools & Materials Needed for Vinyl Wrapping a Car Hood
Before you start wrapping your car hood, having the right tools and materials on hand will help you achieve a bubble-free and long-lasting application.
Essential Tools & Materials
✔ Vinyl Wrap Sheet – Choose a high-quality vinyl wrap with the color or texture you prefer. Ensure it’s large enough to cover the entire hood with some extra for trimming.
✔ Squeegee – A soft-edge squeegee with a buffer helps smooth out air bubbles and ensures proper adhesion without damaging the wrap.
✔ Heat Gun – Used to stretch the vinyl around curves and edges, and to activate the adhesive for better bonding.
✔ Knife/Cutter – A precision cutting tool is essential for trimming excess vinyl cleanly. Consider using knifeless tape for seamless cuts.
✔ Surface Cleaner – A dedicated degreaser removes dirt, wax, and residue for proper adhesion. Avoid using regular household cleaners.
✔ Microfiber Cloth – Helps wipe off dust and contaminants without scratching the surface before and during application.
✔ Gloves – Anti-static, lint-free application gloves allow you to handle the vinyl smoothly while preventing fingerprints and smudges.
✔ Magnets – Hold the vinyl in place while you align and adjust before peeling the backing. This prevents repositioning errors and ensures an accurate fit.
✔ Masking Tape – Mark reference points to help with alignment and positioning.
Pro Tips for a Flawless Wrap
Ensure your workspace is between 60-75°F for the best adhesion and flexibility. Too cold, and the vinyl will be stiff; too hot, and it may overstretch.
Preparing Your Car Hood for Wrapping
Any dirt, wax, or imperfections left on the surface can cause bubbles, peeling, or weak adhesion. Taking the time to clean and smooth the hood ensures that your self-adhesive vinyl wrap sticks properly and lasts longer. Follow these steps to get your hood ready for wrapping.
1. Clean the Surface Thoroughly
Start by washing your car hood with a soap-and-water solution to remove dirt, dust, and debris. Use a microfiber cloth to wipe the surface clean. This initial wash prevents any contaminants from interfering with the wrap’s adhesion.
2. Remove Any Wax or Grease
Even if your hood looks clean, invisible layers of wax, grease, or polish can weaken the vinyl’s grip. Use an alcohol-based cleaner or a dedicated degreaser, spraying generously and wiping in overlapping strokes to ensure complete coverage. Don’t forget to clean under the edges of the hood for a secure hold.
3. Smooth Out Imperfections
Inspect the hood for scratches, dents, or rough areas. If you find any imperfections:
-
Use fine-grit sandpaper to smooth out rough spots.
-
If necessary, fill minor dents with a body filler and sand until flush with the surface.
-
Wipe away any dust with a clean microfiber cloth before moving to the next step.
4. Tape Off the Edges (Optional for Precision)
To achieve clean, straight edges, use masking tape or knifeless tape along the areas where you’ll be cutting. This helps guide your trimming for a professional finish. If you’re wrapping just the hood and not tucking the vinyl under, precise taping can also prevent excess adhesive from sticking to unwanted areas.
Pro Tips for a Long-Lasting Wrap
✔ Let the hood dry completely before applying the wrap to avoid moisture getting trapped.
✔ Avoid touching the surface with bare hands after cleaning to prevent oils from transferring.
Step-by-Step Guide to Wrapping Your Car Hood
Now that your hood is clean and prepped, it’s time to apply the self-adhesive vinyl wrap. Follow these steps carefully to achieve a smooth, professional-looking finish without bubbles or wrinkles.
Step 1: Measure & Cut the Vinyl Wrap
Before you start applying, measure your car hood and cut a piece of vinyl that’s at least 3-5 inches larger than the hood on all sides. This extra material gives you room for adjustments and proper edge wrapping. If possible, have someone help hold the vinyl in place while cutting.
Step 2: Position and Align the Vinyl
Lay the cut vinyl over the hood without removing the backing. Use magnets or masking tape to hold it in place while you check for proper alignment. Ensure the wrap covers the entire hood with some overlap on the edges.
Step 3: Apply the Vinyl Wrap
-
Peel back a small section of the backing paper, starting from the center of the hood.
-
Slowly press the vinyl onto the hood, working outward.
-
Use a squeegee to press down and smooth the vinyl as you go.
-
Keep peeling back small sections of the backing while applying pressure to avoid bubbles.
Step 4: Smooth Out Bubbles
Use a squeegee to push out any air bubbles or wrinkles in an outward motion toward the edges. Work slowly and methodically to prevent creases from forming. If bubbles remain, gently lift the vinyl and reapply with more pressure.
Step 5: Use a Heat Gun for Stretching
If your hood has curves or contours, use a heat gun to gently warm the vinyl, making it more flexible. This helps the wrap conform to the shape of your hood for a seamless look. Be careful not to overheat, as too much heat can cause the vinyl to shrink or tear.
Step 6: Trim Excess Vinyl
Once the wrap is fully applied, use a precision knife to trim the excess material along the edges of the hood. If you're tucking the vinyl under the hood for a cleaner look, leave about half an inch of extra material.
Step 7: Heat All Edges for a Secure Finish
Reheat the edges of the vinyl with the heat gun and press them down firmly. This process, known as post-heating, helps activate the adhesive for a stronger bond and prevents lifting over time.
Pro Tips for a Professional Finish
✔ You should work in a dust-free environment to avoid dirt getting trapped under the vinyl.
✔ Always use light heat when stretching the vinyl to prevent damage.
✔ If you make a mistake, carefully lift and reposition the vinyl before applying too much pressure.
Why You Didn’t Get a Flawless Professional Finish
If your DIY hood wrap has wrinkles, bubbles, or peeling edges, it’s likely due to one or more common mistakes. Here’s why your wrap didn’t turn out as expected and how to fix it.
1. You Didn’t Clean the Hood Properly
Even the highest-quality self-adhesive vinyl wrap won’t stick well to a dirty surface. If you skipped proper vinyl prep, contaminants like dust, grease, or wax may have interfered with adhesion, causing bubbles, peeling, or weak bonding.
🔹 Solution: Always degrease and clean the hood thoroughly with an alcohol-based cleaner and microfiber cloth before applying the wrap.
2. You Used Too Much Heat
Heat is essential for shaping the vinyl, but overdoing it can cause warping, overstretching, or even burning the material. If you notice distorted areas or sections that won’t stick properly, excessive heat might be the culprit.
🔹 Solution: Keep the heat gun 6-8 inches away and use light, even heating instead of focusing too long on one area.
3. You Didn’t Stretch the Vinyl Evenly
Applying uneven pressure while laying the vinyl can lead to wrinkles and distortions, making the wrap look unprofessional. If you pulled too hard in one direction, the material may have become thin or misshapen in certain spots.
🔹 Solution: Work slowly, smoothing the wrap with a squeegee in outward strokes while maintaining even tension across the surface. If wrinkles appear, gently lift and reapply instead of forcing the vinyl into place.
4. You Skipped Edge Sealing
If the edges of your wrap are lifting or peeling within days or weeks, it’s likely because you didn’t properly seal the edges after trimming. This step is crucial for long-term durability, especially since hood wraps are exposed to wind, heat, and moisture.
🔹 Solution: After trimming, use a heat gun to warm the edges and press them down firmly. This post-heating process activates the adhesive and ensures a secure bond.
If your first attempt isn’t perfect, don’t worry—Yeswrap’s vinyl wraps are Removable and Repositionable, allowing you to try more than once!
Share Your Experience & Get the Best Vinyl Wraps!
Now that you’ve learned how to vinyl wrap your car hood, we’d love to hear about your experience! Have you tried wrapping your hood yourself? What challenges did you face, and what tips worked best for you? Drop a comment below and share your journey with fellow DIY car enthusiasts!
If you're looking for high-quality vinyl wraps, check out Yeswrap for a wide selection of premium options. Whether you want a sleek matte finish, a high-gloss shine, or a textured carbon fiber look, we have the perfect wrap to suit your style.
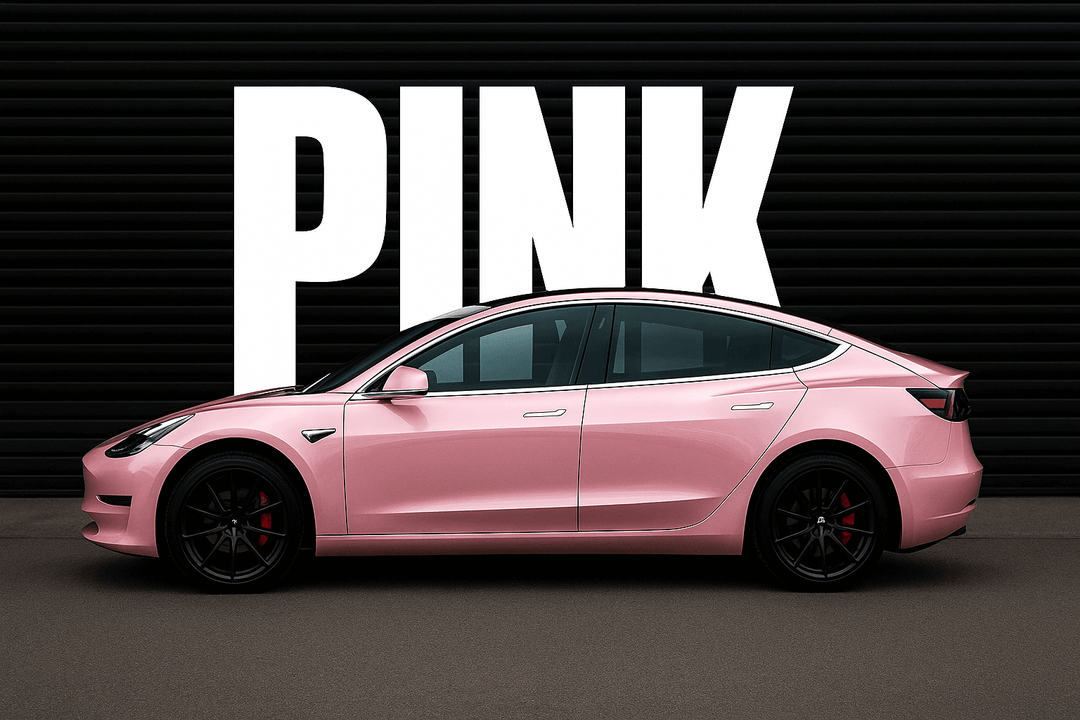
Top Vinyl Wrap Colors to Consider:
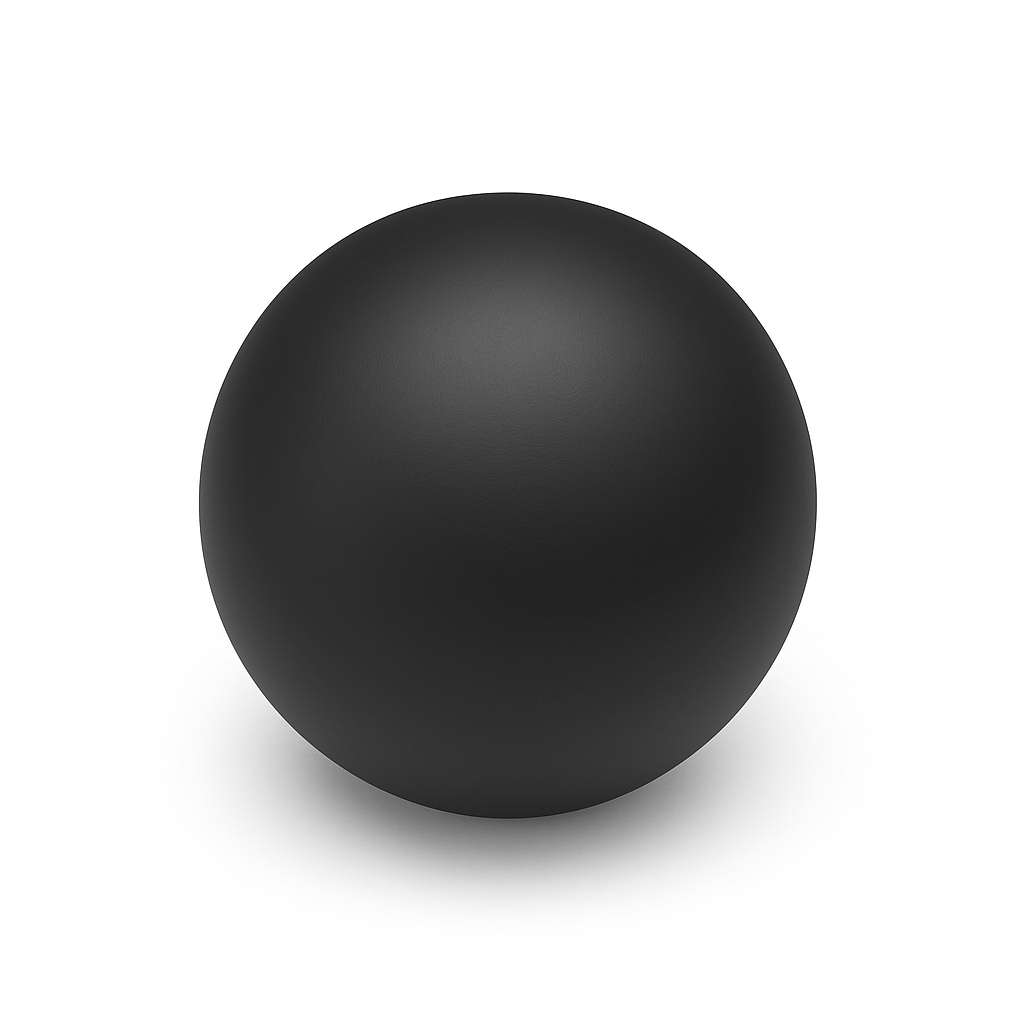
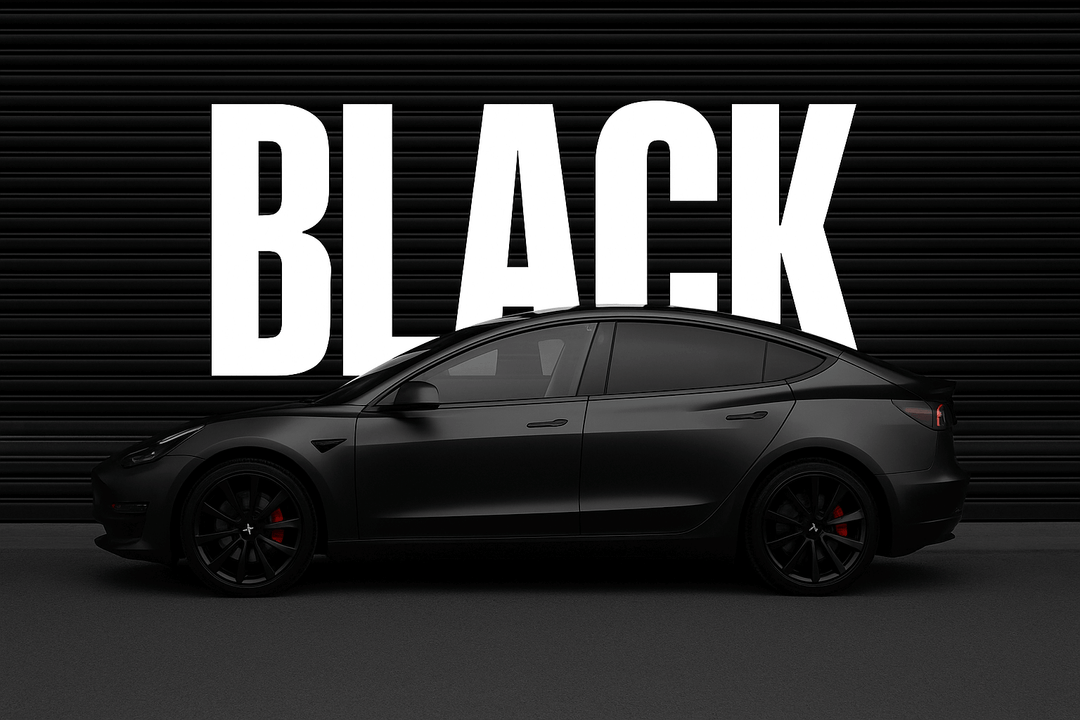
🔥 Matte Black Hood Wrap – A timeless, aggressive look for any car.
💎 Glossy White Hood Wrap– Clean, modern, and eye-catching.
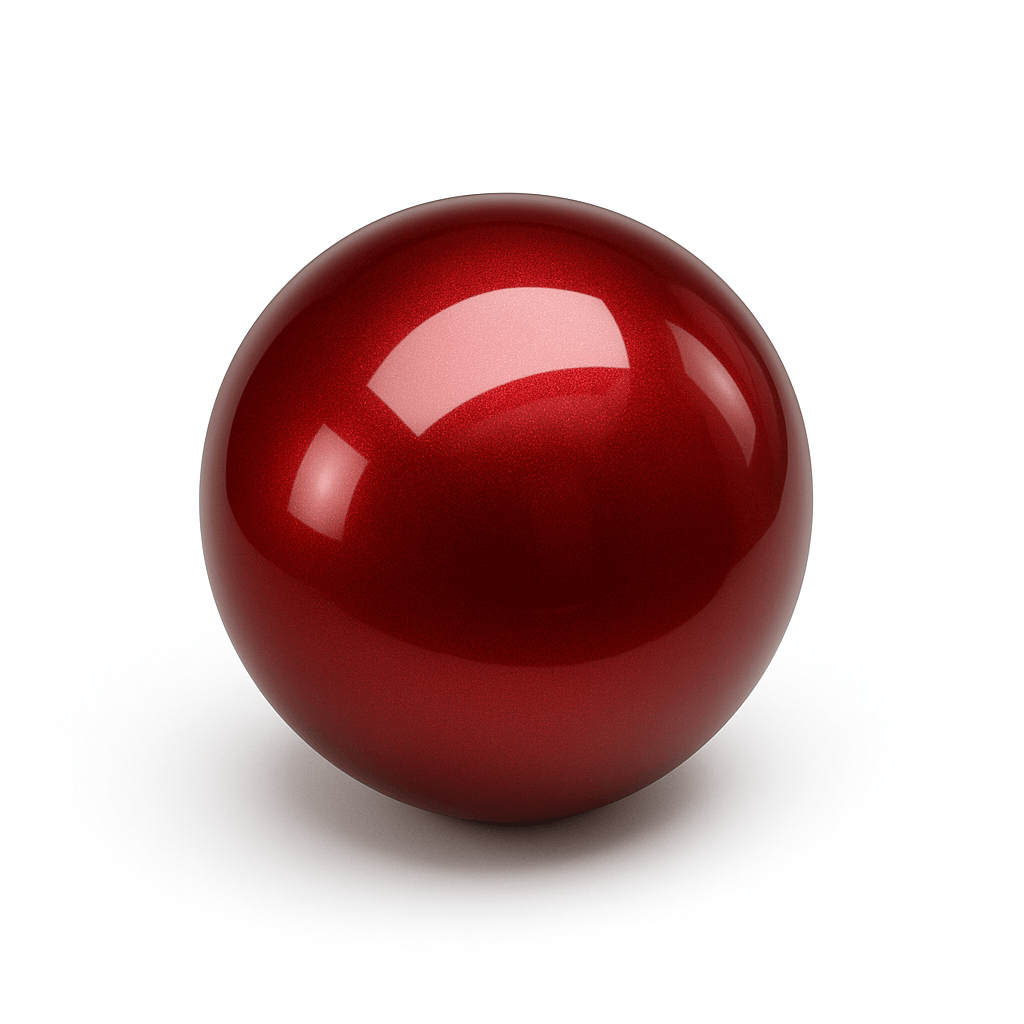
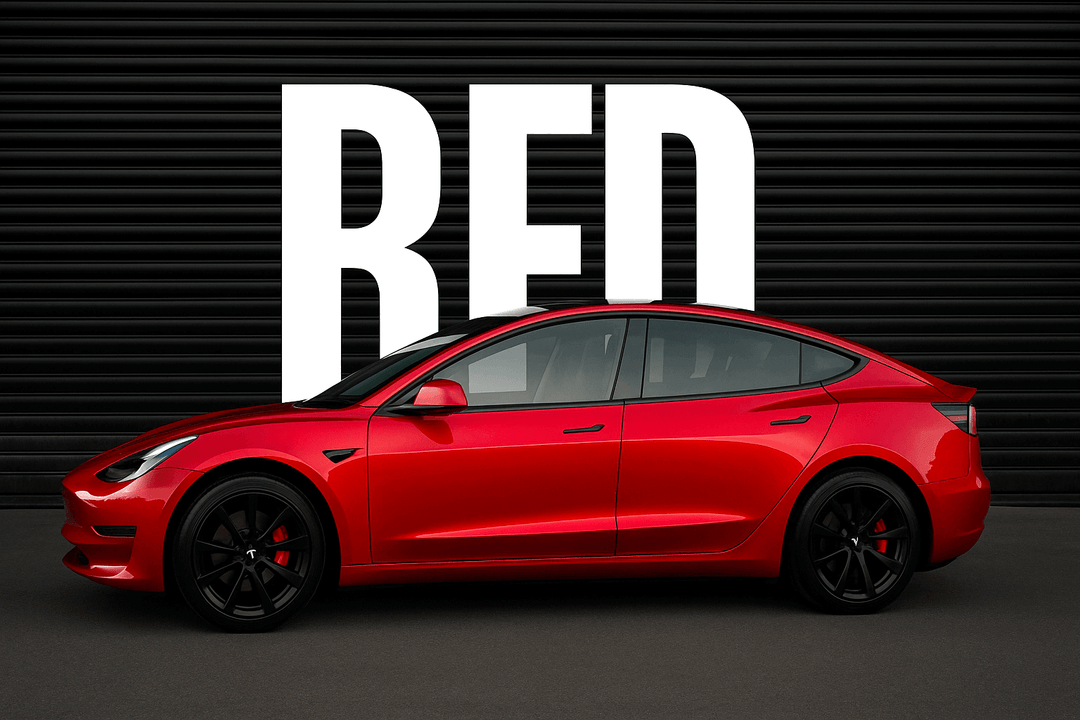
⚡ Satin Red Hood Wrap– A bold and sporty choice.
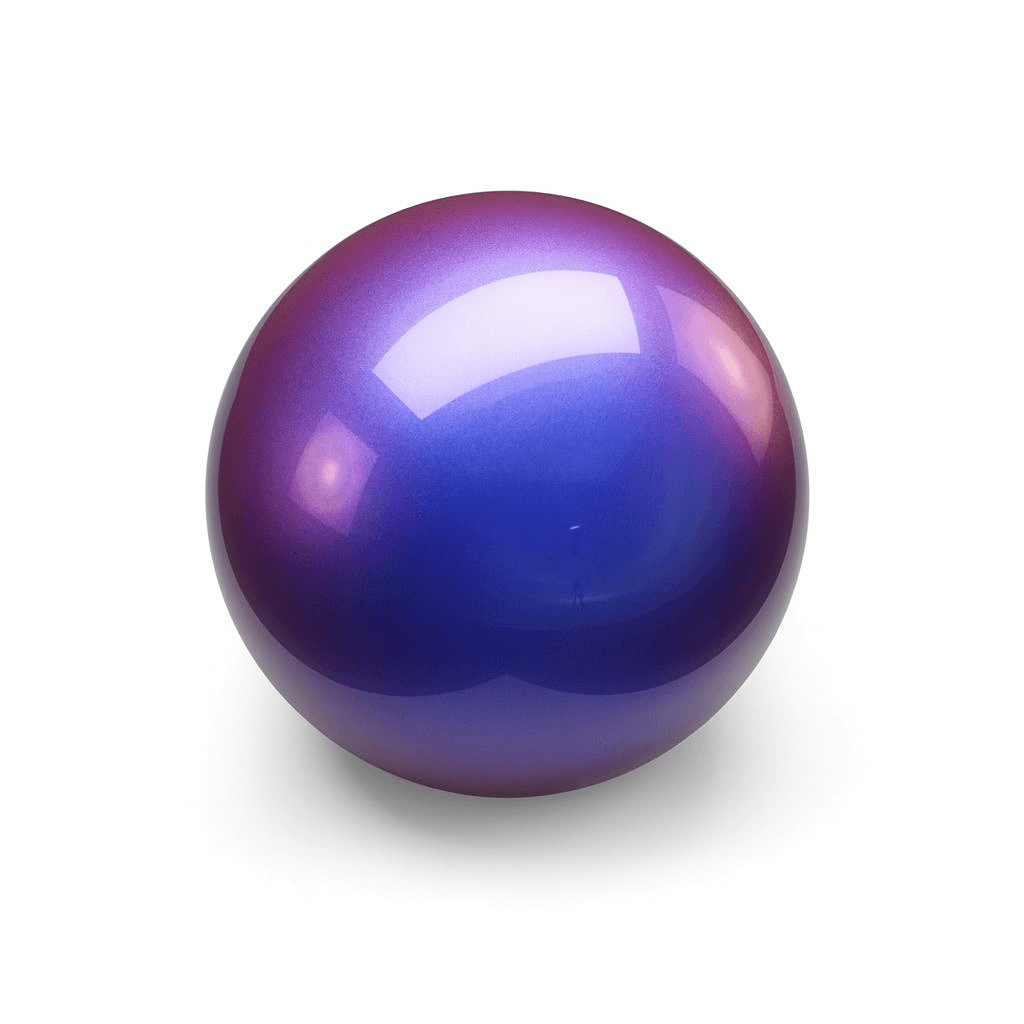
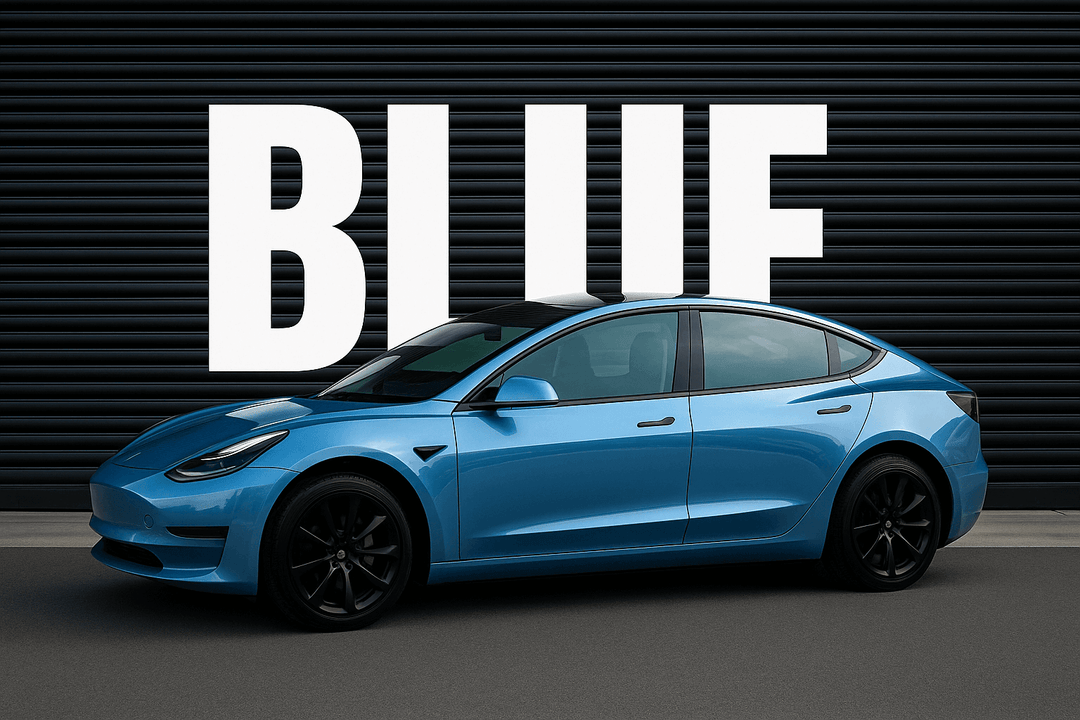
🌊 Metallic Blue Hood Wrap– Adds depth and a shimmering effect.
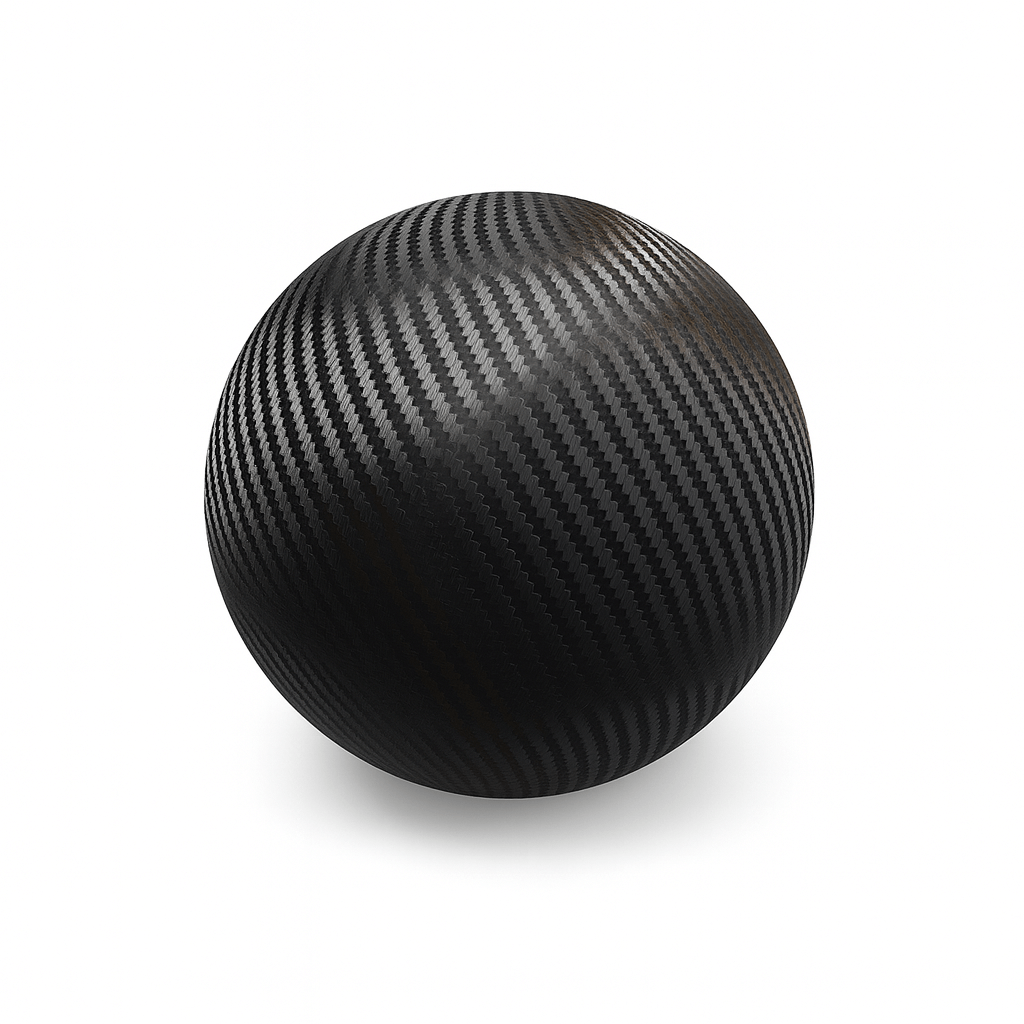
🔳 Carbon Fiber Hood Wrap– Perfect for a high-performance aesthetic.
Transform your ride with a Yeswrap premium vinyl wrap today and give your hood a custom, head-turning finish! Shop now and start your DIY hood wrap project with confidence!
Related Articles: