Tools Need for Car Wrapping
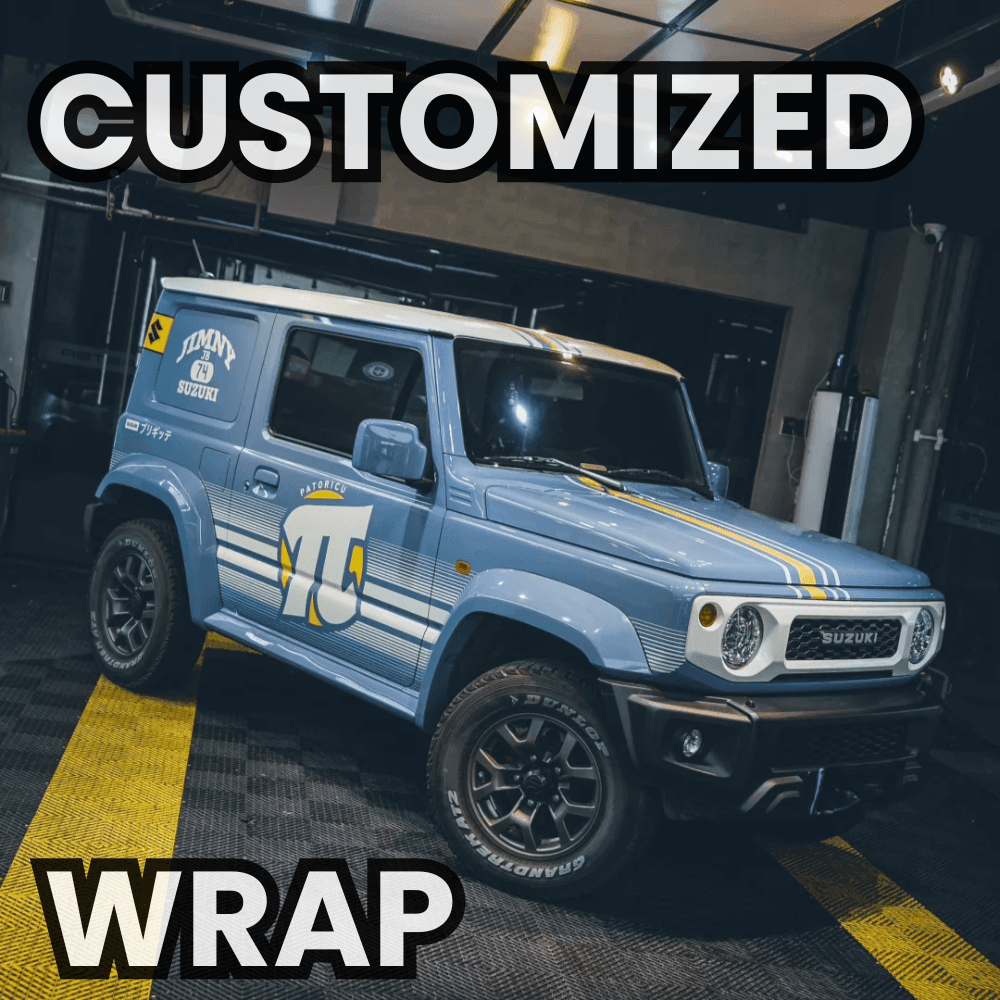
Thinking about wrapping your car at home? You are not alone. DIY car wrapping has become a popular way to save money and personalize your vehicle with a custom look. It is fun, cost-effective, and gives you full control over the final result.
But here is the truth. Wrapping a car is not just about choosing the right color or finish. It takes more than vinyl and creativity. Without the proper tools, even the most carefully chosen wrap can end up with bubbles, creases, or peeling edges. That is why preparation is everything.
In this article, you will learn about the essential tools you need to wrap your car like a pro. Whether you are aiming for a full-body transformation or a stylish accent, the right car wrapping kit will make the job easier, cleaner, and more professional from start to finish.
Tools Needed to Wrap a Car
Before you start applying vinyl to your vehicle, it is important to gather the right tools. Using the proper equipment from the beginning will help you avoid mistakes, save time, and achieve a professional finish. From surface preparation to final trimming, each tool plays a specific role in the wrapping process.
Here is a closer look at the essential tools you need to wrap a car effectively:
-
Heat Gun
-
Vinyl Cutter or Precision Knife
-
Squeegee with Felt Edge
-
Gloves (Lint-Free or Wrap Gloves)
-
Measuring Tape & Marking Tools
-
Magnetic Holders or Magnets
-
Infrared Thermometer
-
Surface Cleaner (Isopropyl Alcohol)
-
Wrap Tweezers or Pin Tools
Essential Tools in a Car Wrapping Kit
If you want a smooth, professional-looking vinyl wrap, you need more than just the wrap itself. Each tool in a car wrapping kit has a purpose. It helps you apply the vinyl evenly, remove bubbles, and ensure strong adhesion without damaging the car or the film. Let’s walk through the most essential tools you should include in your wrapping setup.
1. Heat Gun
A heat gun is critical for controlling the flexibility of vinyl wrap. As you apply vinyl over your car’s curves, corners, and edges, you need to stretch and mold the film to fit. The heat gun warms the vinyl to make it pliable and helps activate the adhesive. It also removes wrinkles and prevents the wrap from lifting. Most wraps respond best to temperatures between 140 and 180 degrees Fahrenheit. A heat gun ensures the vinyl bonds correctly, especially around door handles, fenders, and tight angles.
2. Vinyl Cutter or Precision Knife
You will need a precision cutting tool to trim excess vinyl along panel edges, around emblems, or near trim pieces. A sharp vinyl cutter allows you to make clean, accurate cuts without tearing the wrap. Avoid using dull blades because they can snag the vinyl or leave uneven lines. Precision matters when it comes to how your wrap looks up close.
3. Squeegee with Felt Edge
Once the vinyl is laid on the surface, use a squeegee to push out air and smooth it into place. Choose a plastic squeegee with a soft felt edge. This lets you apply pressure without scratching the film. It also helps the vinyl conform to both flat and curved areas, giving your wrap a tight, bubble-free finish.
4. Gloves (Lint-Free or Wrap Gloves)
Wearing wrap gloves improves your grip and protects the vinyl from smudges or oil from your hands. Quality gloves are made of soft cotton or microfiber, which allows you to smooth down the wrap without creating friction. They also help prevent electrostatic buildup, which can attract dust or make the wrap harder to manage during installation.
5. Measuring Tape and Marking Tools
You cannot start wrapping without knowing how much vinyl you need. Use a flexible magnetic measuring tape to calculate the area of each car panel, including curves. This will help you plan cuts and avoid wasting material. Marking tools, like wax pencils or edge-safe tape, help you keep your layout clean and accurate while installing.
6. Magnetic Holders or Magnets
Magnets serve as a third hand when you’re working solo. They hold vinyl in place while you adjust it before installation. This is especially useful for large panels like doors or hoods. You can also use magnets to line up designs and create a guide for precise positioning.
7. Infrared Thermometer (Optional but Recommended)
Even if you have a heat gun, you will not know if the vinyl is reaching the correct temperature without a thermometer. An infrared thermometer gives you instant surface readings. This ensures you’re not overheating or underheating, both of which can affect how well the vinyl bonds and stretches. It is a helpful tool for avoiding errors in the final steps.
8. Surface Cleaner (Isopropyl Alcohol)
A clean surface is essential before applying any vinyl. Isopropyl alcohol removes oils, dirt, road grime, and wax that can weaken adhesion. Skipping this step can lead to peeling or bubbles down the road. Use a lint-free cloth and wipe down every panel thoroughly before applying any wrap.
9. Wrap Tweezers or Pin Tools
Tiny air bubbles and specs of dust can show up even if you do everything right. Tweezers and pin tools allow you to lift, fix, or pop bubbles without damaging the vinyl. These tools are especially handy when working on detailed areas or intricate designs. Use them carefully to preserve the integrity of your wrap.
Tips for First-Time DIY Car Wrappers
If you're wrapping a car for the first time, the process can feel overwhelming. The good news is that with the right approach and preparation, you can achieve great results even as a beginner. Here are some helpful tips to guide you through your first vinyl wrap project.
Start with Flat Panels
Begin with simple, flat areas like the hood, roof, or trunk. These surfaces are easier to wrap and help you build confidence with the material. Avoid bumpers and curved sections until you’ve had some practice. Wrapping flat panels gives you a feel for how the vinyl stretches, adheres, and reacts to heat.
Choose a Clean, Indoor Workspace
Dust and debris are your biggest enemies during installation. Set up your workspace indoors, preferably in a garage with minimal airflow. Even a small amount of dust can get trapped under the vinyl and ruin the finish. A controlled environment will make your work cleaner and easier.
Clean and Prep Thoroughly
Always clean the entire surface before applying any vinyl. Use isopropyl alcohol and a lint-free cloth to remove grease, wax, and dirt. Pay special attention to edges, crevices, and door jambs where grime can hide. Skipping this step may result in poor adhesion or bubbles under the wrap.
Use Bright Lighting
Proper lighting is crucial during the wrapping process. Bright, even lighting helps you see every bubble, crease, or piece of dust before it becomes a problem. Overhead lights, portable work lights, or natural daylight can make a big difference in how smoothly the job goes.
Get What You Need to Wrap Your Car at Yeswrap
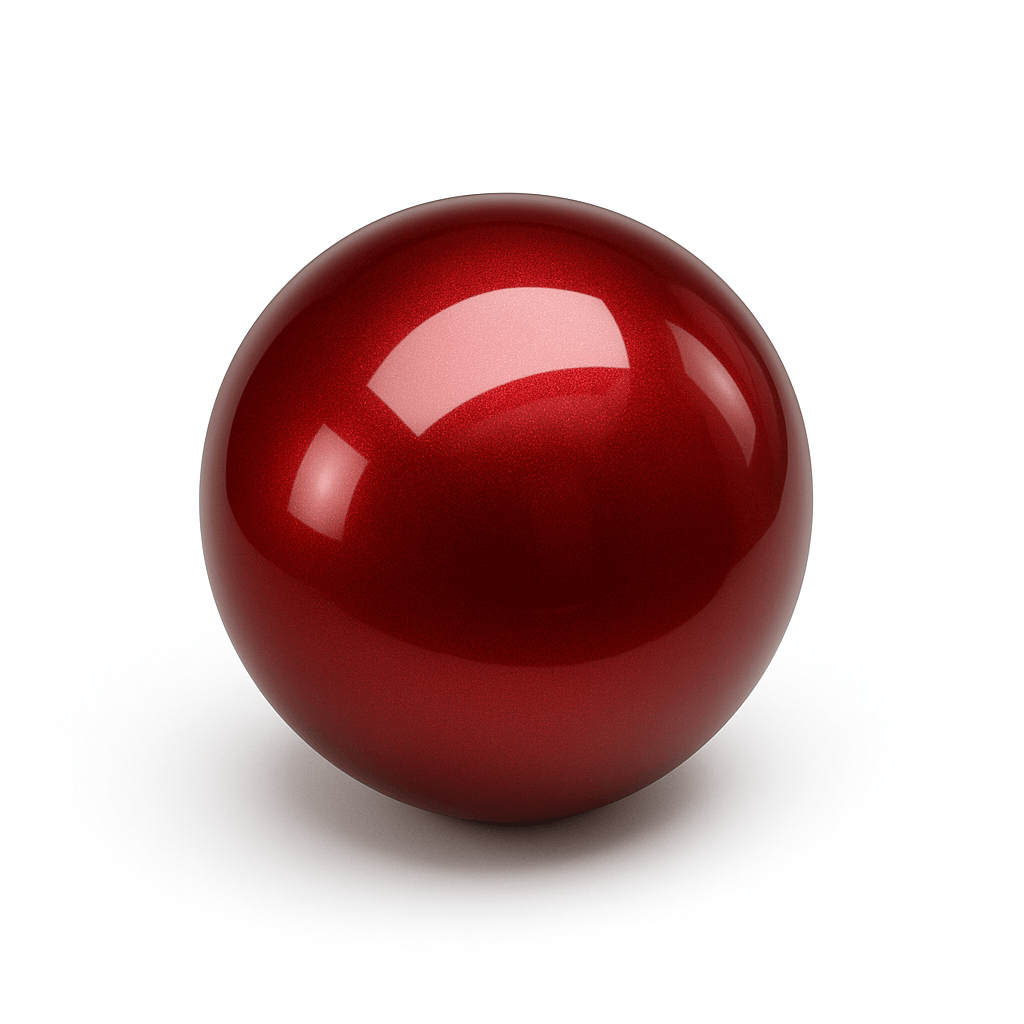
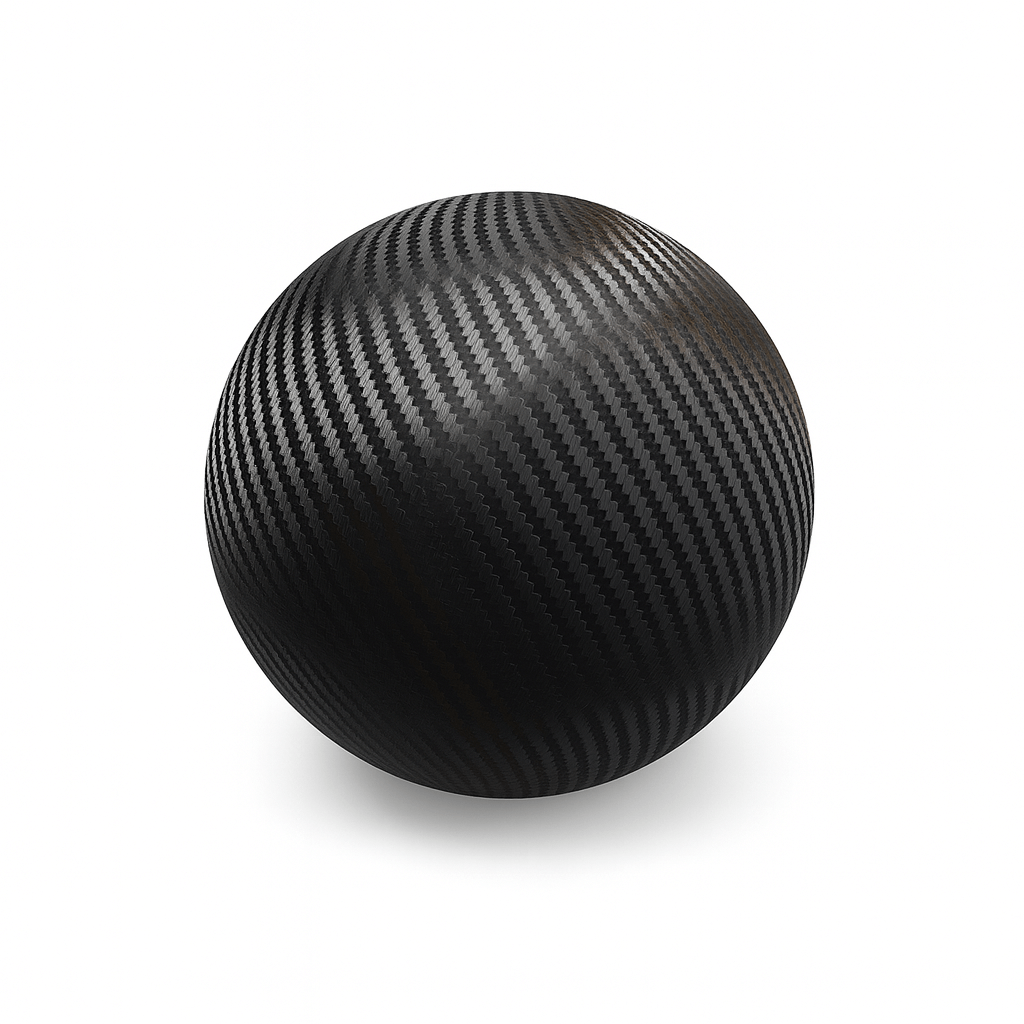
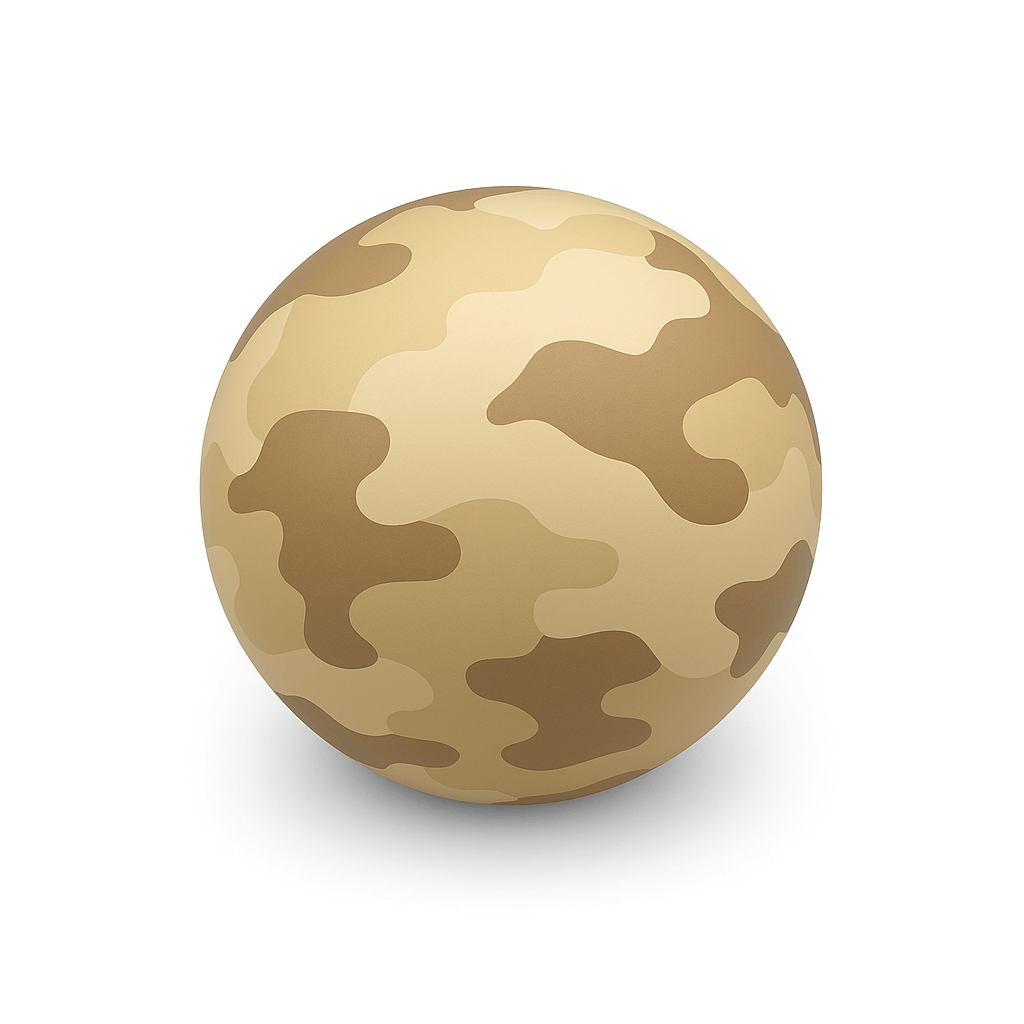
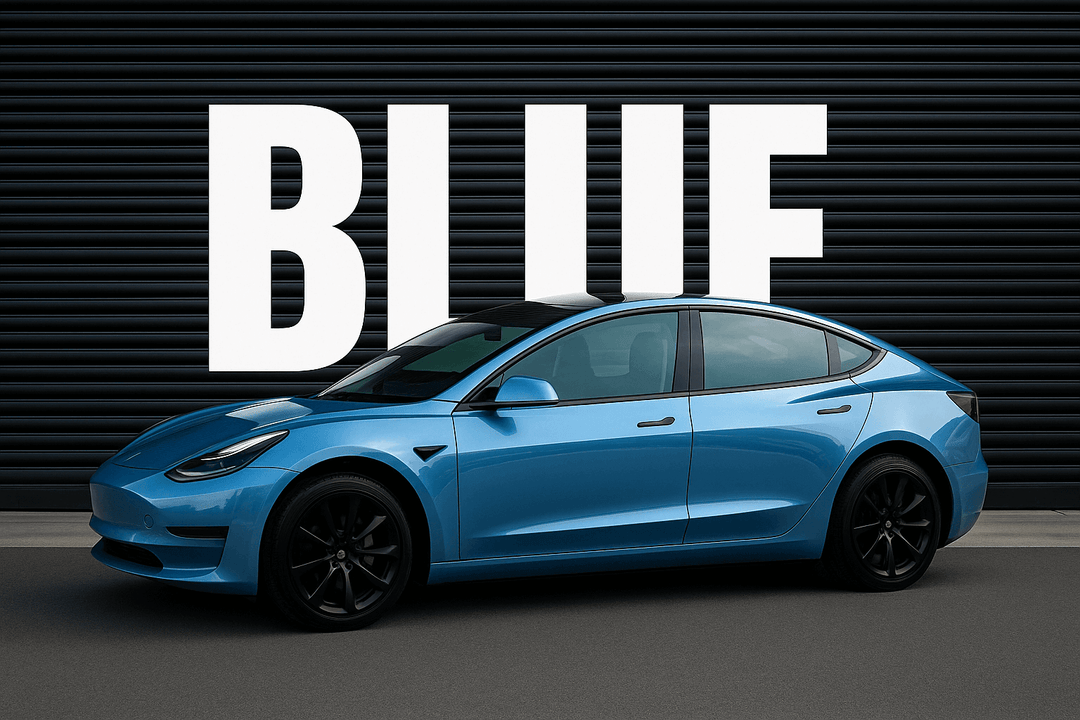
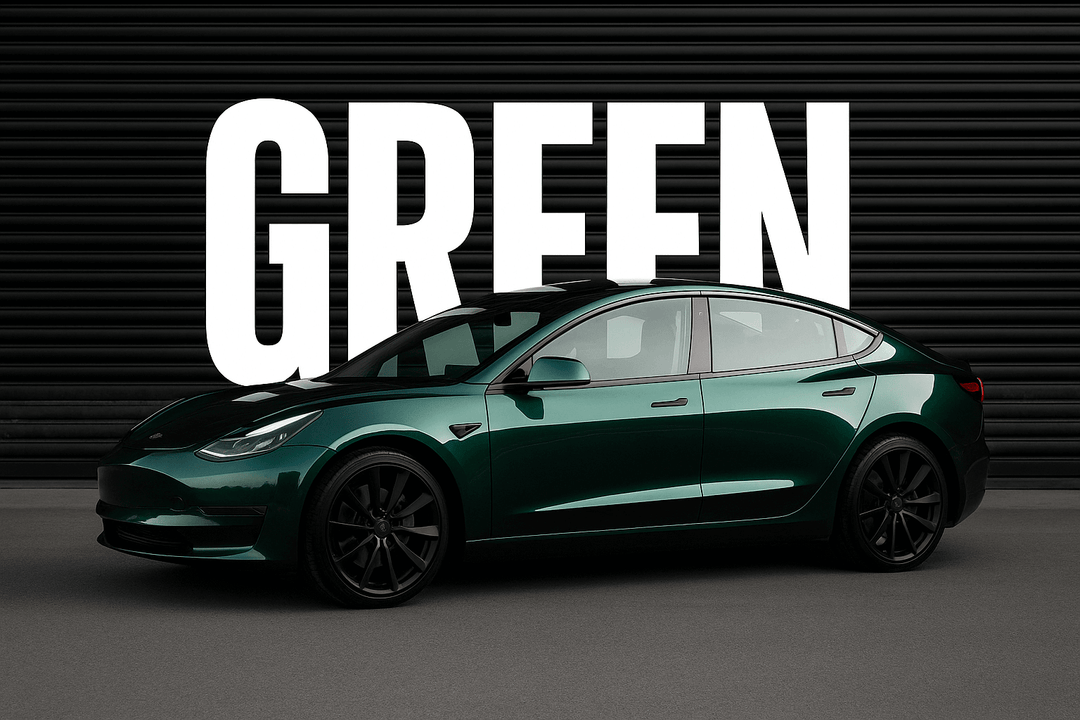
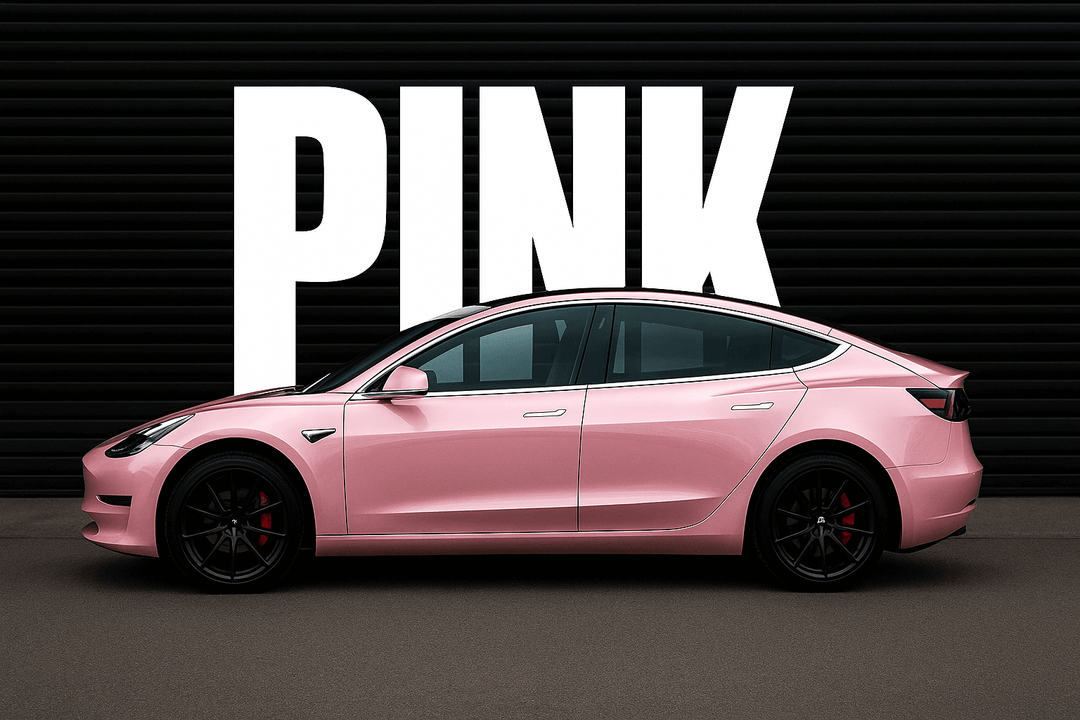
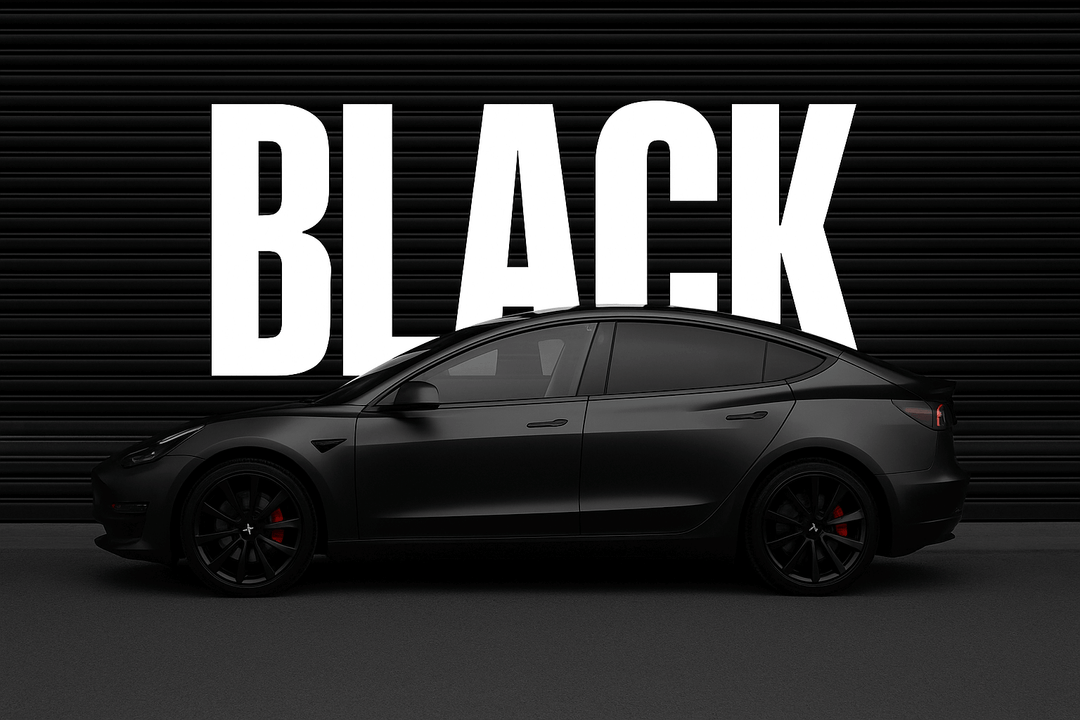
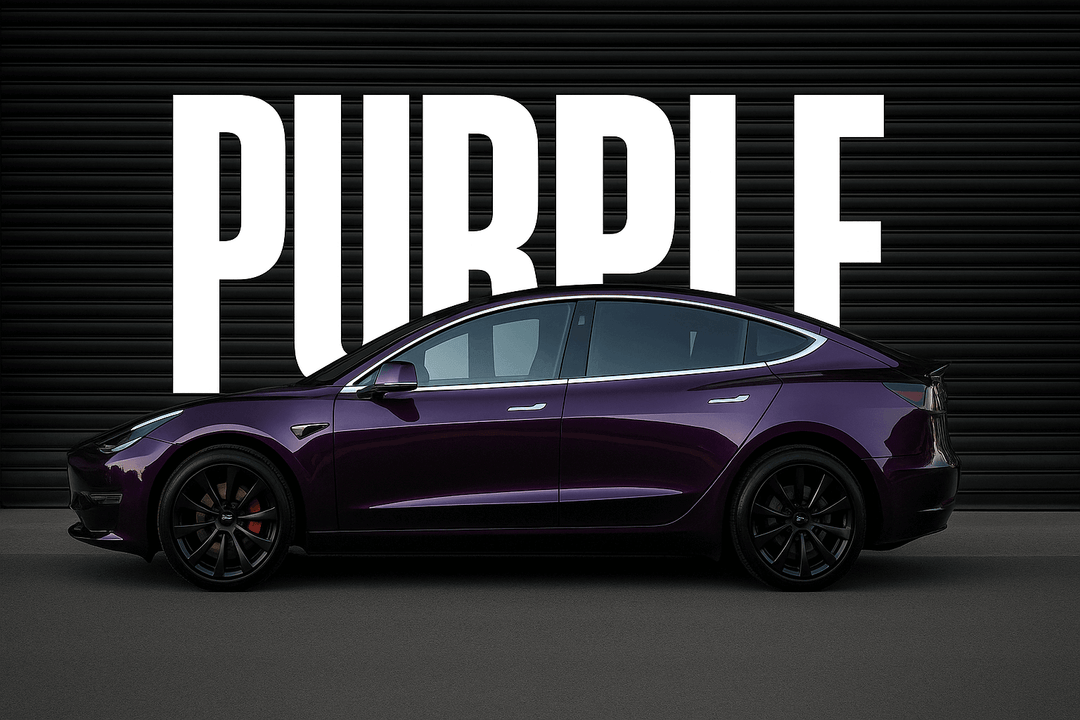
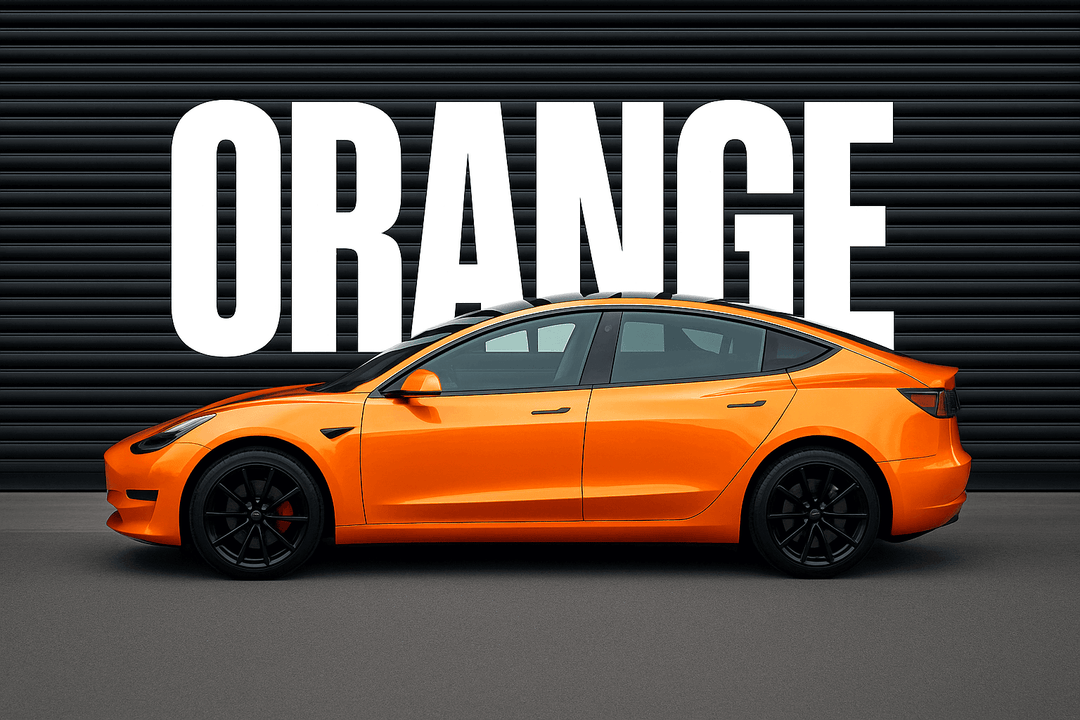
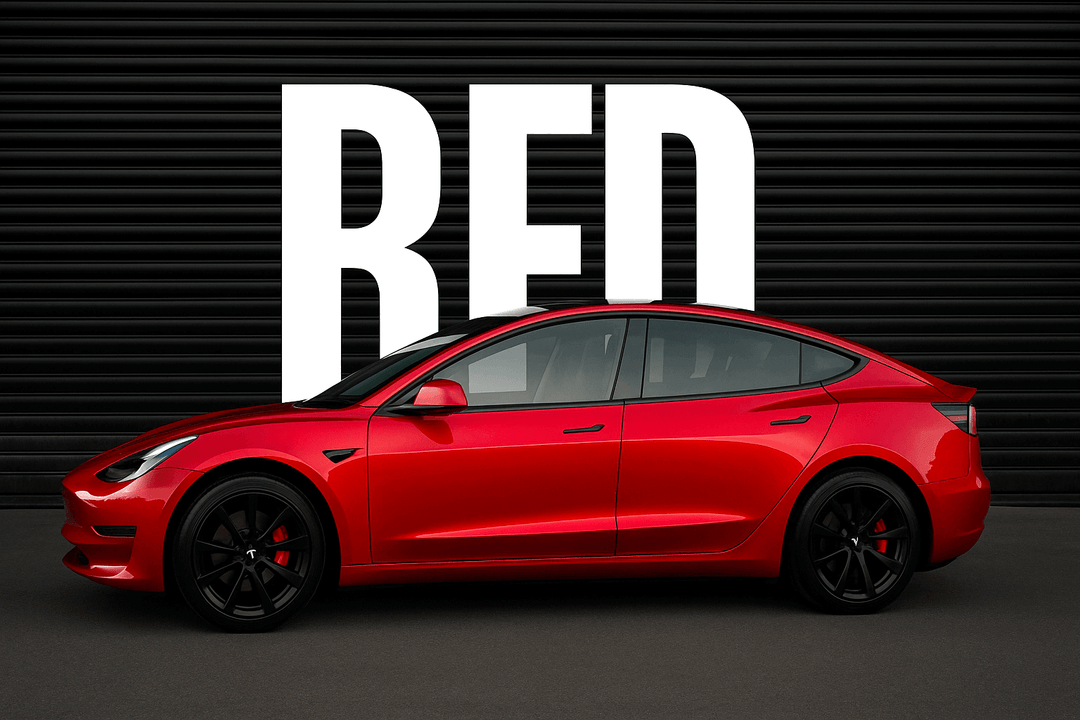
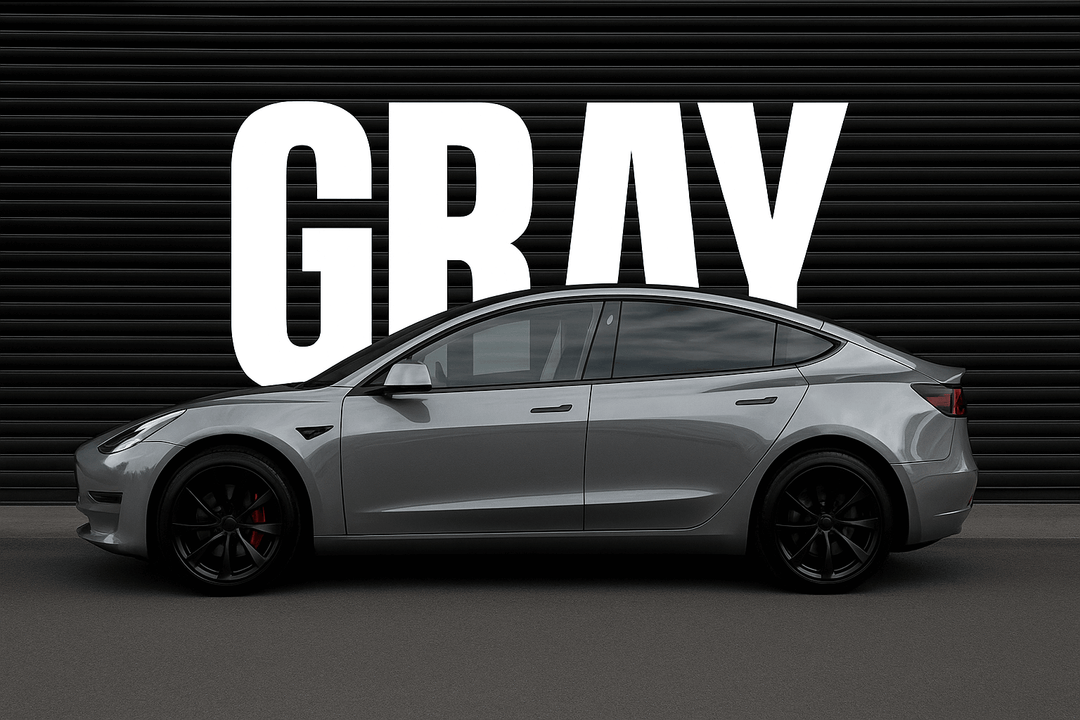
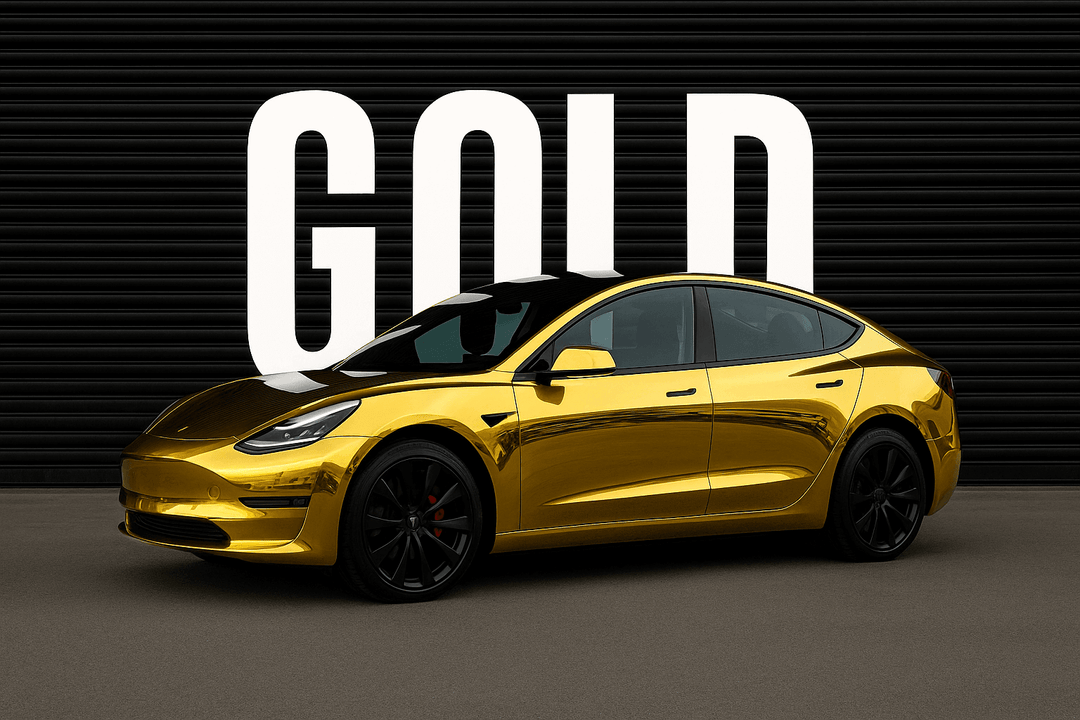
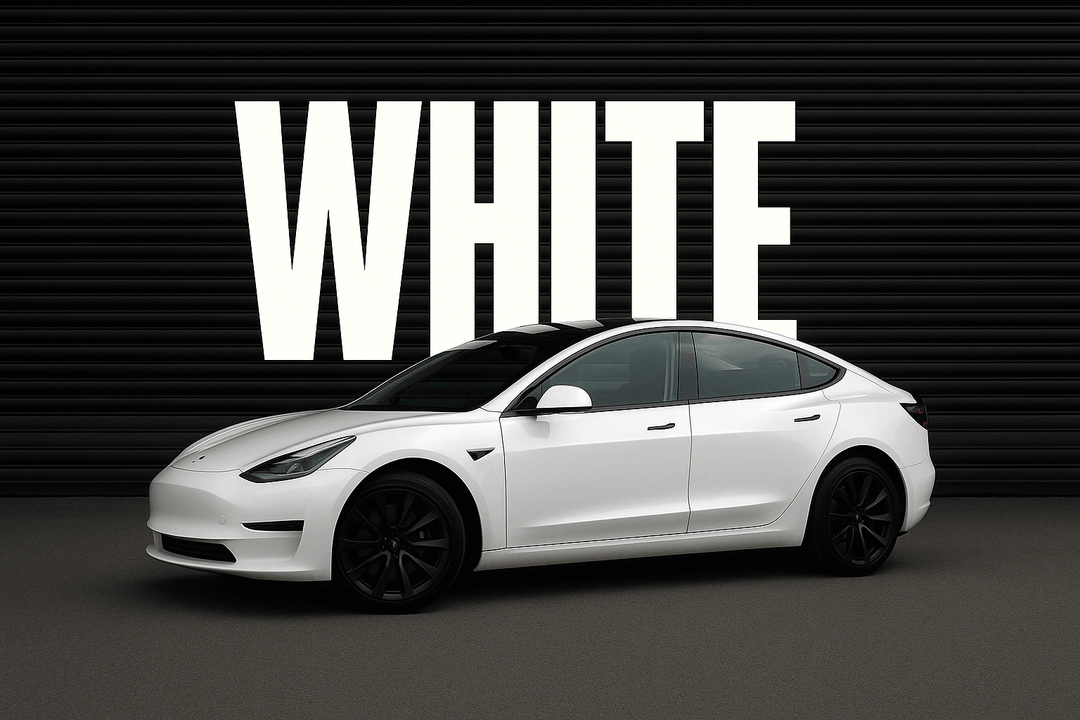
At YesWrap, we offer a complete range of vinyl wrap options in hundreds of colors and finishes from sleek matte black to bold chrome or color-shifting designs. Whether you are going for a subtle refresh or a head-turning transformation, we have the perfect film for your style.
But we do more than just vinyl. Our collection of car wrapping tools includes everything you need to get the job done right. From heat guns and squeegees to precision blades and cleaning supplies, our kits are built for both beginners and experienced DIY enthusiasts. Every tool is carefully selected to make your installation smoother and your results more professional.
Stop wasting time comparing incomplete lists and questionable products. Shop with confidence at YesWrap, your one-stop destination for quality materials and expert-approved tools.
Explore YesWrap’s complete car wrapping kits and vinyl wraps to start your DIY project today!
Related Resource