Vehicle Bumper Vinyl Wrapping
Give Your Vehicle a Fresh Look with Bumper Wraps
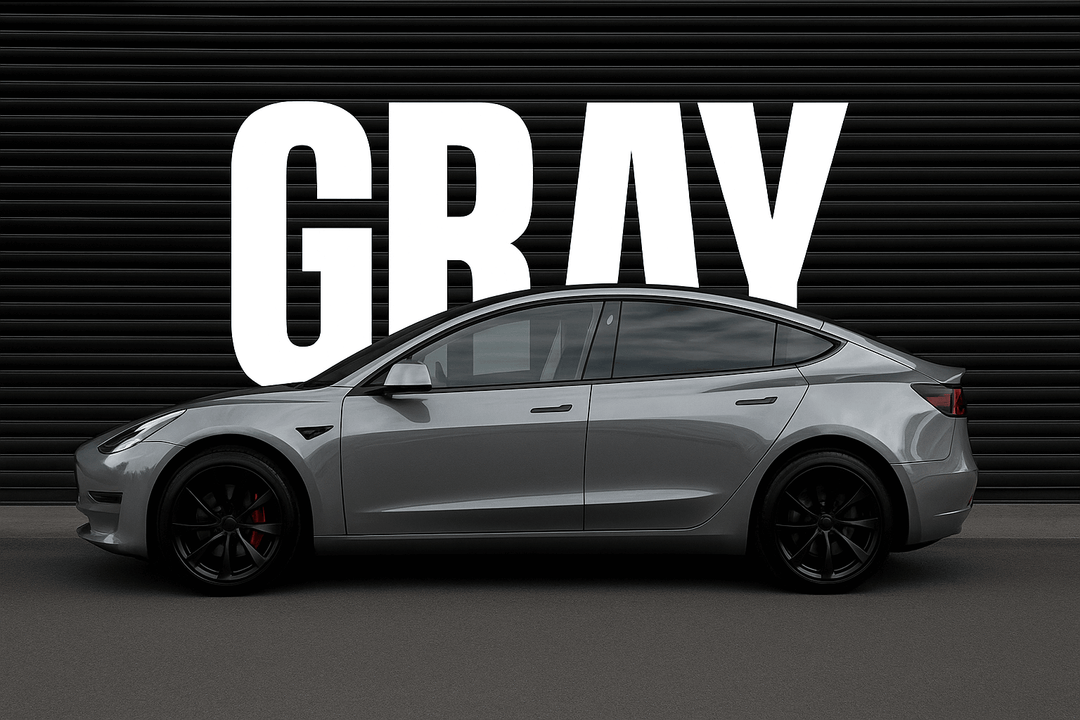
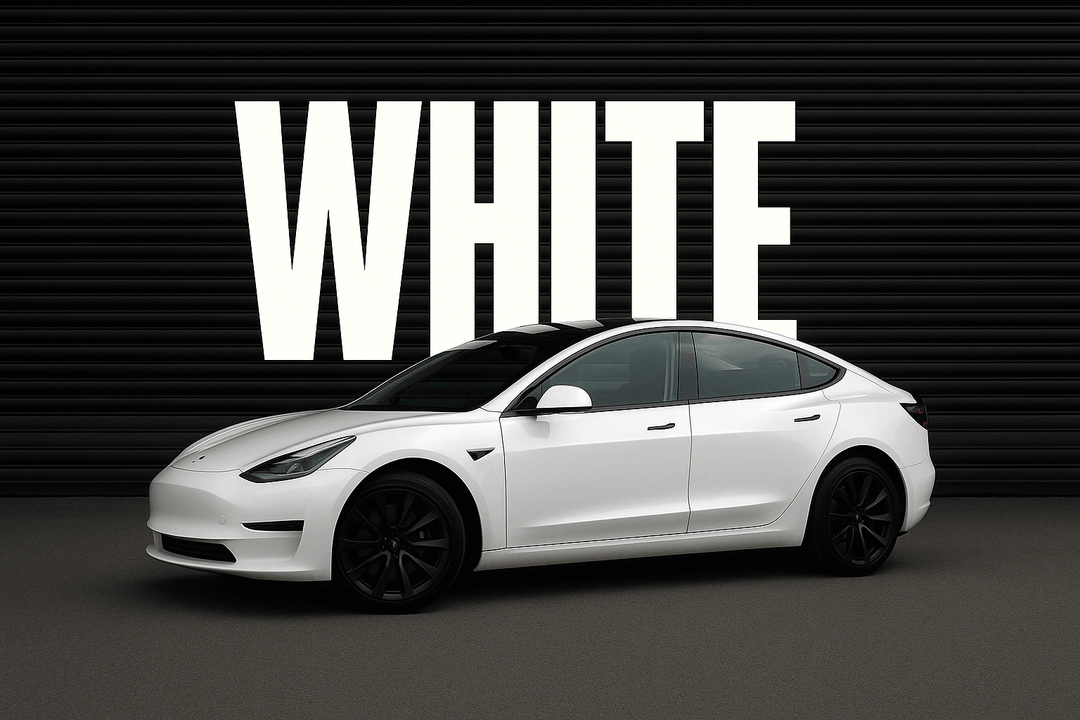
Transform your vehicle's appearance with a stylish bumper wrap. By covering your bumpers in high-quality, vibrant vinyl, you can make your car stand out and grab attention on the road.
For those looking to customize their vehicle on a small budget, bumper wraps are the ideal solution. They are simple to apply, remove, and replace, allowing you to update your car's look as often as you like. In this article, we'll explore the many benefits of bumper vinyl wraps and help you understand everything you need to know about bumper vinyl wraps and how they can elevate your vehicle's appearance.
What Is A Bumper Wrap?
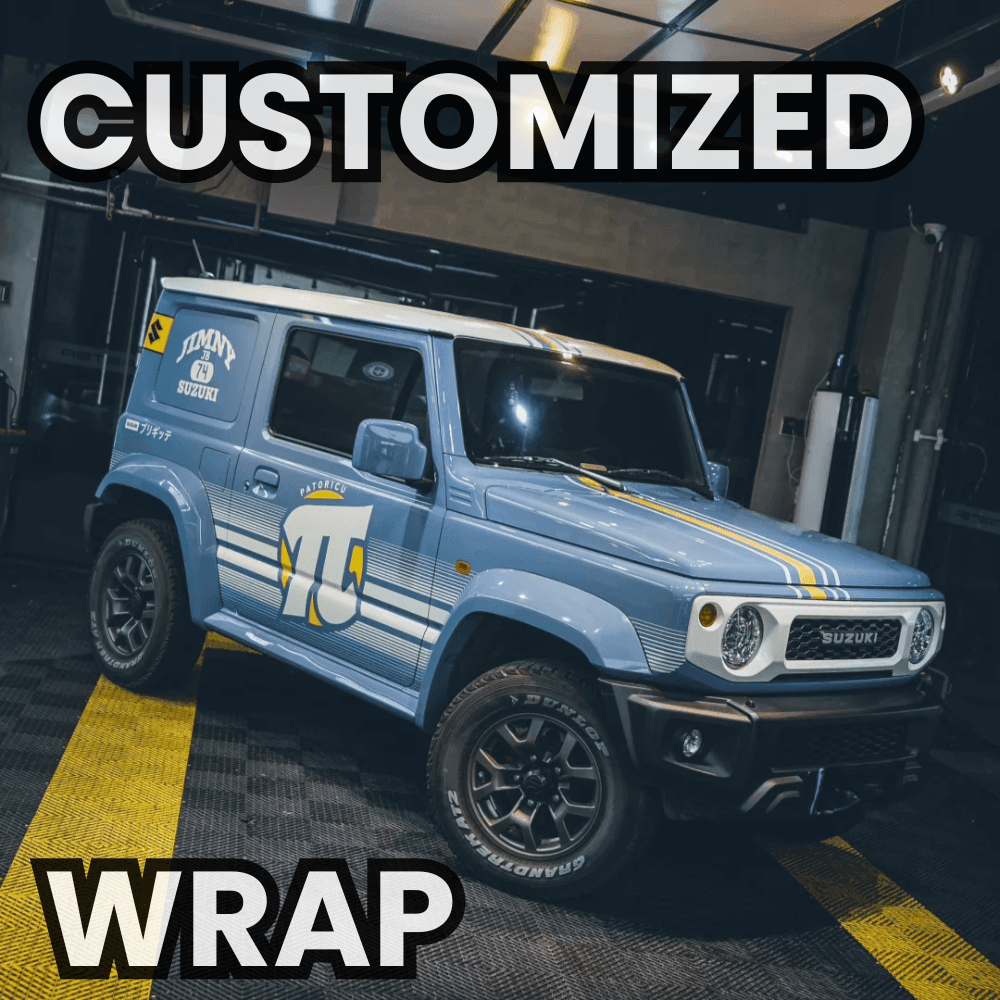
A bumper wrap is a vinyl film with adhesive backing, crafted to fit and stick to the exterior of a car’s bumper. The vinyl bumper wrap comes in a variety of colors and textures, offering a wide range of choices. Additionally, it can be personalized with unique patterns or text by utilizing printable vinyl, enabling you to customize your vehicle's look extensively. The main functions of a bumper wrap are to enhance the vehicle's aesthetics and provide a layer of protection to the bumper.
How To Wrap the Bumper?
Installing a bumper wrap is relatively straightforward. By following our detailed guide, you can achieve a professional-quality bumper wrap on your own.
Application Tools and Materials Needed
- Vinyl wrap of your choice
- Squeegee or applicator tool
- Heat gun or hairdryer
- Utility knife or cutting blade
- Surface cleaner (isopropyl alcohol recommended)
- Microfiber cloth
- Masking tape
- Measuring tape or ruler
Step 1: Preparation
Start by thoroughly cleaning the bumper to remove any dirt, oil, and contaminants. Use a surface cleaner like isopropyl alcohol and a microfiber cloth to ensure the surface is completely clean and dry. Any remaining debris can cause imperfections in the wrap and affect its adhesion.
Step 2: Measuring and Cutting
Measure the dimensions of your bumper to determine the size of the vinyl wrap needed. Add a few extra inches to your measurements to account for any adjustments and trimming. Cut the vinyl wrap accordingly, ensuring you have enough material to cover the entire bumper, including its curves and edges.
Step 3: Positioning the Wrap
Carefully position the vinyl wrap over the bumper, aligning it to ensure full coverage. Use masking tape to hold the wrap in place temporarily if needed. Begin applying the wrap from the center of the bumper, working your way outwards to avoid bubbles and wrinkles. It's helpful to have a second person assist you with this step to keep the wrap taut and properly aligned.
Step 4: Applying the Wrap
Start in the center and use a squeegee or applicator tool to smooth the wrap onto the surface. Work slowly and methodically, applying even pressure to push out any air bubbles and ensure the wrap adheres firmly to the bumper. Use the heat gun or hairdryer to soften the vinyl, making it more pliable and easier to conform to the bumper's curves and contours.
Step 5: Handling Curves and Edges
The bumper often has complex shapes and curves that can be challenging to wrap. Use the heat gun to carefully warm the vinyl, making it more flexible and easier to stretch over these areas. Pull and stretch the wrap gently, using the squeegee to press it into place. Take your time to ensure a smooth, bubble-free application.
Step 6: Trimming and Securing
Once the wrap is fully applied, use a utility knife or cutting blade to trim away any excess material. Be precise and careful to avoid cutting too close to the bumper's surface. Pay special attention to edges and seams, ensuring the wrap is securely tucked and sealed. Use the heat gun to lightly warm these areas, pressing down with the squeegee to reinforce the adhesion.
Step 7: Finishing Touches
Inspect the wrapped bumper for any remaining bubbles or imperfections. If you find small bubbles, use the heat gun to gently warm the area and press them out with the squeegee. For larger bubbles, lift up the film and reattach it.
Step 8: Post-Installation Care
Let the wrap cure for at least 24 hours before washing your vehicle or exposing it to extreme conditions. This curing time ensures the adhesive properly bonds to the bumper. After this initial period, maintain your wrapped bumper by regularly cleaning it with mild soap and water, and avoid using harsh chemicals or abrasive materials.
Tips for a Successful DIY Bumper Wrap
- Work in a clean, well-lit area to ensure you can see and address any imperfections as you go.
- Take your time and be patient. Rushing the process can lead to mistakes and a less-than-perfect finish.
- If you're new to vinyl wrapping, consider practicing on a smaller, less visible area of your car before tackling the bumper.
The Cost of Bumper Wrapping
The cost of bumper vinyl wraps can vary significantly depending on several factors, including the type of vinyl, the complexity of the installation, and whether you opt for a DIY approach or professional service.
Generally, professional installation for a bumper wrap can range from $300 to $600, including the cost of the vinyl wrap. If you decide to wrap the bumper yourself, you will save on labor costs. The main expenses will be the vinyl wrap material and any necessary tools (squeegee, heat gun, utility knife, etc.). DIY kits, which include the wrap and basic tools, can cost between $100 and $200, depending on the type and quality of the vinyl.
To learn how much vinyl to wrap a bumper.
Is It Cheaper To Wrap Or Paint A Bumper?
Professional bumper painting typically costs between $400 and $700, depending on the quality of the paint and the complexity of the job. High-end custom paint jobs can exceed $1,000.
Therefore, wrapping your bumper is generally cheaper compared to painting. Vinyl wraps are an affordable way to customize and protect your vehicle, with the added benefit of easy removal and replacement. While painting is a more permanent solution and can last longer with proper care, it comes with higher costs and more intensive maintenance requirements.
Can Vinyl Wrap A Plastic Bumpers?
Yes, you can vinyl wrap plastic bumpers, but there are some factors you need to know:
High-quality vinyl tends to adhere well to metal surfaces and can last for years, but it may not stick as effectively and long-term to plastic bumpers. The adhesive works best on metal, and the unique curvature and shape of plastic bumpers may require applying the vinyl in sections rather than as a single piece.
Be aware that a vinyl wrap on a plastic bumper may not endure as long as it does on the metal parts of your vehicle. It will face more wear and tear from road abrasions and impacts with curbs, potentially reducing its lifespan.
Depending on your location, driving habits, and exposure to damage, you might need to replace the vinyl wrap on the plastic bumper much sooner than the wrap on the rest of your vehicle.
If you’re inexperienced with wrapping and attempting it for the first time, it’s best to seek help from a professional auto body vinyl installer rather than trying to wrap the plastic bumper yourself.
How Long Do Bumper Wraps Last?
The lifespan of a bumper wrap can vary based on several factors, such as the quality of the vinyl, the environmental conditions the vehicle faces, and the level of maintenance it receives. Generally, a well-maintained bumper wrap can last between 3 to 5 years.
Factors Affecting Bumper Wrap Service Life
Prolonged exposure to direct sunlight can cause the vinyl to fade or discolor over time.
Extreme weather conditions, such as heavy rain, snow, or high temperatures, can affect the longevity of the wrap. While Yeswrap's vinyl wraps are designed to be weather-resistant, frequent exposure to harsh conditions can accelerate wear and tear.
Rocks, gravel, and other debris can chip or scratch the wrap, especially if the bumper is frequently exposed to rough or unpaved roads.
Properly Maintenance and Care To Increase Bumper Wrap Longevity
Keep Your Vehicle and Bumpers Clean: Regularly hand wash your car or truck using soap, water, and a microfiber cloth. Opt for non-abrasive cleaners to prevent damage.
Keep the Bumper Wrap Dry: After washing, gently pat the bumper wrap dry with a soft microfiber towel to avoid water spots or streaks. Address any contaminants on the bumper promptly with spot cleaning.
Store Your Vehicle Properly: To protect your vinyl bumper wrap, store your vehicle in a garage or covered area. If neither is available, use a dust-proof car cover to shield the bumper from rain, UV rays, and debris.
Inspect Your Bumper Wrap Regularly: Routinely check for signs of damage, lifting, or peeling on the bumper wrap. Promptly address any issues to prevent further deterioration.
Why Should You Wrap Your Bumper?
There are many benefits of wrapping your vehicle’s bumper:
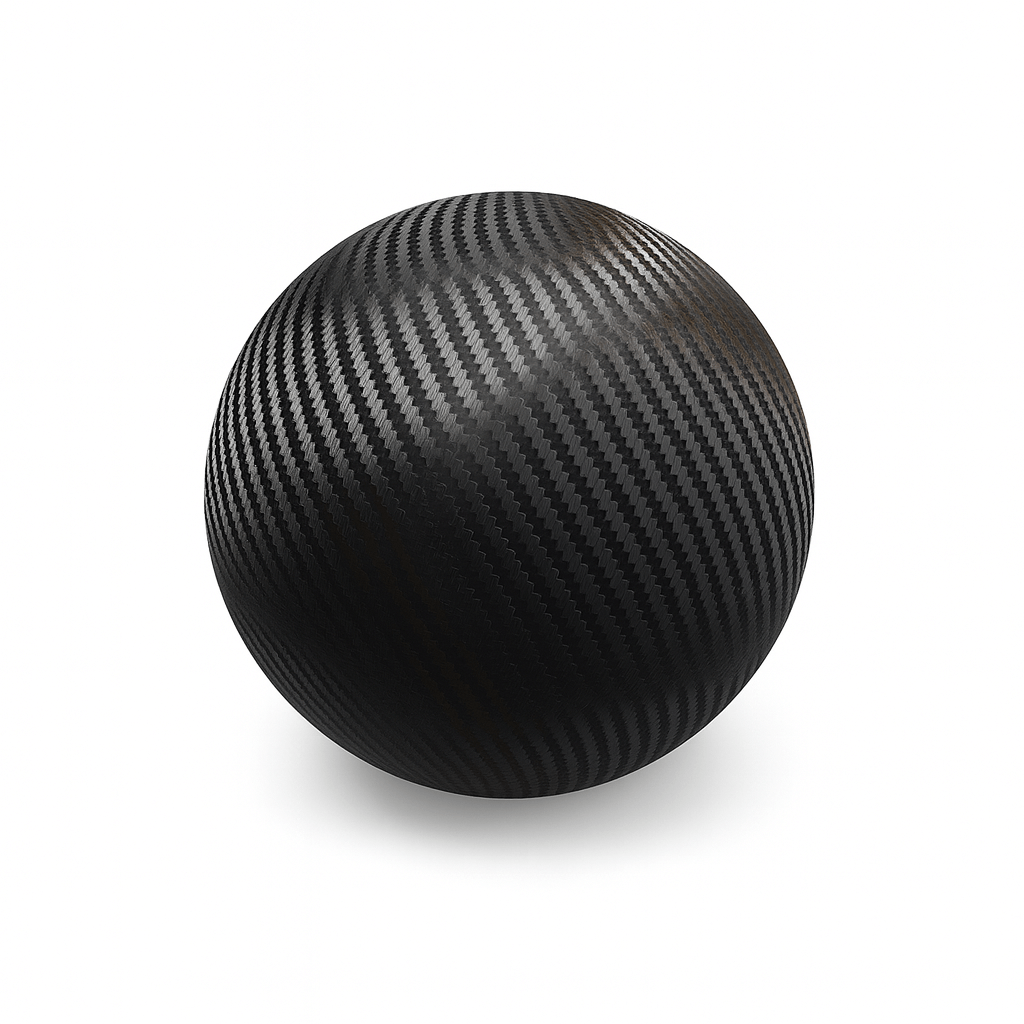
Versatile Customization: With a vast range of colors, finishes (gloss, matte, satin), and textures (carbon fiber, brushed metal), you can achieve a unique look that suits your personal style. Whether you want a sleek, modern appearance or a bold, eye-catching design, vinyl wraps can provide the visual transformation you’re seeking.
Enhanced Protection: Bumpers are particularly susceptible to damage. A vinyl wrap acts as a protective barrier, shielding the bumper’s paint from minor scratches, abrasions, and impacts from road debris, parking lot incidents, and environmental elements.
Affordable Choice: Applying a bumper wrap is a budget-friendly alternative to repainting. It allows you to refresh your vehicle’s appearance without the high cost and permanence of traditional paint jobs.
Simple Installation and Removal: Bumper wraps are relatively easy to apply. For first-time installers, professional assistance is advisable. Additionally, they can be removed or replaced with ease, giving you the flexibility to update your vehicle's look whenever you wish.
Chrome Vinyl Film For Bumper Wrapping
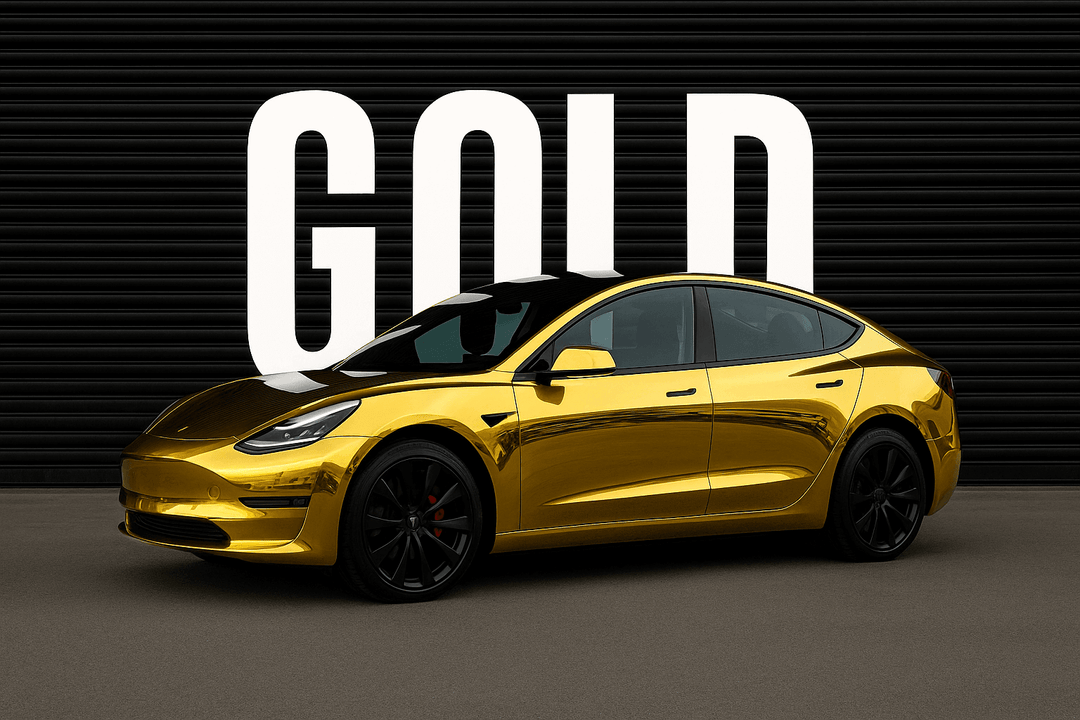
If you're aiming to infuse your vehicle with a dynamic, sporty flair, consider using a chrome vinyl wrap for your bumpers. This exceptional vinyl delivers a gleaming, mirror-like finish that emulates the elegance of chrome plating, elevating your vehicle's appearance to a new level.
Chrome bumper wraps provide unmatched visual appeal, adding a touch of sophistication to any make or model. The smooth, reflective surface captures light beautifully, creating stunning visual effects that attract attention wherever you drive.
At Yeswrap, we offer Mirror Chrome vinyl in striking gold and silver shades. For a dramatic play of colors with a classical effect, explore our black Chrome vinyl wrap.
Looking For Bumper Wraps Nearby?
For top-quality bumper wraps, visit Yeswrap – your ultimate online destination for car customization. We offer a wide selection of wraps in various colors and finishes to suit your preferences.
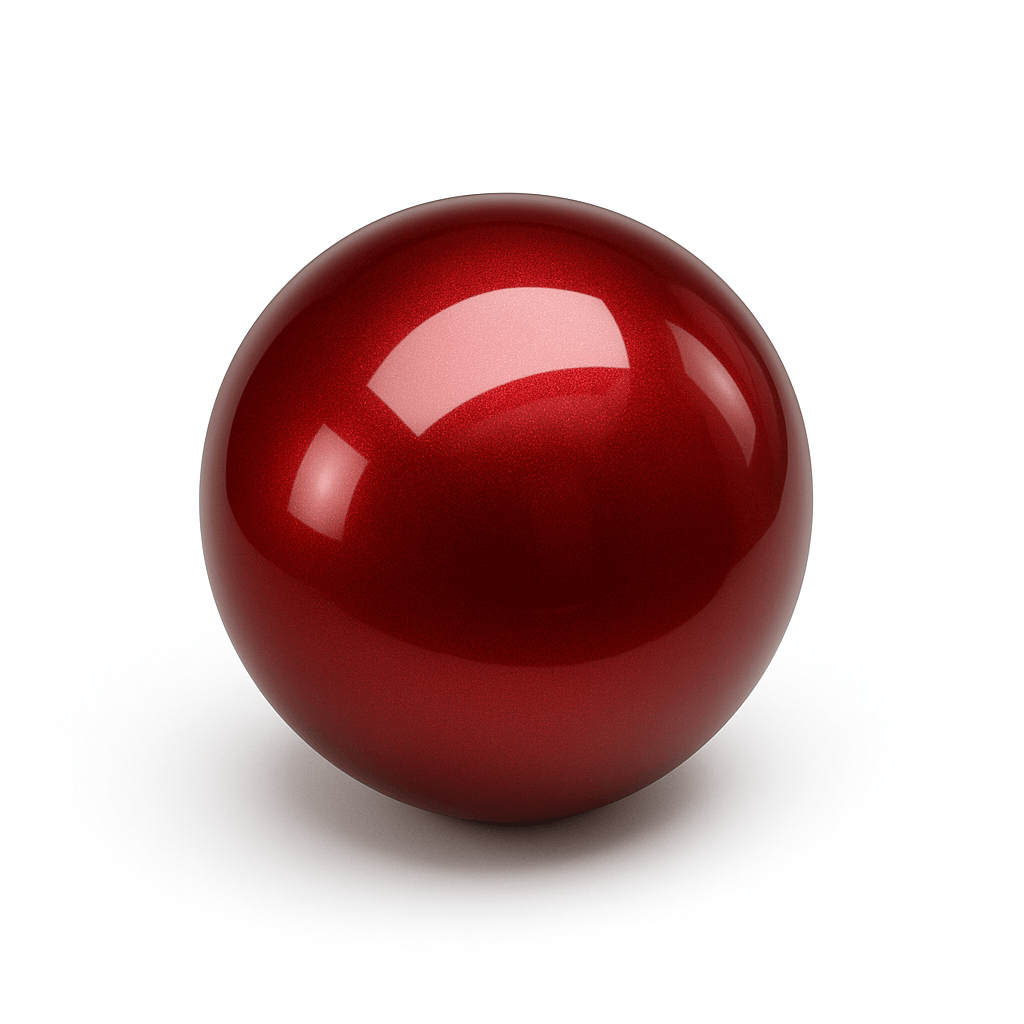
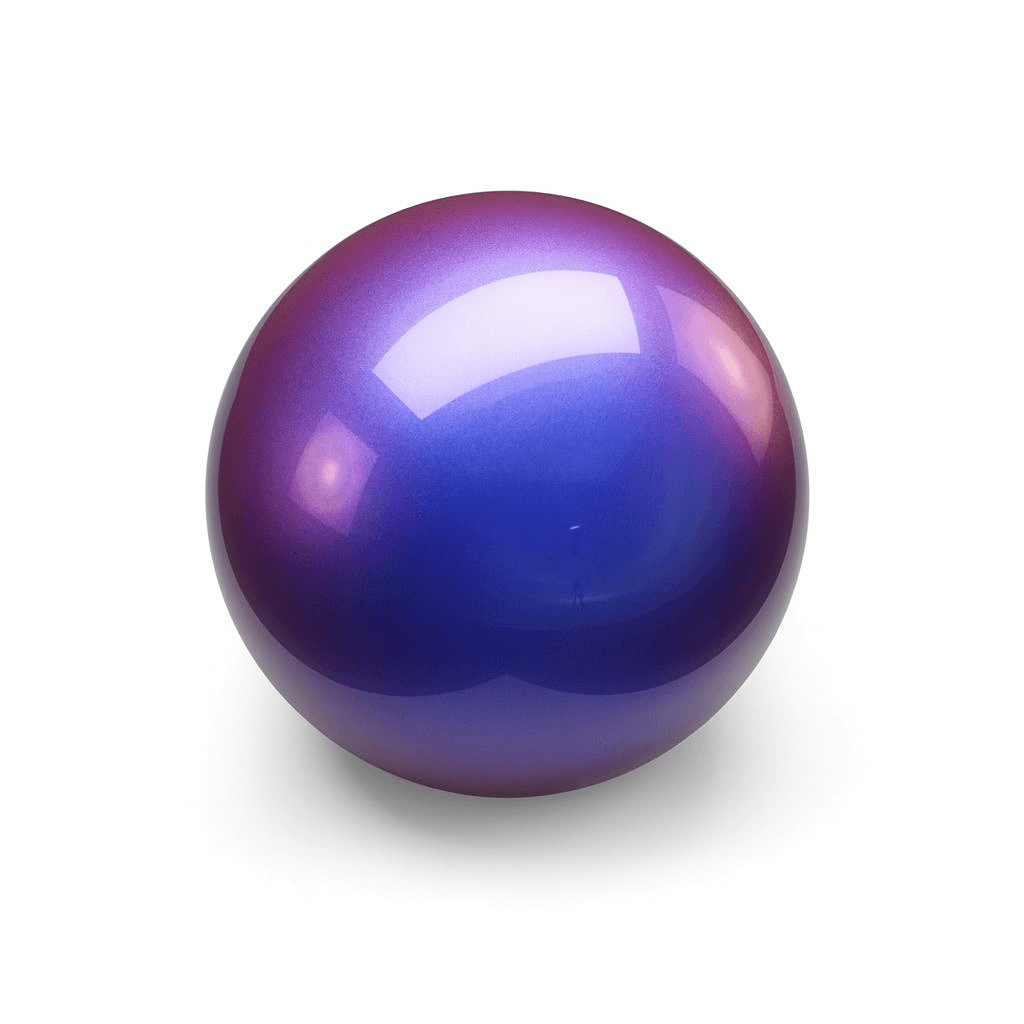
Choose from an array of options, including glossy, metallic, matte, chameleon, chrome, and carbon fiber finishes. With many shades available, you can find the perfect match for your vehicle.
Our website is designed for ease of use, allowing you to browse by categories or colors. To help you make an informed decision, you can order color swatches to see how a particular shade will look on your bumper before finalizing your purchase.
FAQs About Bumper Vinyl Wraps
Can a vinyl wrap be removed and replaced?
Yes, vinyl wraps can be removed and replaced. Unlike paint, which is a permanent change, vinyl wraps are designed to be removable without damaging the underlying surface. If you wish to change the look of your bumper or need to address any damage, the wrap can be carefully peeled off and replaced with a new one. Professional installation ensures the wrap can be removed cleanly and efficiently.
Can I install a bumper wrap myself?
Yes, you can install a bumper wrap yourself, provided you have the necessary tools and skills. DIY installation involves measuring, cutting, heating, and applying the vinyl. While it can be cost-effective, it requires patience and precision to achieve a professional-looking result. If you’re unsure about the process or want a flawless finish, professional installation is recommended.
Will a bumper wrap protect against scratches and dents?
A bumper wrap provides a layer of protection against minor scratches, chips, and fading, but it is not completely impervious to damage. It can help shield the bumper from everyday wear and tear and environmental factors, but significant impacts or abrasive conditions may still cause damage to the wrap. Regular maintenance and prompt repair of any issues can help maintain the wrap’s protective benefits.
Can a bumper vinyl wrap be repaired if it gets damaged?
Yes, a bumper vinyl wrap can be repaired if it gets damaged. Minor issues such as small scratches, chips, or lifting can often be fixed with a vinyl repair kit or by applying heat to smooth out the affected areas. For more significant damage, like large tears or extensive peeling, it may be necessary to replace the damaged section of the wrap. Professional assistance is recommended for major repairs to ensure a seamless and high-quality fix. Regular maintenance and prompt attention to any damage can help prolong the life of the wrap and keep your bumper looking its best.


