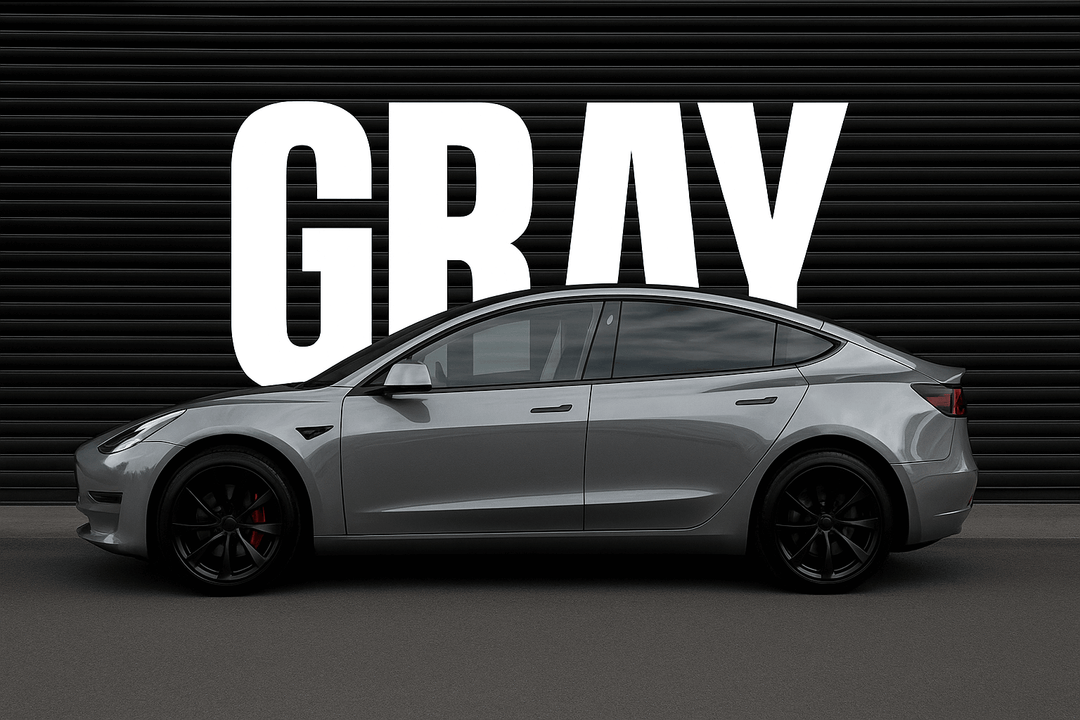
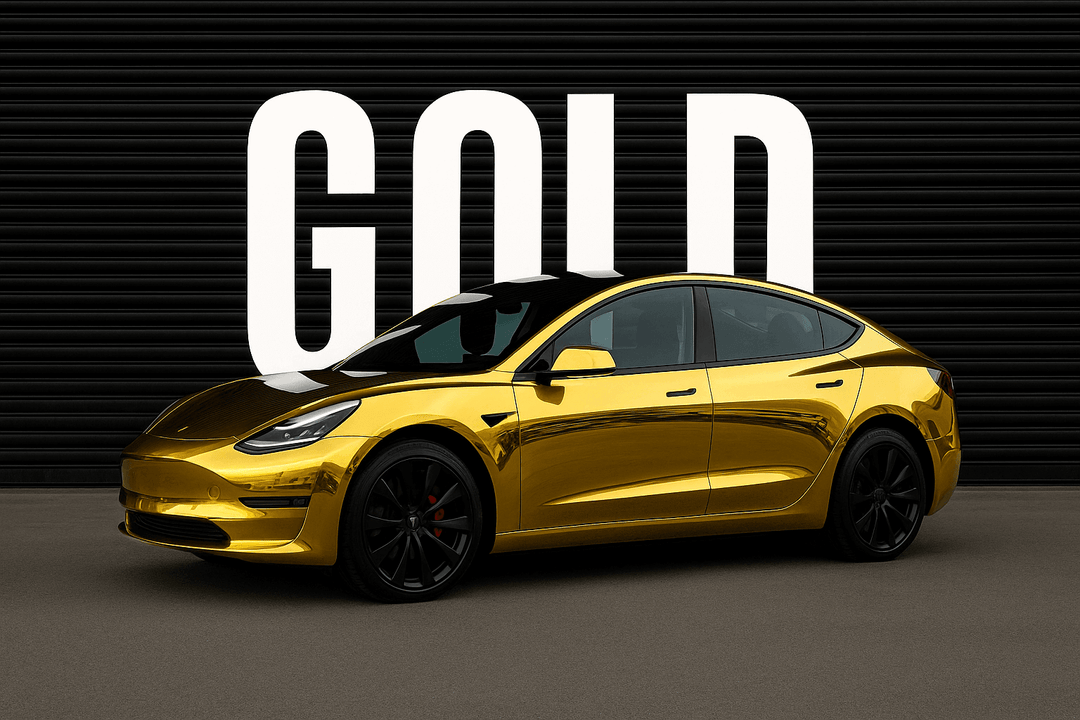
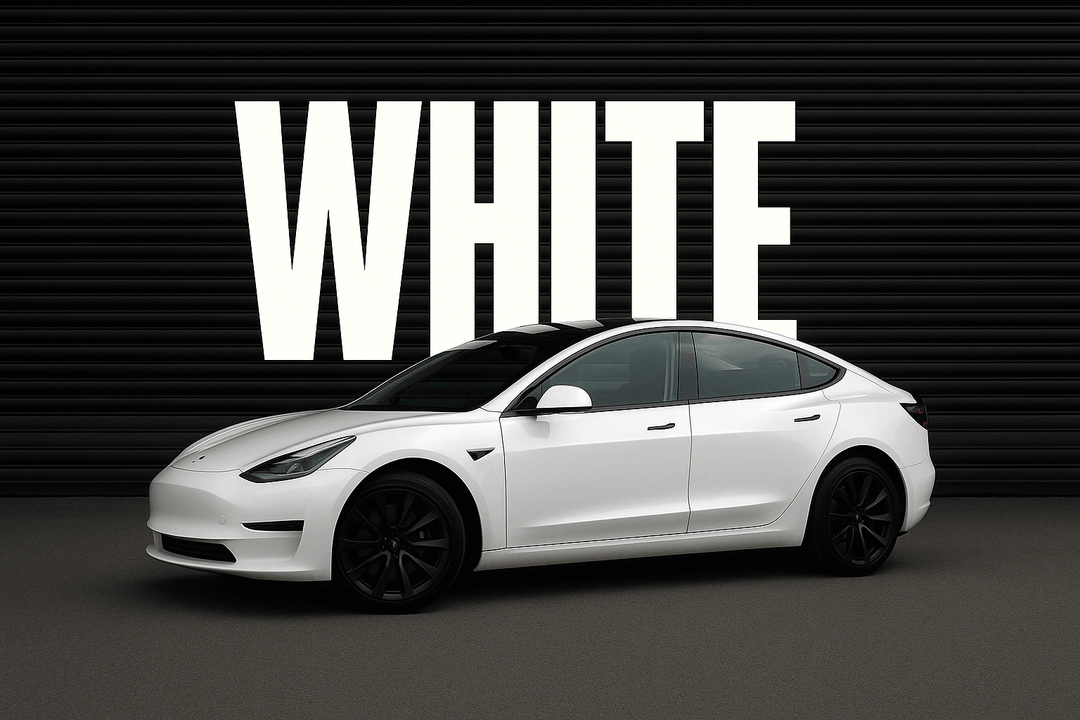
Split Car Wraps
Have you ever been captivated by a two-tone color car on the road, its striking color combination compelling you to take a second glance? This stunning visual effect is achieved through the creative use of different two tone colors of vinyl wraps.
Are you also looking to make your vehicle stand out with a unique and eye-catching design? Split car wraps might be just what you need. In this blog post, we’ll explore the world of two tone split car wraps, diving into what they are, type of split wraps, and how they can transform your vehicle into a rolling work of art.
What Are Two Tone Car Wraps?

Two tone car wraps are a dynamic and innovative approach to vehicle customization, it's a creative alternative way to traditional single-color or patterned wraps. Unlike standard wraps that cover the entire surface of a vehicle in a single, continuous design, two tone split car wraps divide the car's exterior into multiple sections, each with its distinct color or pattern.
Types of Split Wraps
Horizontal Split Wraps
Divided horizontally across the car, dividing the vehicle into distinct top and bottom sections, creates a striking visual contrast, enhancing or downplaying specific parts of the vehicle. A popular example is the use of bright or matte black vinyl on the roof of a Tesla Model 3 or Model Y. This design choice not only emphasizes the sleek lines of the car but also visually disconnects the A, B, and C pillars from the body, giving the roof a floating, aerodynamic appearance.

Vertical Split Wraps
Vertical splits run from the front to the back of the car, dividing it into left and right sections. This design can create a symmetrical or asymmetrical look, depending on the chosen color scheme and pattern. Vertical splits are ideal for highlighting certain features or giving the car a more streamlined appearance.
Diagonal Split Wraps
For a more dramatic and edgy look, diagonal splits can be used to divide the car at an angle. This style can add movement and energy to the vehicle’s design, making it an excellent choice to make a bold statement.

You can be as creative as you like with two tone split car wrap, to create a striking visual contrast, you can try two contrast colors and different finishes of vinyl, an example could be a car wrapped with a sleek, matte black finish on the top half and a vibrant, glossy metallic silver on the bottom.
Split Car Wraps Ideas
When opting for a split wrapping of your vehicle, the design possibilities are nearly endless, but there are several key factors to keep in mind to ensure your wrap not only looks great but also complements your vehicle's style. Here are the main design considerations:
Color Selection
Choosing the right color scheme is crucial for a successful split wrap. Consider the following tips:
- Contrasting Colors: Bold contrasts, such as pairing black with a bright color like red or yellow, create a striking and attention-grabbing look.
- Complementary Colors: If you prefer a more subtle aesthetic, choose complementary colors from opposite sides of the color wheel, such as navy and orange or purple and yellow.
- Vinyl Finish: Consider the finish (matte, gloss, metallic, satin) for each section of the split wrap. For example, combining a matte finish on one half with a gloss finish on the other can create an exciting contrast in texture.
Patterns Design
Play with different patterns and layouts:
- Simple Two-tone Color Split: For a clean, modern look, a simple split between two solid colors—such as a top-half matte black and bottom-half metallic silver—can be highly effective.
- Gradient Effects: Gradient vinyl wrap that transitions smoothly between two colors adds a sense of movement and depth to the vehicle, creating a more dynamic look.
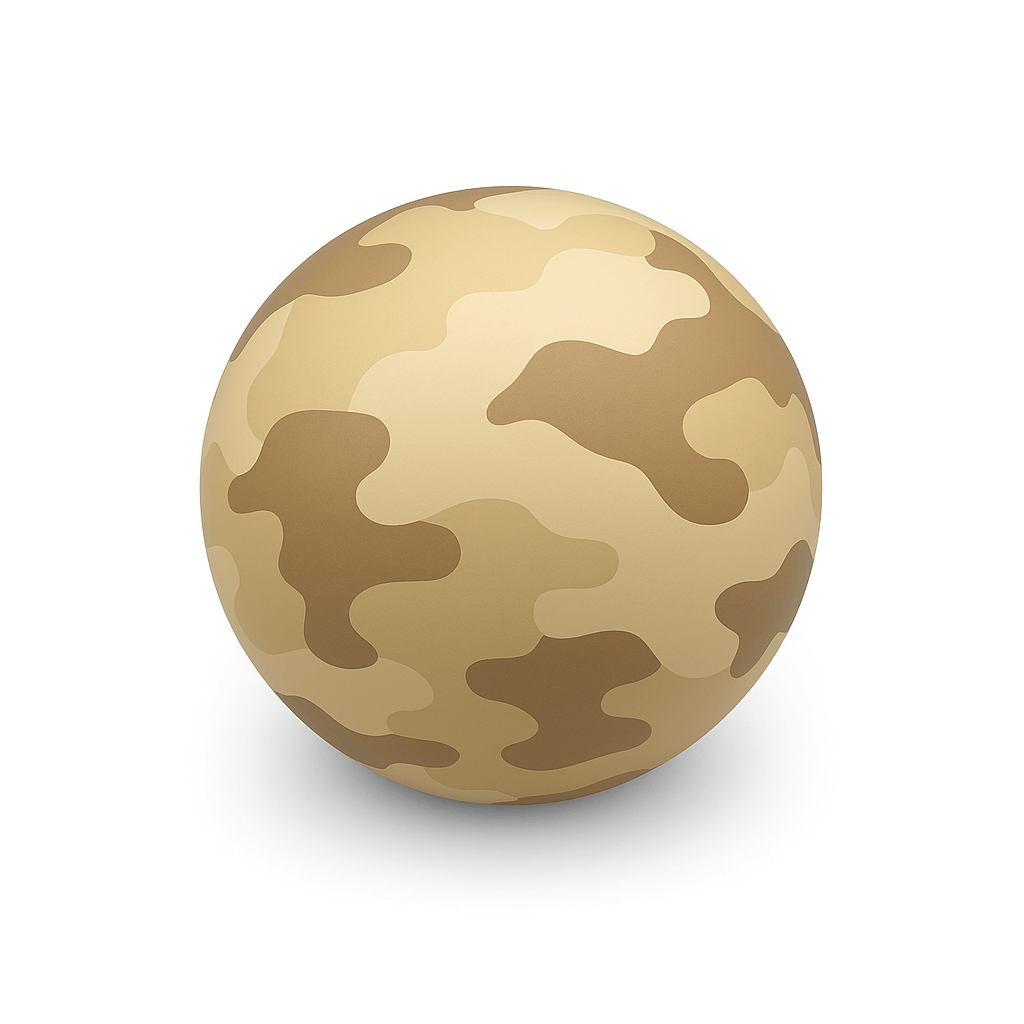
- Graphic or Patterned Sections: Incorporating a section with a pattern, such as carbon fiber, camo, or geometric shapes, can further elevate the visual impact of your split wrap.
Balance and Proportion
The proportions of each color or pattern in a split wrap should be thoughtfully considered. A 50-50 split is the most common and balanced design, but you can also experiment with:
- Asymmetry: A 70-30 split or diagonal design can give your vehicle a unique edge and make it stand out even more.
- Accentuating Features: Use the split to highlight specific features of your car, such as wrapping the hood in a different color or design to draw attention to it. A common example is wrapping a car's front hood or rear-view mirror in carbon fiber vinyl film.
Your Vehicle Type and Shape
The contours and shape of your vehicle play a large role in how the split wrap design will look. Consider:
- Body Lines: Follow the natural lines and curves of your vehicle when planning the split. For example, a horizontal split may look better along the body line of a sports car, while a vertical split could complement the boxy shape of an SUV.
- Surface Area: For larger vehicles, such as trucks or SUVs, which have more space that can split wrap with bolder patterns or graphics.

Various Type Of Vinyl Film For Split Wrapping
There are a wide variety of vinyl wraps available for you to select from, allowing you to customize your car to reflect your taste and style. And with custom designs at your disposal, you can easily refresh your vehicle's appearance every few years. Here are some types of vinyl wrap you might consider:
Matte Vinyl Wraps
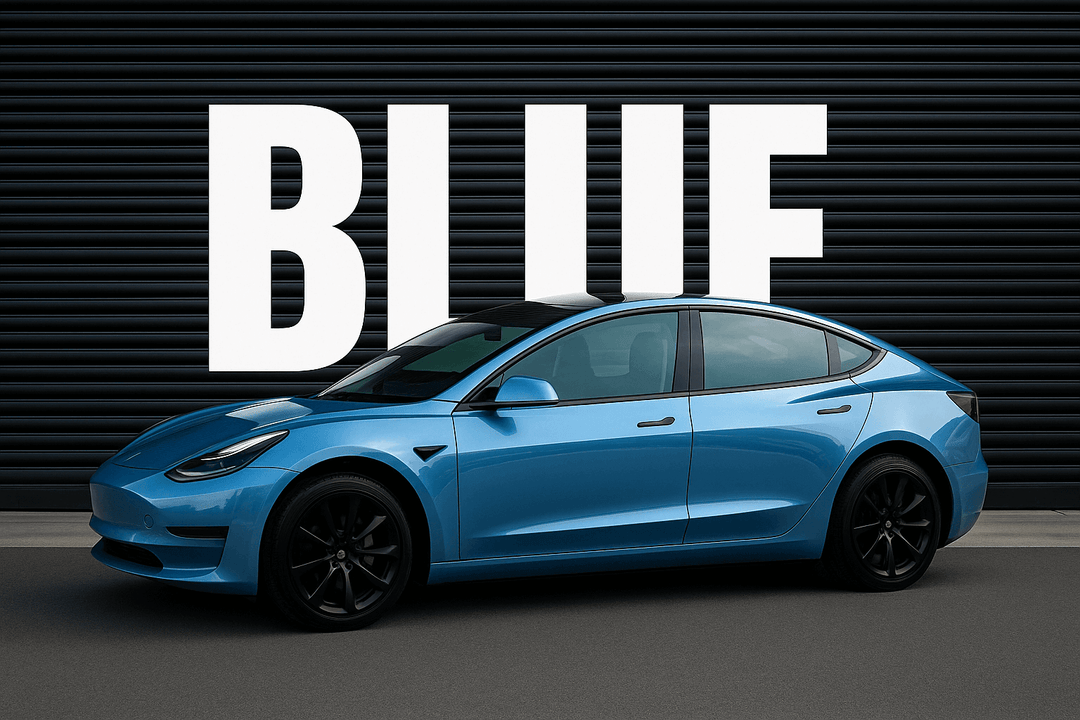
The understated matte finish car wrap can perfectly complement the shine of glossy vinyl. For example, pairing a vibrant glossy sky blue vinyl with a sophisticated matte black wrap can result in a stunning two-tone effect.
Glossy Vinyl Wraps
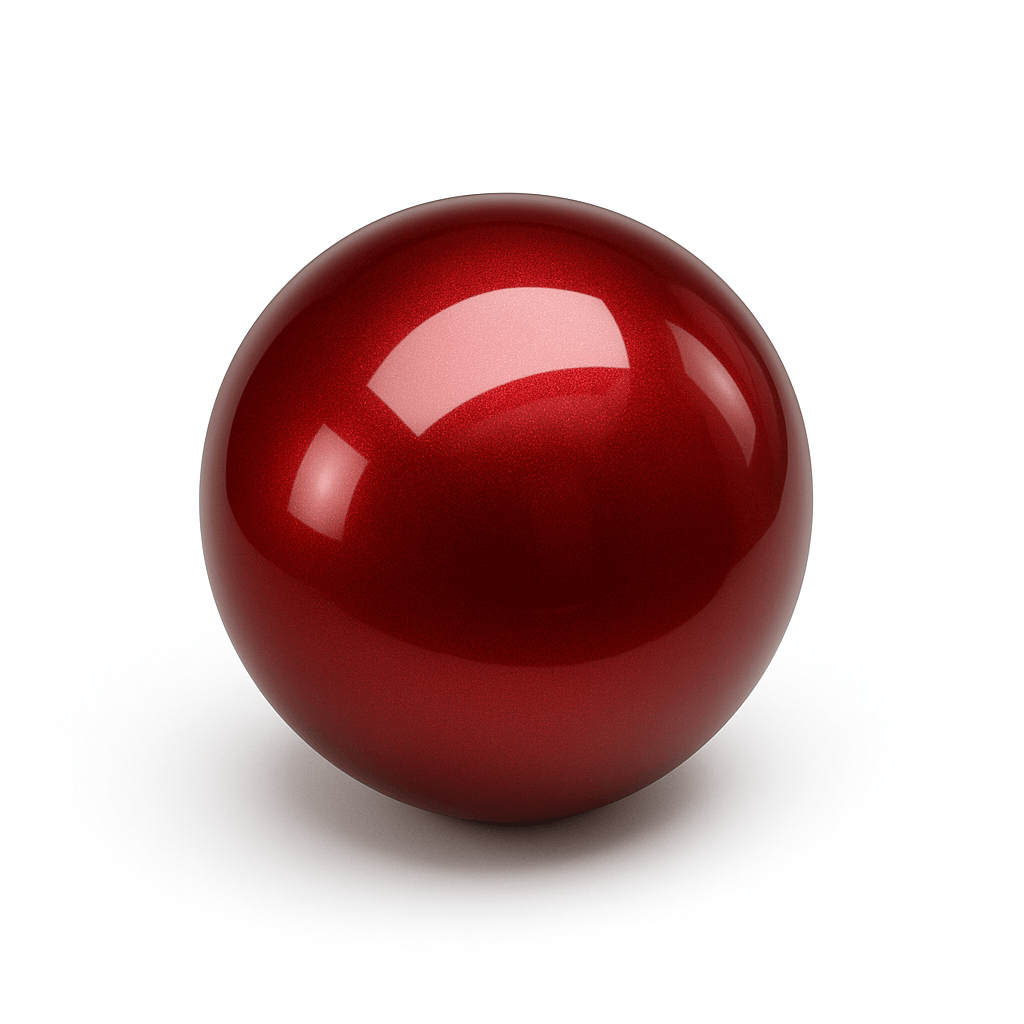
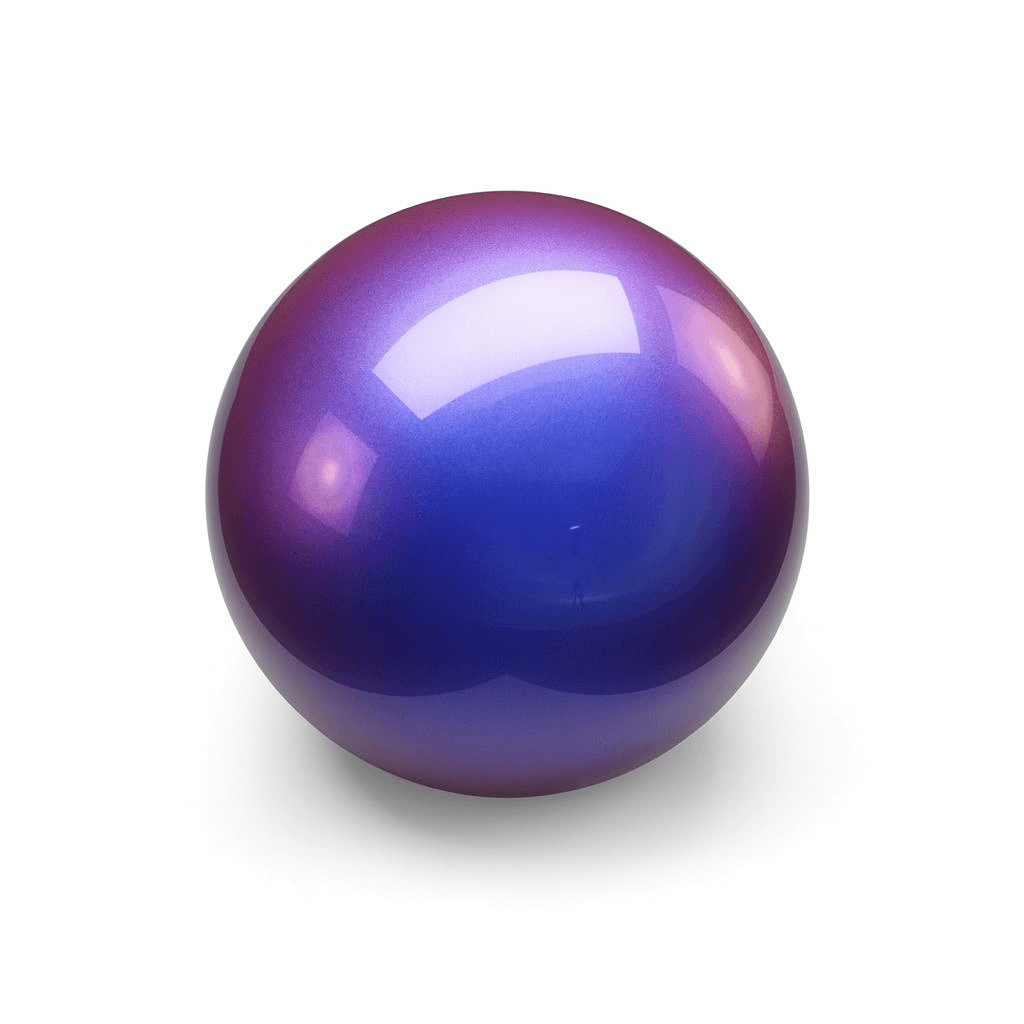
If you want your vehicle to truly shine, glossy car wraps are the ultimate solution. Consider combining vibrant shades such as gloss metallic midnight purple with pearlescent metallic neon green for a stunning visual impact that will turn heads. When you hit the road under the sun, your car will glisten like a precious gem. Alternatively, you might opt for a striking combination of glossy racing yellow and glossy metallic black rose for an equally eye-catching effect.
Metallic Vinyl Wraps
Metallic car wraps are truly captivating vinyl films that create a stunning visual impact. With their distinctive metallic finish, split metallic vehicle wraps are sure to turn heads wherever you go. You have an incredible array of colors to choose from, including iridescent, gloss, matte, and pearlescent options. Just picture the striking effect of combining a glossy metallic ocean blue with a radiant rainbow metallic white. This combination would undoubtedly make your vehicle the center of attention on the road.
Chrome Vinyl Wraps
Chrome car wraps features stunning mirror-like finish, they can create a striking visual impact when combined with either glossy or matte colors. Imagine the breathtaking contrast of reflective gold or silver vinyl alongside a matte red or a vibrant metallic mamba green—it's a combination that truly captivates the eye.
Carbon Fiber Wraps
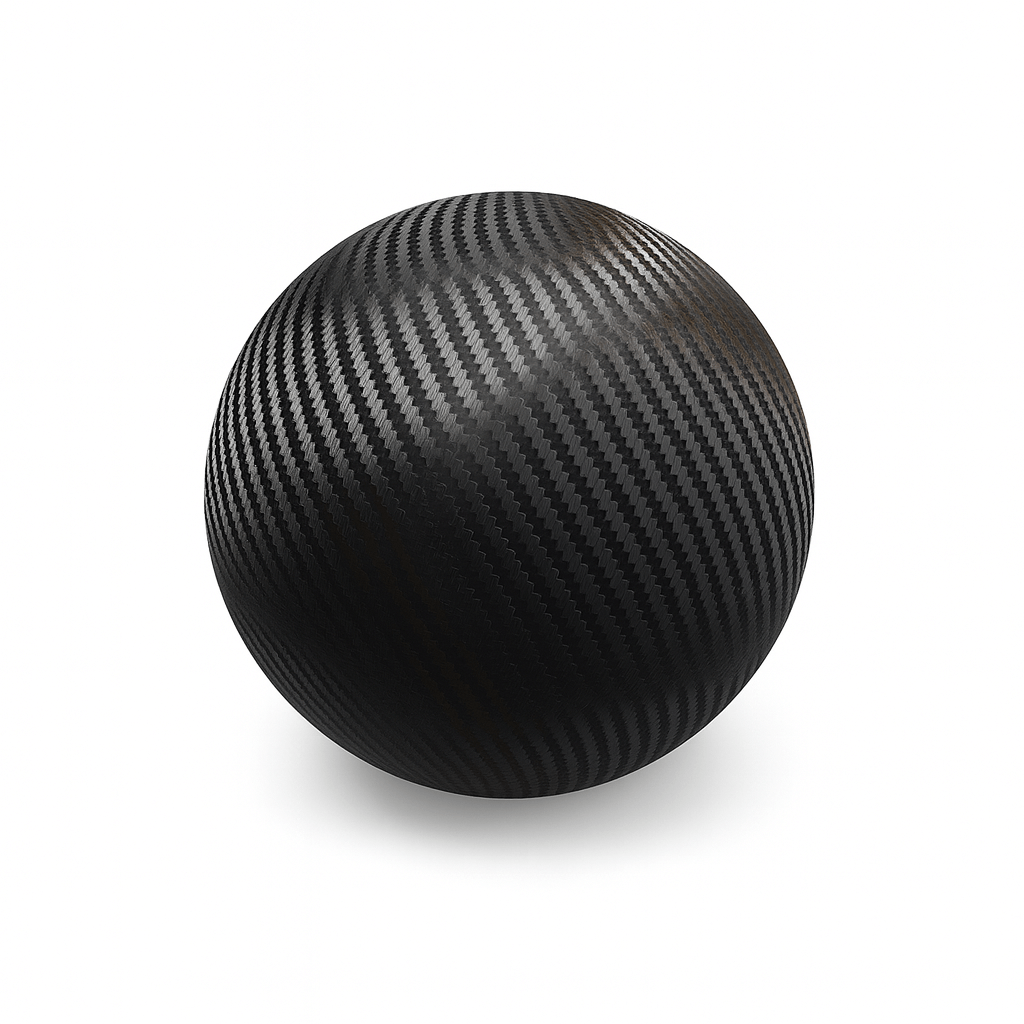
Carbon fiber wraps are an excellent choice for achieving a striking two-toned appearance. They mimic authentic carbon fiber and pair wonderfully with glossy or metallic vinyl to form a captivating split design. You can mix and match to your heart's content, whether you opt for carbon fiber wrap alongside a white color-shift vinyl, a vibrant high-gloss racing yellow, or a stunning liquid metallic silver.
Split Car Wraps DIY Installation Process
The installation process for a split car wrap requires careful planning, precision, and the right tools to achieve a smooth, seamless finish. Whether you choose to have it done professionally or take the DIY route, understanding the steps involved can help ensure a successful wrap. Here's a breakdown of the typical installation process:
1. Preparation of the Vehicle
Before applying the wrap, the vehicle must be thoroughly cleaned and prepped:
- Deep Cleaning: Wash the car to remove all dirt, grease, and contaminants. Even small particles can cause bumps or bubbles in the vinyl wrap. It's essential to clean the surface with a wax-free soap and follow up with an isopropyl alcohol wipe-down to remove any residue.
- Surface Inspection: Carefully inspect the vehicle for any scratches, dents, or imperfections. These should be repaired before applying the wrap, as the vinyl will adhere to the car’s surface, highlighting any flaws. Any old wraps or decals need to be removed as well.
- Drying: Ensure the car is completely dry before proceeding. Even a small amount of moisture can affect the vinyl's adhesion.
2. Measuring and Cutting the Vinyl
Proper measurement is crucial, especially with a split wrap where precise alignment is necessary:
- Measure the Car Panels: Use a measuring tape to determine the size of each panel that will be wrapped. It’s important to add a few extra inches to the measurements for each panel to account for edges and curves.
- Cut the Vinyl: Pre-cut the vinyl sheets for each section of the car. If the split design includes a horizontal or vertical color division, be sure to measure and mark where the split will occur. It's critical to have clean, straight cuts to avoid uneven edges during application.
3. Aligning and Positioning the Vinyl
Getting the alignment right is particularly important with split wraps, as any misalignment can ruin the overall look:
- Dry Fit the Vinyl: Before removing the backing, position the vinyl sheet over the car panel to ensure the design is aligned properly. If you're doing a split wrap, make sure both colors or patterns meet exactly where planned—whether it's along a horizontal, vertical, or diagonal line.
- Mark the Split Line: Use masking tape or a light pencil line to mark the split where the two vinyl colors or designs will meet. This guide will help ensure a clean and consistent transition between the different sections of the wrap.
4. Application of the Vinyl
Once the vinyl is cut and positioned, the application process begins:
- Remove the Backing: Peel off the backing of the vinyl, exposing the adhesive side. Start at one end of the car panel, and work your way across, ensuring the vinyl is evenly applied without wrinkles or bubbles.
- Use a Squeegee: As you apply the vinyl, use a squeegee to press the material firmly onto the car’s surface. This helps remove any air bubbles and ensures the vinyl sticks smoothly. Always work from the center outwards to avoid trapping air.
- Heat Application: For areas with curves or edges, use a heat gun to gently warm the vinyl, making it more flexible and easier to mold around the surface. Be careful not to overheat, as this can cause the vinyl to overstretch or tear.
5. Trimming and Sealing the Edges
After the vinyl has been applied, the next step is trimming and sealing:
- Trim Excess Vinyl: Use a sharp utility knife to carefully trim the excess vinyl around the edges of each panel. Make sure to leave enough material to wrap around the edges for a clean finish.
- Seal the Edges: Apply heat to the edges to ensure they are properly sealed and the vinyl is firmly adhered. This step helps prevent peeling over time and enhances the longevity of the wrap.
6. Finishing Touches
Once the vinyl is applied and trimmed, a few final touches are needed:
- Check for Bubbles: Inspect the vehicle for any remaining air bubbles. Use a needle or pin to poke a small hole in the bubble, and then smooth it out with the squeegee or heat gun.
- Polishing: After the vinyl is set, you can lightly polish the surface to give it a glossy finish (if applicable) and ensure the wrap looks seamless and professional.
7. Curing and Aftercare
Once the wrap is fully installed, it needs time to set properly:
- Curing Time: Allow the vinyl wrap to cure for at least 24 to 48 hours before exposing it to extreme conditions like rain or direct sunlight. This ensures the adhesive bonds well with the car’s surface.
- Aftercare: Proper maintenance is essential to keep your split car wrap looking fresh. Wash the car by hand using a soft cloth and a gentle, vinyl-friendly soap. Avoid automatic car washes with harsh brushes, which can damage the wrap.

The Cost Of Split Car Wraps
The cost of a split car wrap depends on several factors, from vehicle size and design complexity to material choice and installation method. But compared to traditional paint jobs, car wraps are typically a more budget-friendly option, If you choose to have professionals handle the installation, you can expect to invest between $1,500 and $6,000, which covers both the vinyl materials and labor. Alternatively, if you're considering a DIY approach, your total costs could range from $500 to $2,000, depending on the type of vinyl you select.
Split Wrap To Get The Two-Toned Look!
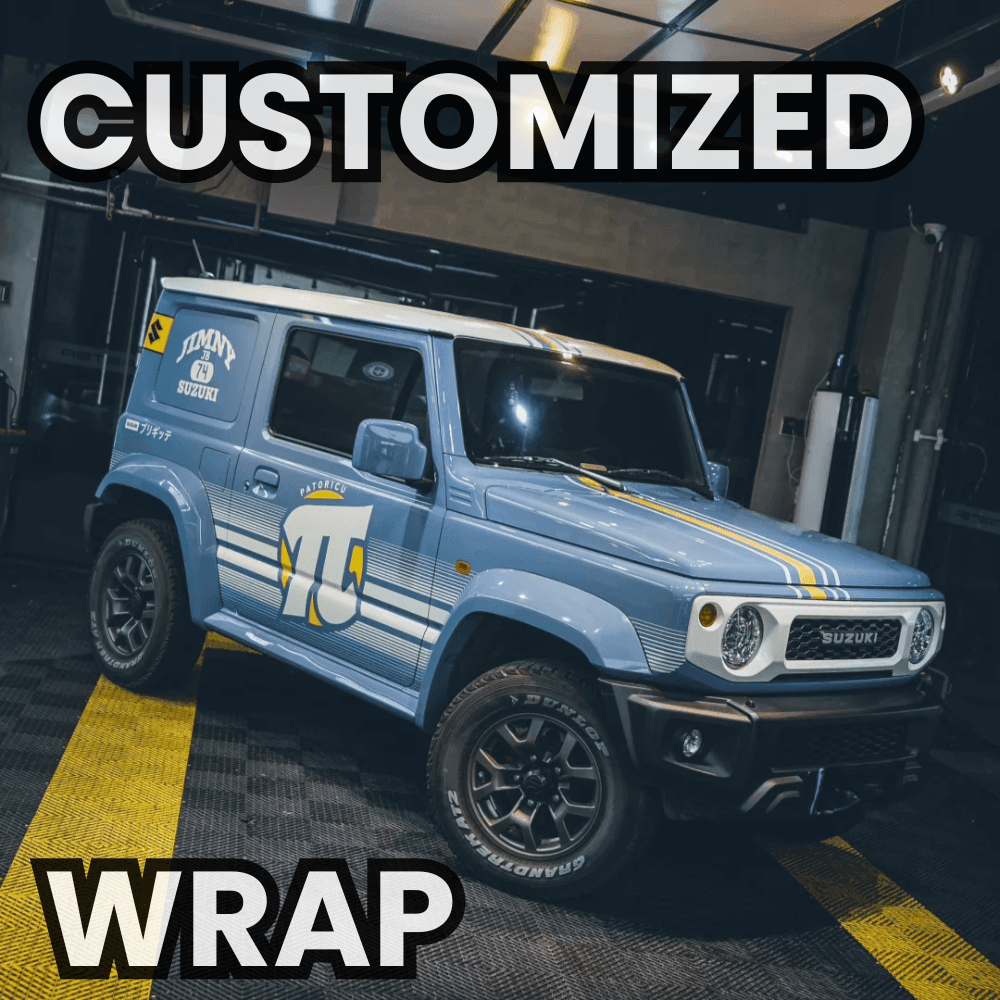
Split car wraps are becoming increasingly popular globally. Personalizing your belongings, from your vehicle to your phone and other devices, is an excellent way to showcase your individuality and style. When applied, split vinyl wraps create a striking visual impact, setting your car apart from the countless plain, solid-colored vehicles on the road. You have the freedom to select various shapes, sizes, and colors, allowing you to display your passions, whether they be sports teams, music, brands, or movies.
With car wraps, the choice is entirely yours! You have the freedom to refresh your vehicle's look every few months or years whenever you feel like a change. This means you can enjoy a vibrant array of colors, patterns, and styles over time, all while keeping your car protected from wear and tear!


