Kitchen Cabinet Wraps
Want to upgrade your kitchen without spending a fortune on a full renovation?
That’s exactly why more homeowners are turning to kitchen cabinet wraps.

Instead of tearing out cabinets or repainting everything, you can apply a high-quality vinyl wrap directly over existing surfaces and get a completely new look in just a few days. It’s faster, cleaner, and far more budget-friendly than traditional remodeling.
But here’s the real question.
Do cabinet wraps actually last? And are they worth it compared to painting or replacing your cabinets?
In this guide, you’ll learn exactly how kitchen cabinet wraps work, how much they cost, what design options are available, and how they compare to other renovation methods. We’ll also cover whether DIY installation makes sense and how to choose the right wrap for your space.
What Are Kitchen Cabinet Wraps?
Kitchen cabinet wraps are a simple way to change how your kitchen looks without replacing anything.
They are made from durable vinyl film that’s applied directly over your existing cabinet doors, panels, and frames. Instead of removing cabinets or repainting them, the wrap creates a new surface that covers imperfections and gives your kitchen a completely different style.
The cabinet wraps are designed to be flexible, which means they can conform to edges, corners, and detailed surfaces without looking bulky. Once installed properly, they look smooth, clean, and close to a factory finish.
They also do more than just improve appearance.
High-quality vinyl wraps add a protective layer that helps resist moisture, stains, and everyday wear. That’s especially useful in kitchens, where surfaces deal with heat, grease, and frequent cleaning.
So if you want a faster and more affordable way to update your kitchen, cabinet wraps give you a practical alternative to painting or full replacement.
Why Kitchen Cabinet Wraps Are So Popular
Kitchen renovations can be expensive, messy, and time-consuming. That’s exactly why cabinet wraps have become such a popular alternative.
They solve the biggest problems homeowners face without the usual downsides.
Cost Saving
A full kitchen remodel can easily cost thousands, sometimes tens of thousands.
Cabinet wraps offer a much more affordable option. Instead of replacing cabinets or paying for labor-heavy painting, you’re simply upgrading the surface. You get a fresh, modern look without the high price tag.
Fast Upgrade
Traditional renovations can take weeks or even months.
With cabinet wraps, the transformation happens quickly. In many cases, a kitchen can be updated in just a few days. There’s no long downtime, no waiting on contractors, and no disruption to your daily routine.
No Demolition
One of the biggest advantages is what you don’t have to do.
No tearing out cabinets. No dust. No construction mess.
Wraps are applied directly over your existing surfaces, which means you avoid the stress and inconvenience that usually comes with remodeling. Your kitchen stays functional while the upgrade happens.
The Real Reason They’re Popular
It comes down to simplicity.
Cabinet wraps give you a new kitchen look without the cost, time, or hassle of a full renovation. That combination is what makes them such an easy choice for modern homeowners.
Kitchen Cabinet Wrap Ideas | Countless Color and Pattern Choices
Instead of working around your existing cabinets, you can completely redefine how your kitchen looks. Whether you want something warm and natural or bold and modern, there’s a wrap that fits your style.
Here are some of the most popular directions.
Wood Grain Wraps
If you like a natural, timeless look, wood grain wraps are a safe choice.
They replicate real wood textures like oak, walnut, or ash without the cost or maintenance of solid wood. You get the warmth and depth of wood while keeping things easy to clean and maintain.
Best for: cozy, Scandinavian, or classic kitchen styles.
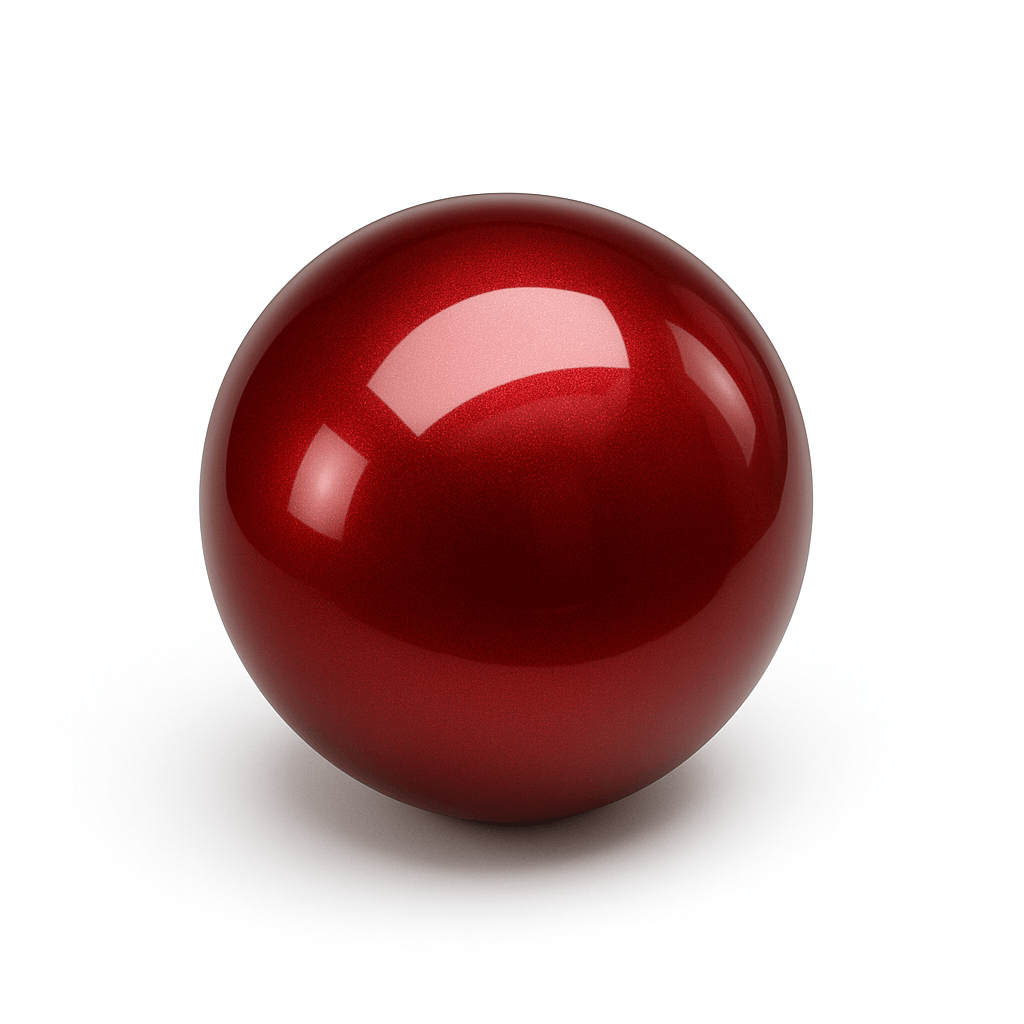
Marble Wraps
Want a more premium feel?
Marble wraps bring that luxury look into your kitchen without the heavy price tag. From clean white marble to bold veined patterns, they can instantly elevate the space.
Best for: elegant, high-end kitchen designs.
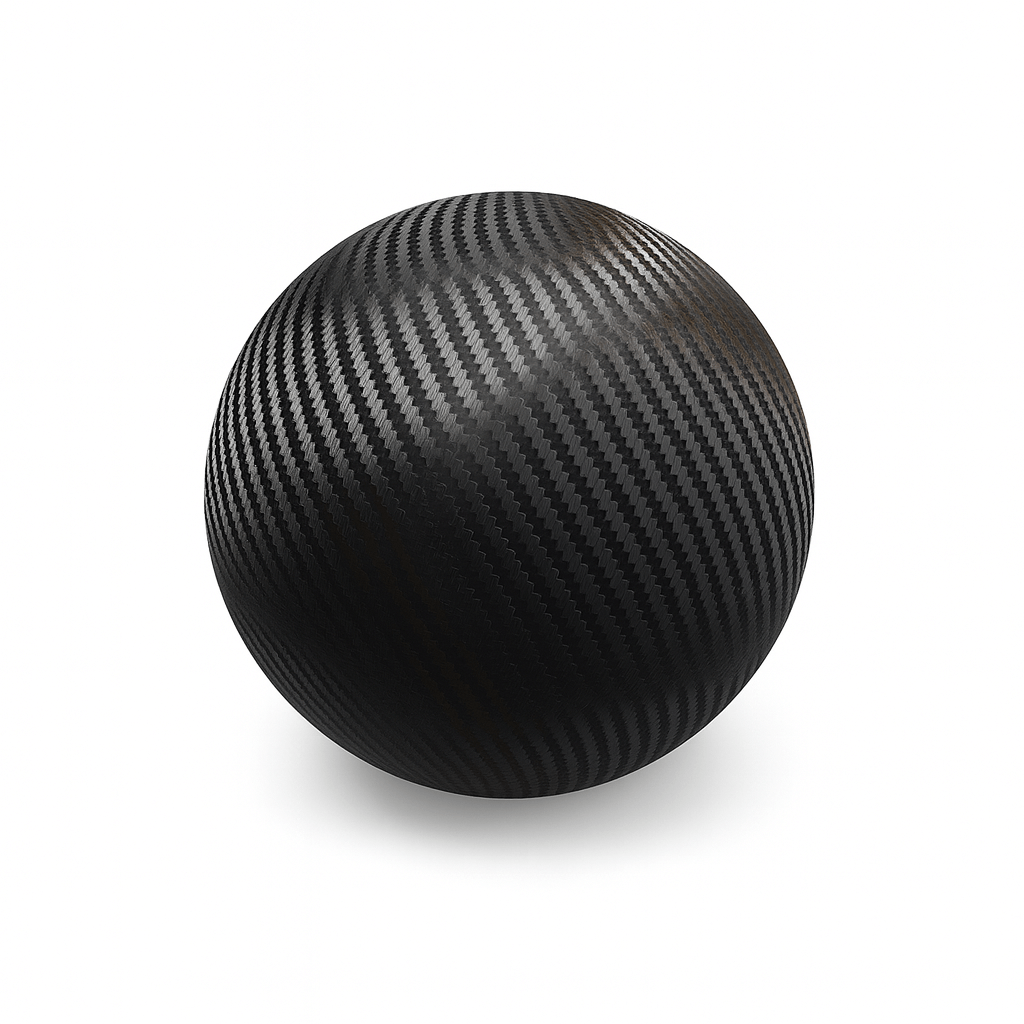
Matte Modern Wraps
Matte finishes are all about simplicity.

They reduce reflections and create a clean, understated look. Colors like matte black, grey, or beige are especially popular in modern kitchens.
Best for: minimal, contemporary spaces.
High Gloss Luxury Wraps
If you want your kitchen to stand out, go glossy.
High gloss wraps reflect light and make the space feel brighter and more spacious. They also give cabinets that polished, showroom-style finish.
Best for: modern, luxury, or small kitchens that need more light.
Kitchen Cabinet Wrap Cost
One of the biggest reasons people choose cabinet wraps is simple. They cost far less than replacing or refacing cabinets, but still deliver a major visual upgrade.
Let’s break down what you can realistically expect.
Cost Per Cabinet
If you’re wrapping individual cabinets, pricing usually depends on size and material quality.
-
DIY vinyl material: about $2–$5 per sq. ft.
-
Small cabinet doors can cost as little as $20–$80 each in materials
-
Larger or detailed cabinets may cost more due to extra film and precision work
This is the most budget-friendly way to upgrade if you only want to refresh a few areas.
Full Kitchen Cost
For a full kitchen transformation, costs scale up based on size and complexity.
-
DIY full kitchen: around $200 – $800 total (materials only)
-
Professional wrap installation: typically $1,000 – $4,000+ depending on kitchen size
To put that into perspective:
-
Cabinet refacing can cost around $8,000+ for a full kitchen
-
New cabinets can cost hundreds per unit or much more
That’s why wrapping is often seen as a “middle ground” between painting and full renovation.
DIY vs Professional Installation
This is where cost differences really show.
DIY Wrapping
-
Lowest cost
-
Requires time, patience, and tools
-
Best for simple cabinet designs
Professional Installation
-
Higher upfront cost
-
Cleaner finish and longer lifespan
-
Better for large kitchens or complex surfaces
Vinyl Wrap vs Paint vs Replacement
If you’re trying to upgrade your kitchen cabinets, you really have three main options. Wrap them, paint them, or replace them completely.
Each one comes with trade-offs in cost, time, and long-term results. Here’s how they compare.
Cabinet Wrap vs Paint vs Replacement
|
Option |
Cost |
Time |
Durability |
|
Vinyl Wrap |
$200-1,000$ |
1–3 days |
5–10 years |
|
Paint |
$300+ |
3–7 days |
5–10 years |
|
Replacement |
$2,000+ |
2–6 weeks |
10–20+ years |
Cabinet Wrap vs Paint
This is one of the most common decisions.
-
Paint is cheaper upfront, but it takes more prep work and is prone to chipping, especially in high-use kitchens
-
Vinyl wrap costs more than paint, but gives a smoother, factory-like finish and better resistance to moisture and wear
If you want a quick refresh on a tight budget, paint works
If you want a cleaner, more durable finish, wrap is the better upgrade
Cabinet Refacing vs Wrapping
Refacing sits between wrapping and full replacement.
-
Refacing involves replacing cabinet doors and applying new veneers
-
Wrapping keeps everything and upgrades only the surface
Key difference:
-
Refacing is more expensive and labor-intensive
-
Wrapping is faster, more affordable, and less disruptive
For most modern updates, wrapping delivers similar visual results at a much lower cost
Pros and Cons of Kitchen Cabinet Wraps
Kitchen cabinet wraps offer a fast, affordable upgrade, but like any solution, they come with trade-offs. Here’s what you should know.
Pros of Kitchen Cabinet Wraps
1. Cost-effective upgrade
Wrapping is significantly cheaper than replacing or refacing cabinets, while still delivering a noticeable transformation.
2. Fast installation
Most kitchens can be updated in a few days, not weeks. There’s minimal disruption to your daily routine.
3. No demolition required
You don’t need to remove cabinets or deal with construction mess. The wrap is applied directly over existing surfaces.
4. Wide design options
From wood grain to marble to matte finishes, you have hundreds of styles to choose from. It’s easy to match your personal taste.
5. Adds surface protection
High-quality vinyl helps protect against moisture, stains, and everyday wear, which is especially useful in kitchens.
6. Easy to maintain
Wrapped surfaces are simple to clean and don’t require special maintenance. A quick wipe is usually enough.
Cons of Kitchen Cabinet Wraps
1. Not as durable as replacement
While wraps can last years, they don’t match the lifespan of brand-new cabinets.
2. Requires proper installation
Poor installation can lead to bubbles, peeling, or lifting edges. Precision matters, especially around corners.
3. Limited for damaged cabinets
If your cabinets are structurally worn or broken, wrapping won’t fix the underlying issue.
4. Heat sensitivity
Extreme heat near ovens or stovetops can affect the adhesive over time if not installed properly.
5. Surface preparation is critical
Any grease, dust, or uneven surface can impact how well the wrap sticks and how long it lasts.

What Surfaces/Appliances Can You Wrap?
One of the biggest advantages of vinyl wraps is flexibility.
You’re not limited to cabinets. If the surface is smooth, clean, and stable, there’s a good chance it can be wrapped. That’s how you create a consistent, modern look across your entire kitchen.
Here’s where wraps work best.
Cabinets Wrap
Cabinets are the most common starting point.
Wrapping cabinet doors and panels instantly changes the overall style of your kitchen. It covers outdated colors, scratches, and wear, giving you a fresh, uniform finish without replacing anything.
Refrigerator Wrap
Your fridge doesn’t have to stand out in the wrong way.
With a vinyl wrap, you can match it to your cabinets or create a bold contrast. It’s a simple way to turn a standard appliance into part of your design.

Doors Wrap
Kitchen doors often get overlooked.
Wrapping them helps tie the whole space together. Whether it’s pantry doors or entry doors, matching finishes create a more cohesive look.
Countertops Wrap
Countertops can also be wrapped, as long as the surface is smooth and in good condition.
Vinyl wraps can mimic materials like marble or stone, giving you a high-end appearance without the cost of replacement. They also add a protective layer that helps resist stains and daily wear.
How to Wrap Kitchen Cabinets (Step-by-Step)
DIY cabinet wrapping is doable, especially for simple designs. If you take your time and follow the process, you can get a clean, professional-looking result.
But if your cabinets have complex shapes or you want a flawless finish, professional installation can make a big difference in the final result
Step 1: Clean and Prep the Surface
Start with a completely clean surface.
Remove grease, dust, and residue using a degreaser or mild cleaner. Kitchens build up oils over time, and even a thin layer can prevent the vinyl from sticking properly.
Then dry everything thoroughly.
Step 2: Remove Doors and Hardware
Take off cabinet doors, handles, and hinges.
Working on flat surfaces makes the job much easier and helps you avoid bubbles or misalignment. It also gives you cleaner edges.
Step 3: Measure and Cut the Vinyl
Measure each panel carefully.
Cut your vinyl slightly larger than the surface so you have extra material to work with. This makes it easier to wrap edges and trim cleanly later.
Step 4: Apply the Vinyl
Peel back a small section of the backing and start applying the vinyl from one side.
Use a squeegee to press it down as you go, moving slowly to avoid air bubbles. Don’t rush this step. Smooth, even pressure is key to getting a clean finish.
Step 5: Use Heat for Edges and Corners
A heat gun or hair dryer helps make the vinyl more flexible.
Gently heat the material when wrapping around edges or corners so it conforms tightly to the surface. This step is what gives the wrap that seamless, fitted look.
Step 6: Trim Excess Material
Once the vinyl is fully applied, trim off the extra material with a sharp utility knife.
Follow the edges carefully to get clean, precise lines.
Step 7: Reinstall and Finish
Reattach the cabinet doors, handles, and hardware.
Check for any remaining bubbles or loose edges and smooth them out. Once everything is back in place, your kitchen should look completely refreshed.
Pro Tips for Better Results
-
Work slowly and don’t try to rush large panels
-
Use a squeegee to avoid air bubbles
-
Always clean surfaces thoroughly before applying
-
Practice on a small area first if you’re new
How Long Do Cabinet Wraps Last?
The typical cabinet wrap lifespan is around 5 to 10 years, depending on the quality of the vinyl and how well it’s maintained.
However, not all wraps last the same. Some start peeling or fading within a couple of years, while others hold up for nearly a decade.
What Affects Cabinet Wrap Lifespan?
1. Material Quality
High-quality vinyl is more resistant to heat, moisture, and daily wear. Cheaper films tend to fade, shrink, or lift much faster.
2. Installation Quality
Proper installation makes a huge difference. Poorly applied wraps can develop bubbles, lifting edges, or peeling early on.
3. Kitchen Environment
Kitchens are high-use spaces. Heat from stoves, steam from cooking, and frequent cleaning all impact durability.
4. Maintenance Habits
Gentle cleaning and avoiding harsh chemicals help extend the life of the wrap. Abrasive scrubbing can wear down the surface over time.
How to Make Cabinet Wraps Last Longer
-
Clean regularly with a soft cloth
-
Avoid strong chemical cleaners
-
Keep heat exposure in check near stovetops
-
Fix small lifting edges early before they spread
FAQs
Are vinyl wraps durable in the kitchen?
Yes, vinyl wraps are designed to handle typical kitchen conditions.
They resist moisture, stains, and everyday wear. However, they are not indestructible. Excessive heat, sharp impacts, or harsh cleaning products can shorten their lifespan. With normal use and proper care, they hold up well over time.
Can you wrap over laminate cabinets?
Yes, you can wrap over laminate cabinets as long as the surface is in good condition.
The key is preparation. The surface needs to be clean, smooth, and free of peeling or damage. If the laminate is loose or chipped, it should be repaired first to ensure proper adhesion.
Is cabinet wrap cheaper than painting?
It depends on the situation.
-
DIY painting is usually the cheapest option upfront
-
Professional painting can cost similar to or even more than wrapping
-
Cabinet wrapping offers a balance between cost, finish quality, and durability
In many cases, wraps provide a more consistent, factory-like finish and better resistance to wear compared to paint, making them a better long-term value.
Conclusion
Kitchen cabinet wraps offer a smart, modern way to transform your space without the cost and disruption of a full renovation.
Instead of replacing cabinets or dealing with messy painting, you can upgrade the look of your kitchen in just a few days. You get flexibility in design, solid durability, and a clean, updated finish that fits your style. For many homeowners, it’s the perfect balance between affordability and visual impact.
Of course, it’s not the right solution for every situation. If your cabinets are damaged or you’re planning a full remodel, replacement might make more sense. But if your goal is to refresh your kitchen quickly and cost-effectively, cabinet wraps are hard to beat.
Ready to Upgrade Your Kitchen?
If you’re ready to give your kitchen a new look without the hassle of renovation, now is the time to explore your options.
Browse our collection of premium vinyl wraps and discover a wide range of colors, textures, and finishes designed for real kitchens. Whether you want a subtle modern upgrade or a bold statement design, there’s a wrap that fits your vision.
Transform your kitchen faster, easier, and smarter with the right wrap solution.