How to Wrap Your Rims
Transform Your Wheels with Rim Wrapping
Are your rims looking worn out, scratched, or just not matching your style anymore? Instead of replacing them or committing to an expensive paint job, rim wrapping offers a cost-effective, stylish, and protective solution.
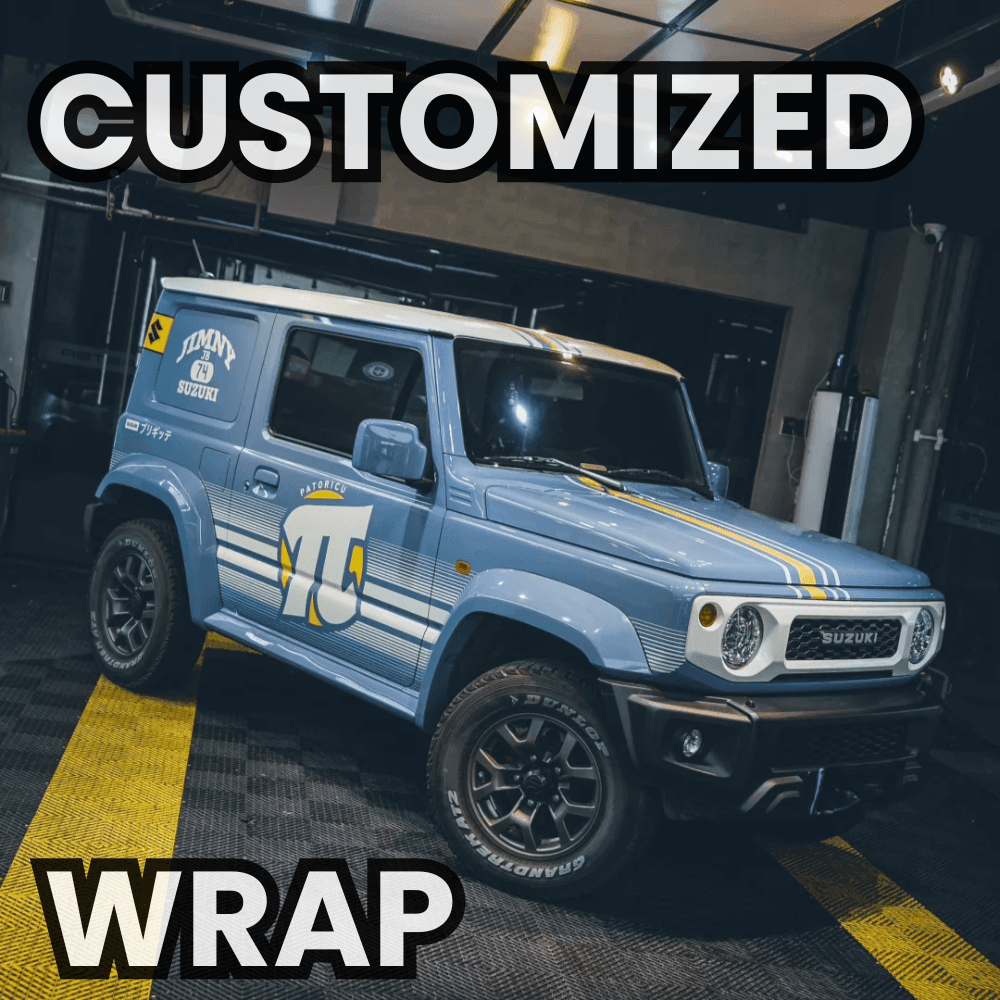
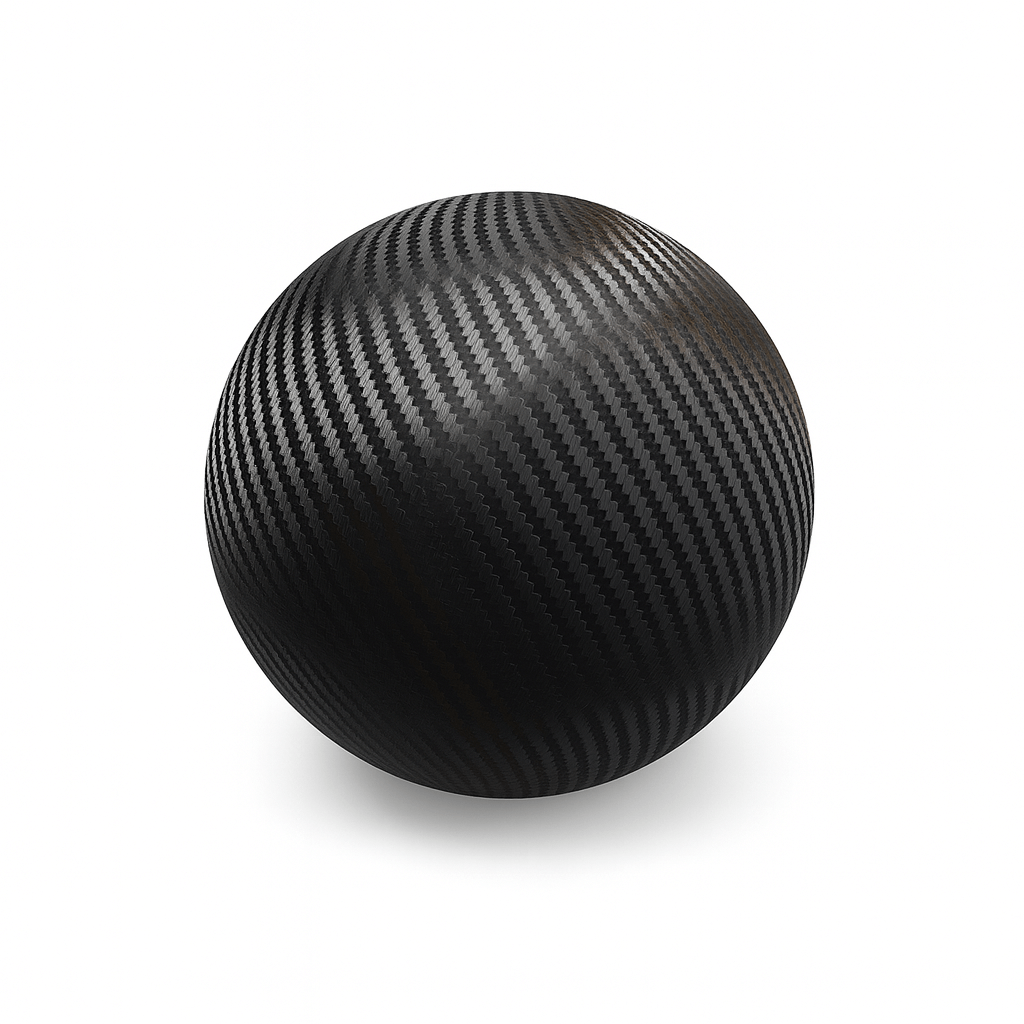
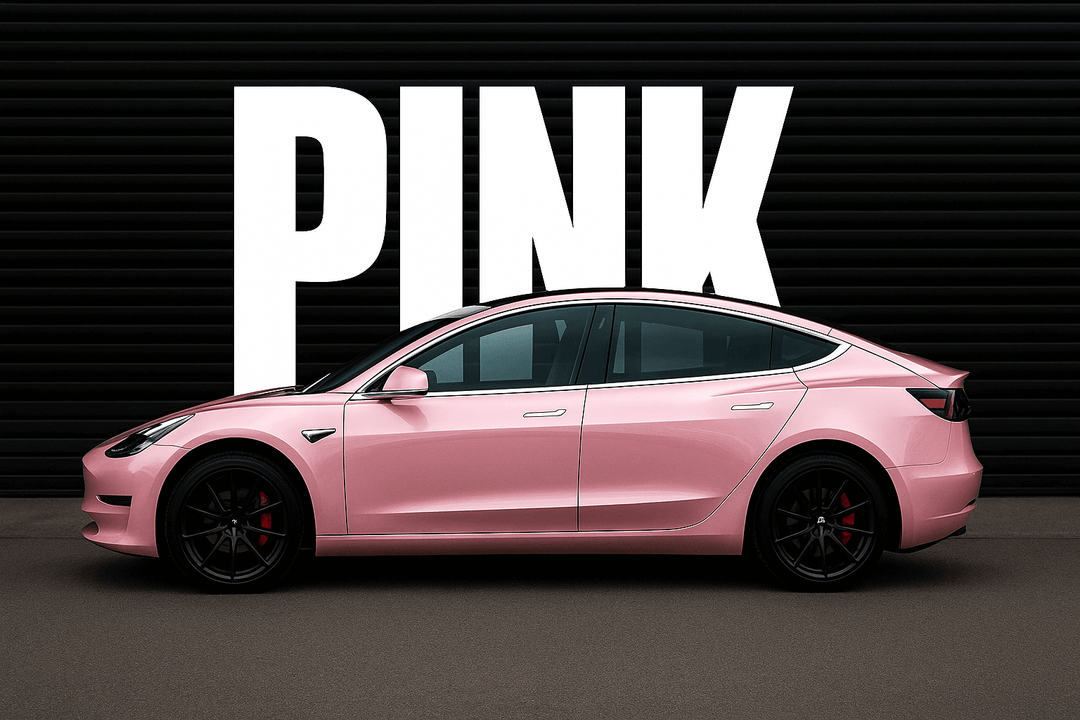
Rim wraps allow you to customize your wheels effortlessly, whether you’re covering up scuffed edges, adding a layer of protection from curb rash, or simply upgrading the look of your car. With an extensive range of finishes - mirror chrome for a sleek shine, carbon fiber for a sporty touch, or iridescent vinyl for a bold JDM aesthetic—there’s a perfect wrap for every style preference.
Now, you’re not locked into a permanent change—if you ever want to switch things up, you can easily peel off the wrap and apply a new one.
Before you get started, make sure to measure your rims carefully to determine the right size of vinyl film. While a 48-inch by 60-inch sheet is a general recommendation for wrapping a pair of wheels, different rim sizes require different amounts of material.
What You Need to Wrap Your Rims
For a flawless wrapping experience, we recommend having these essential supplies and tools on hand:
Vinyl Wrap Film
Choose a high-quality vinyl wrap designed for automotive use, and make sure to purchase the right amount depending on your wheel dimensions.
Heat Gun
A heat gun helps make the vinyl more flexible, allowing it to stretch and conform to the curves of your rims.
Utility Knife
A sharp precision utility knife is essential for trimming excess vinyl around the edges of the rims. A clean cut will help prevent peeling and give the wrap a polished, professional look.
Squeegee
A soft squeegee helps smooth out air bubbles and creases while applying the vinyl. This ensures the wrap lays flat against the surface and adheres properly, preventing premature lifting or peeling.
Lint-Free Towel
Before applying the wrap, it’s important to clean your rims thoroughly. A lint-free microfiber towel is perfect for wiping down surfaces without leaving behind dust or fibers that could interfere with adhesion.
Isopropyl Alcohol
To ensure the wrap sticks properly, clean your rims with isopropyl alcohol before application. This removes grease, dirt, and any residue that could cause the vinyl to peel prematurely. Use a high-concentration (70% or higher) alcohol solution for the best results.
Step-by-Step Guide to Wrapping Your Rims
Step 1 – Clean the Rims Thoroughly
Before applying the vinyl, you must remove all dirt, grease, and debris to ensure proper adhesion. Since rims are constantly exposed to road grime and brake dust, a simple wash won’t be enough.
-
Use a heavy-duty degreaser to break down oil and contaminants. Scrub the rims thoroughly, ensuring you reach the edges and crevices.
-
Rinse the rims with clean water and dry them completely.
-
Apply isopropyl alcohol with a lint-free microfiber cloth to remove any remaining residue. This step is crucial because leftover degreaser can weaken the vinyl’s adhesive.
Step 2 – Measure and Cut the Vinyl Wrap
Getting the right size vinyl wrap before application will save you time and frustration.
-
Measure your rims and cut a piece of vinyl slightly larger than the rim area—about 2 inches of excess on all sides.
-
Lay the vinyl flat and avoid stretching it before application. Over-stretching can weaken the adhesive and lead to peeling over time.
Step 3 – Apply the Vinyl Wrap
Now it’s time to place the vinyl on the rim and smooth it out for a professional finish.
-
Peel the vinyl wrap from its backing and gently lay it over the rim. Use your fingers to lightly tack it in place, ensuring you have some extra material for adjustments.
-
Start in the center and press outward to secure the vinyl, avoiding wrinkles.
-
Use a heat gun (at a distance of about 8-12 inches) to make the vinyl more pliable. This helps it conform to the curves of the rim.
-
As you apply heat, use a squeegee to smooth the vinyl outward, pushing out any trapped air bubbles. Work slowly and evenly.
Step 4 – Trim Excess Vinyl
Once the vinyl is fully applied, you’ll need to trim off any extra material for a clean, seamless look.
-
Use a sharp utility knife or precision razor to cut away the excess vinyl around the edges. Keep your hand steady for precise, even cuts.
-
Tuck the edges of the vinyl wrap carefully into the rim’s grooves to prevent lifting or peeling over time.
-
Use the squeegee to press down on any lifted edges and ensure a tight seal.
Step 5 – Post-Heating and Final Touches
The final step is post-heating, which strengthens the adhesive bond and helps prevent future peeling.
-
Use the heat gun again, this time evenly heating the entire wrapped surface. Keep the heat moving to avoid burning or warping the vinyl.
-
As you heat, press down on the edges to reinforce adhesion.
-
Trim any final excess material if needed.
How Long Does Rim Wrapping Last?
A properly applied rim wrap can last anywhere from 2 to 5 years, depending on various factors, including maintenance and environmental exposure.
Exposure to Heat and Sunlight
-
Prolonged exposure to direct sunlight and high temperatures can cause the vinyl to fade, shrink, or lose adhesion over time.
-
If you park outdoors often, consider using UV-protective coatings or parking in shaded areas to prolong the wrap’s lifespan.
Frequency of Car Washes
-
Frequent washing, especially using high-pressure or automated car washes, can lead to premature peeling and damage.
-
To extend the life of your rim wrap, use a gentle hand wash with mild soap and avoid harsh chemicals or abrasive brushes.
Quality of the Vinyl Used
-
High-quality vinyl brands like Yeswrap last longer and resist wear better than cheaper alternatives.
-
Investing in premium wrap film can prevent bubbling, cracking, or early peeling.
Driving Conditions
-
If you frequently drive on gravel roads, in snowy regions with salted streets, or in areas with heavy debris, your rim wrap may wear out faster.
How to Maintain Wrapped Rims
Keeping your vinyl-wrapped rims in top condition requires regular care and attention. Proper maintenance not only enhances their appearance but also extends their lifespan, ensuring they stay vibrant and intact for years. Follow these key steps to keep your wrapped rims looking fresh and damage-free.
Avoid Harsh Chemicals When Cleaning
Using the wrong cleaning products can weaken the adhesive and cause the vinyl to degrade over time. Avoid:
❌ Acidic or abrasive cleaners
❌ Solvents, degreasers, or alcohol-based products
❌ High-pH or petroleum-based solutions
Instead, opt for a vinyl-safe cleaner or a mild cleaning solution to protect the integrity of the wrap.
Use a Mild Soap and Water Solution for Washing
Regular cleaning is essential to prevent dirt, brake dust, and road grime from building up on your wrapped rims. Follow these steps for a safe wash:
✔️ Mix mild soap with lukewarm water in a bucket.
✔️ Use a soft microfiber cloth or sponge to clean the rims gently.
✔️ Rinse thoroughly with clean water to remove all residue.
✔️ Dry with a soft, lint-free towel to prevent water spots.
🚫 Avoid using high-pressure washers, as the strong force can lift the edges of the vinyl and cause premature peeling.
Regularly Check for Peeling or Lifting Edges
Over time, exposure to road debris, moisture, and heat may cause parts of the wrap to lift or peel. Catching these issues early can prevent further damage.
🔍 Inspect your rims regularly, especially around the edges.
🔍 If you notice any peeling, use a heat gun and squeegee to reapply the affected area.
🔍 If the damage is significant, consider a vinyl patch or re-wrapping the rim for a flawless finish.
Get Your Rim Wraps Now!
Now that you know how to wrap and maintain your rims like a pro, what are you waiting for? The perfect rim wrap is just a click away.
Upgrade your wheels with high-quality, durable vinyl wraps that protect and enhance your rims without the hassle of paint. Shop at Yeswrap today and give your ride a fresh new look!