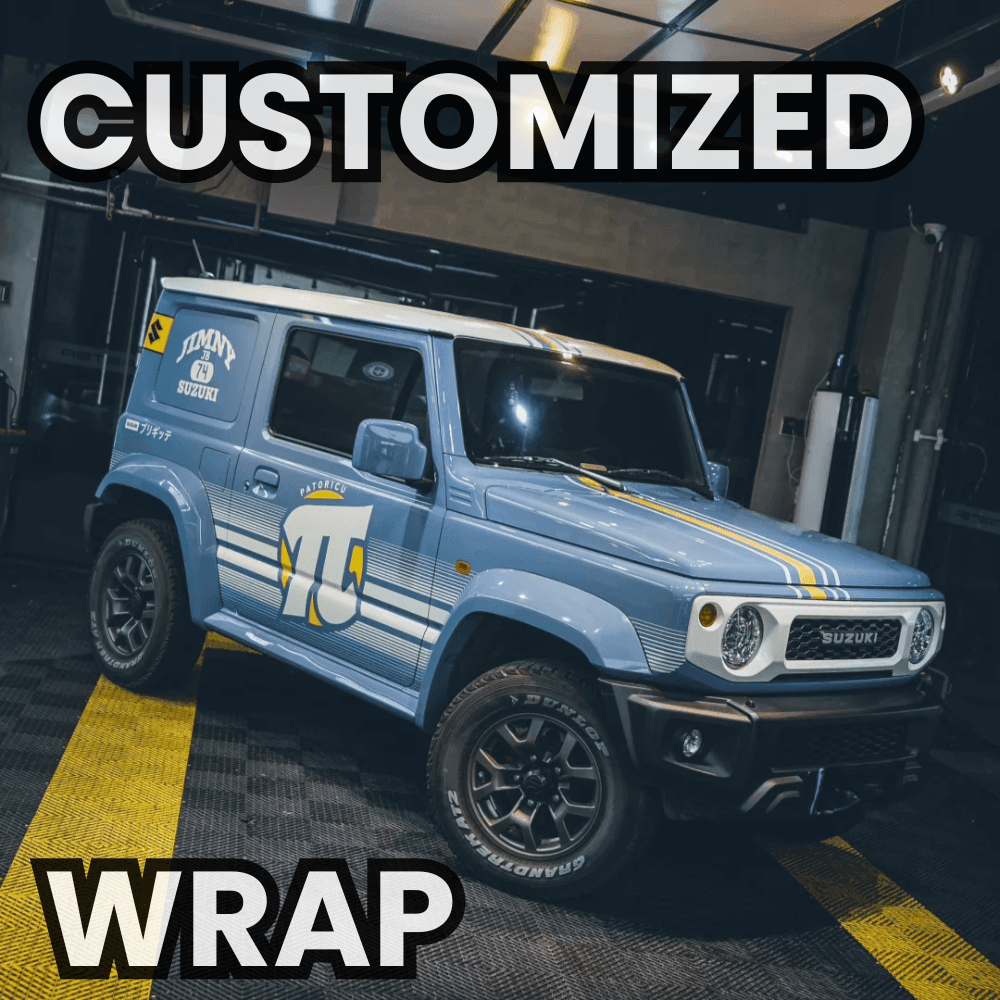
How to Wrap a Skateboard
Want to give your skateboard a fresh new look without the hassle of painting? Whether you're a seasoned skater or just rediscovering an old deck from your garage, wrapping your skateboard is a quick and effective way to customize its style. With the right vinyl wrap and a bit of patience, you can transform your board into a unique masterpiece that stands out at the skate park.
Skateboard wrapping is the process of applying a vinyl film over the deck to create a customized, durable, and stylish finish. Unlike painting, which requires sanding, priming, and drying time, a vinyl wrap offers instant results with no mess. Plus, it's removable and replaceable, allowing you to switch up designs whenever you feel like a change. Whether you're aiming for a bold graphic print, a sleek matte finish, or a textured grip-friendly design, wrapping your skateboard is a cost-effective and fun way to personalize your ride.
Wrapping Skateboard Materials Needed
Before diving into the wrapping process, let's take a minute to list the supplies you'll need. Having the right materials on hand will ensure a smooth, bubble-free application and a professional-looking finish.
Essential Supplies:
✅ Vinyl Wrap or Skateboard Deck Wrap – Choose a high-quality, durable vinyl that’s flexible enough to conform to your board’s shape. Look for weather-resistant options for longer-lasting results.
✅ Heat Gun or Hairdryer – Helps the vinyl stretch and adhere properly, especially around curved edges. A heat gun works best, but a hairdryer can be a good alternative.
✅ Precision Knife (X-Acto or Similar) – A sharp blade ensures clean cuts along the edges, making the wrap look seamless.
✅ Squeegee for Smoothing – A small plastic squeegee or even a credit card will help remove air bubbles and ensure a tight fit.
✅ Rubbing Alcohol (for Surface Cleaning) – Cleaning the deck before wrapping is crucial to remove dirt, oil, and debris that could prevent the vinyl from sticking properly.
✅ Lint-Free Towel – Use this to wipe down the board after cleaning to ensure no dust or lint interferes with the adhesion.
Skateboard Wrapping Step-by-Step Guide
Follow these five simple steps to achieve a smooth, bubble-free, and long-lasting wrap.
Step 1: Prepare the Skateboard
Before applying your vinyl wrap, you need a clean and smooth surface. If your deck is brand new, a quick wipe-down with rubbing alcohol will do the trick. However, if your board has seen some action, follow these steps:
-
Remove the trucks using a skate tool or wrench. This ensures a seamless wrap without obstructions.
-
Check for deep scratches and rough spots. Lightly sand out any uneven areas for a smoother application.
-
Clean the deck with rubbing alcohol and a lint-free towel. This removes dirt, grease, and dust, allowing the wrap to adhere properly.
-
Optional: If you want extra durability, you can apply a vinyl primer along the edges for better adhesion.
Step 2: Cut the Vinyl Wrap
Now that your skateboard is prepped, it’s time to cut your vinyl to the correct size:
-
Measure the deck, adding about an inch of extra material on all sides. This extra margin will help you adjust the wrap and ensure full coverage.
-
Cut the vinyl using scissors or a precision knife. It doesn’t have to be perfect at this stage, as you’ll trim excess material later.
Lay the cut vinyl flat and let it rest for a few minutes to reduce any curling from being rolled up.
Step 3: Apply Vinyl Wrap to the Skateboard
-
Align the wrap on the skateboard, starting with the underside of the deck for the best visual effect.
-
Gently press down the center and begin smoothing outward with your hands to lay the vinyl in place.
-
Chase out air bubbles using your thumbs. If large bubbles appear, carefully lift the vinyl and reapply while pressing outward.
Avoid stretching the wrap too much at this stage—it’s better to go slow and steady.
Step 4: Use Heat for Better Adhesion
-
Use a heat gun or hairdryer to warm the vinyl slightly. This makes the material more flexible, allowing it to contour around the skateboard’s curves.
-
Smooth out wrinkles and edges while applying heat. This step is crucial for seamless adhesion and preventing peeling later.
-
Be careful not to overheat, as this can cause warping or melting of the wrap. A little warmth goes a long way!
Keep the heat gun moving in small circular motions rather than concentrating it on one spot.
Step 5: Trim Excess and Smooth Edges
-
Use a sharp precision knife (X-Acto or razor blade) to carefully trim the excess vinyl along the edges of the deck.
-
Cut at a 45-degree angle for a clean, professional finish.
-
Smooth down the edges with your fingers or a wrapped squeegee to ensure a secure fit.
-
If needed, apply another round of light heat to help the vinyl stick firmly to the deck.
For an ultra-polished look, lightly sand the edges of the vinyl with fine-grit sandpaper and apply another layer of primer to seal the wrap.
How to Maintain a Wrapped Skateboard
Once your skateboard is wrapped, proper maintenance ensures that the vinyl stays vibrant and securely adhered for as long as possible. Here are some simple but effective tips to keep your wrapped skateboard looking fresh and performing well.
Cleaning Tips
-
Use mild soap and a soft cloth – Harsh chemicals or abrasive scrubbers can damage the vinyl or cause fading. A gentle soap solution and a microfiber cloth will safely remove dirt and grime.
-
Wipe down your skateboard regularly – Even if your board doesn’t look dirty, wiping it down after each session prevents buildup of dust and debris that can wear down the wrap.
-
Spot clean stubborn marks – If you get tough stains or scuff marks, try using a damp cloth with a small amount of isopropyl alcohol, but avoid excessive rubbing.
Avoid Excess Moisture
-
Keep your board dry – While high-quality vinyl is durable, prolonged exposure to moisture can weaken the adhesive and cause peeling.
-
Don’t leave it outside in the rain – If your skateboard gets wet, dry it immediately with a soft towel.
-
Store it in a dry place – Avoid damp environments, such as basements or garages with high humidity, to prevent premature wear.
Additional Tips for Longevity
✅ Avoid dragging your board on rough surfaces – Scraping can damage the edges of the wrap.
✅ Use a heat gun for minor fixes – If edges start lifting, applying mild heat can help reattach the vinyl.
✅ Consider adding a clear protective layer – A vinyl laminate or transparent grip tape can extend the life of your wrap.
FAQs: Wrapping a Skateboard
Can I wrap a skateboard with grip tape on?
No, applying a vinyl wrap over grip tape won’t work because the rough, textured surface prevents proper adhesion. If you want to wrap your skateboard deck, you’ll need to remove the grip tape first. However, if you only want to wrap the underside of the deck, you can leave the grip tape intact since it won’t interfere with the application.
How long does a skateboard wrap last?
The lifespan of a skateboard wrap depends on usage, material quality, and maintenance. On average, a well-applied, high-quality vinyl wrap can last 6 months to 2 years before showing signs of wear.
Now, go shred in style!
Now that you know how to wrap a skateboard, why not take your customization to the next level? Whether you're going for a sleek matte finish, a bold graphic design, or a one-of-a-kind look, Yeswrap’s vinyl wrap lets you express your style with ease.
Got questions or tips of your own? Drop a comment below and share your experience! We’d love to see how your wrapped skateboard turned out. 🛹