How Much Vinyl Do You Need to Wrap Your Fridge
Wrapping home appliances like refrigerators is one of the most exciting things in modern interior design. Whether you're aiming to match your fridge with your new kitchen decor, restore an aging appliance, or simply express your unique style, vinyl wraps offer a customizable, cost-effective solution. Unlike painting or replacing, vinyl wrap installation is quick, reversible, and far more affordable.
But one of the most common questions people ask before starting this DIY upgrade is: how much vinyl do I need to wrap my fridge?
In this guide, we’ll break down everything you need to know, from measuring your appliance to estimating how much vinyl you’ll need for various fridge styles. Whether you have a compact mini fridge or a large French door refrigerator, we’ll help you make informed decisions so you can wrap with confidence and avoid running short on material.

Why Wrap a Fridge?
Wrapping your refrigerator offers a creative and practical way to transform your kitchen without the cost or hassle of replacing the appliance.
1. Aesthetic Refresh Without Replacing the Appliance
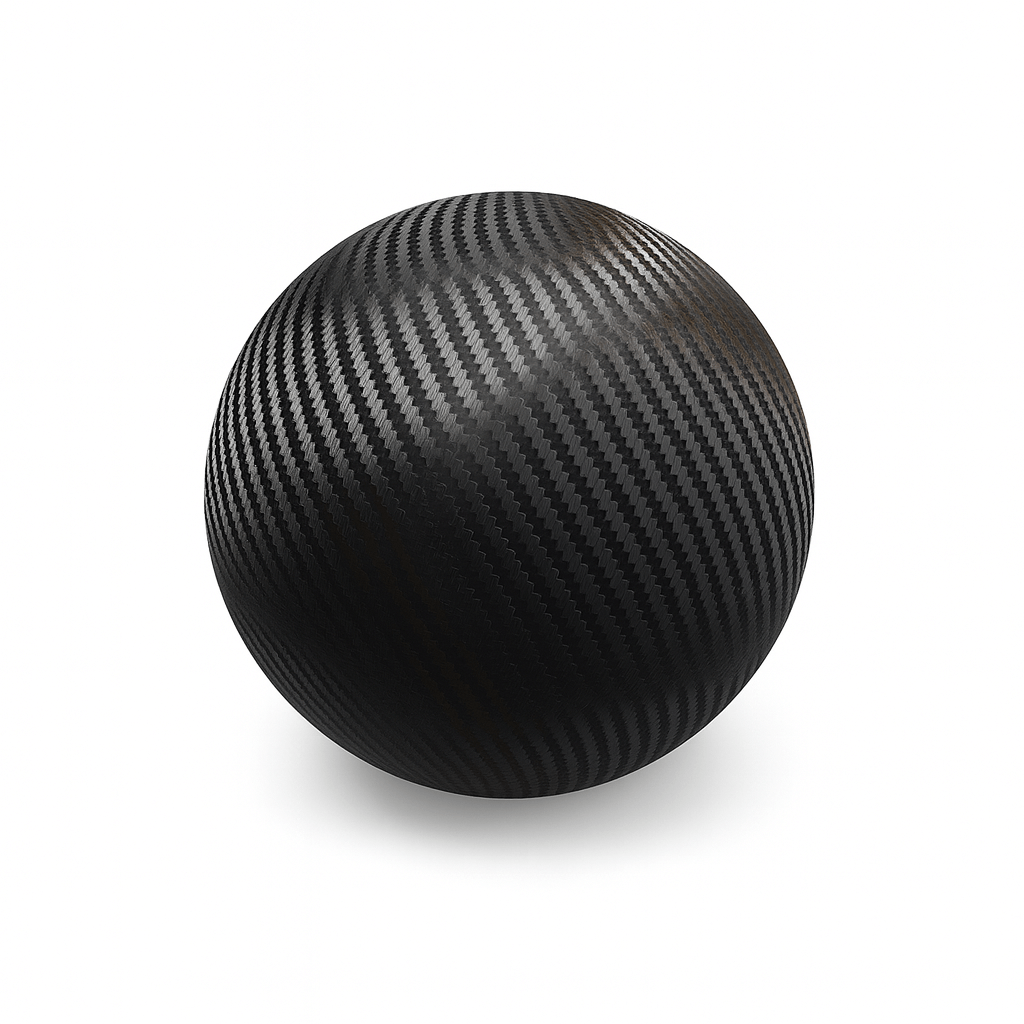
Tired of outdated finishes or dull surfaces? A fridge wrap lets you instantly upgrade the look of your appliance with modern, stylish designs—whether you want matte black, brushed metal, marble texture, or a bold pop of color.
2. Affordable Kitchen Makeover
Compared to purchasing a brand-new refrigerator or hiring a contractor to repaint your appliance, vinyl wrapping is incredibly cost-effective. You can give your entire kitchen a facelift at a fraction of the price.
3. Protects the Original Surface
Vinyl wraps act as a protective layer, shielding your fridge from everyday wear and tear—scratches, stains, fingerprints, and even rust. If you plan to sell or move, you can remove the wrap and reveal the well-preserved original finish underneath.
4. Easy to Install and Remove
With the right tools and a bit of patience, vinyl wraps can be installed by anyone, even without professional help. Best of all, the adhesive is designed to be removable, so you can update the look as often as you like without leaving residue.
5. Fully Customizable
From sleek minimalist tones to patterned prints or even custom branding for office or commercial spaces, vinyl wraps let you personalize your fridge to match your taste or theme. You can even match it with other appliances or interior accents for a cohesive look.
Fridge Types and Their Average Dimensions
Each style has a different surface area, which directly affects how much vinyl you’ll need. Here are some common types of fridges and their typical dimensions.
Top Freezer Refrigerators
Average Dimensions:
-
Width: 28–33 inches
-
Height: 60–66 inches
-
Depth: 28–34 inches
Bottom Freezer Refrigerators
Average Dimensions:
-
Width: 29–33 inches
-
Height: 66–70 inches
-
Depth: 30–33 inches
Side-by-Side Refrigerators
Average Dimensions:
-
Width: 32–36 inches
-
Height: 65–71 inches
-
Depth: 30–34 inches
French Door Refrigerators
Average Dimensions:
-
Width: 29–36 inches
-
Height: 67–70 inches
-
Depth: 29–36 inches
Mini Fridges
Average Dimensions:
-
Width: 18–20 inches
-
Height: 30–36 inches
-
Depth: 18–22 inches
Double-Door or Smart Refrigerators
Average Dimensions:
-
Width: 33–36 inches
-
Height: 69–72 inches
-
Depth: 28–36 inches
Vinyl Needed by Fridge Type
|
Fridge Type |
Dimensions (inches) |
Vinyl Required (ft²) |
Roll Size Recommendation (ft) |
|
Mini Fridge |
18 x 30 |
10–12 ft² |
5ft x 3ft or 5ft x 4ft |
|
Top Freezer |
30 x 66 |
30–35 ft² |
5ft x 7ft |
|
French Door |
33 x 70 |
40–50 ft² |
5ft x 10ft |
|
Side-by-Side |
35 x 70 |
50–60 ft² |
5ft x 12ft |
How to Measure Your Fridge for Vinyl Wrap
While we’ve outlined typical fridge dimensions and vinyl estimates, nothing beats measuring your own refrigerator for accuracy. Every model has subtle differences—curves, trims, and visible panels—that can affect how much vinyl you need. Here’s a step-by-step guide to help you measure your fridge like a pro:
Step 1: Measure the Front Panels
Start with the most visible parts:
-
Doors: Measure the height and width of each door individually if it’s a double-door or French door unit.
-
Include any freezer drawers if applicable.
-
Don’t forget to account for small design details or recessed handles.
Step 2: Measure the Side Panels
If the sides of your fridge are visible (not enclosed within cabinetry), be sure to include them:
-
Measure the height and depth of each side.
-
If the top of your fridge is exposed, measure its width and depth as well.
Step 3: Add Coverage for Curves and Seals
Most fridges aren’t perfectly flat. Rounded edges, door seals, and side contours will use more vinyl than you expect.
-
Add 10–15% extra to each measurement to ensure enough material for wrapping around corners and handling any errors.
-
This buffer also helps in case you need to reapply a section.
Step 4: Use the Right Tools
-
Use a flexible measuring tape or soft tailor’s ruler to conform to curves and edges.
-
Record each measurement clearly, and calculate the total square footage required.
Even if you’re wrapping just the front panels, we recommend wrapping the sides too if they’re exposed. This gives your fridge a complete, polished look from every angle.
Once you have your measurements, choose a vinyl wrap that offers enough length and width, and always round up to the next available roll size at Yeswrap to ensure full coverage without stress.
How to Apply Vinyl Wrap on Fridge | Step-by-Step Guide
Wrapping your fridge with vinyl is a simple yet transformative DIY project. With a bit of patience and the right tools, you can give your kitchen a fresh, modern look—without spending thousands on a new appliance. Follow this step-by-step guide to apply your vinyl wrap like a pro.
Step 1: Gather Your Materials
You'll need:
-
High-quality vinyl wrap (like Yeswrap’s fridge wrap film)
-
Squeegee or felt-edge applicator
-
Precision knife or blade
-
Measuring tape
-
Heat gun or hair dryer
-
Cleaning solution (isopropyl alcohol + water)
-
Microfiber cloth
-
Masking tape (optional)
Step 2: Clean the Surface Thoroughly
-
Unplug the fridge for safety.
-
Wipe down all surfaces you plan to wrap using a mix of isopropyl alcohol and water.
-
Remove any dirt, grease, dust, or stickers.
-
Dry with a lint-free microfiber towel to ensure the surface is perfectly clean and smooth.
Step 3: Measure and Cut the Vinyl
-
Refer to your earlier measurements and cut the vinyl slightly larger than the panel you’re wrapping (add 1–2 inches extra on all sides).
-
If your fridge has multiple doors or sections, cut the vinyl into manageable pieces for each part.
Step 4: Position and Apply the Vinyl
-
Peel back a few inches of the vinyl backing and align the top edge of the film with the panel.
-
Stick the exposed adhesive to the surface and press it down lightly.
-
Gradually peel the backing off while using your squeegee to smooth the vinyl down as you go, moving from the center outward.
Step 5: Tackle Corners and Edges
-
Use your squeegee or fingers to press the vinyl firmly around corners, handles, and trim.
-
For curved surfaces or tricky spots, gently heat the vinyl with a heat gun or hair dryer to make it more flexible.
-
Carefully tuck the film around edges for a seamless look.
Step 6: Trim Excess Vinyl
-
Use a sharp precision knife to trim away extra vinyl around door seals, hinges, and edges.
-
Be slow and controlled to avoid scratching your appliance.
Step 7: Final Finishing Touches
-
Reheat any stretched or curved areas gently to help the vinyl conform and bond better.
-
Use your squeegee to press out any small bubbles.
-
Let the wrap rest for at least 24 hours before heavy use to allow full adhesion.
Wrap Maintenance Tips for Your Vinyl-Wrapped Fridge
To keep your vinyl-wrapped fridge looking sharp and lasting longer, regular maintenance is key. Fortunately, vinyl wraps are low-maintenance and easy to care for—just follow these simple tips to preserve their color, texture, and adhesion.
1. Clean Gently and Regularly
Use a soft microfiber cloth and a pH-neutral cleaner or a mixture of mild soap and water to wipe down your fridge. This helps remove fingerprints, smudges, and everyday kitchen grime without damaging the vinyl surface.
Avoid ammonia-based or alcohol-heavy cleaners, which can weaken the adhesive or fade the color over time.
2. Skip the Scrub Pads
Never use abrasive sponges, steel wool, or scouring pads on your wrapped fridge. These can scratch or peel the vinyl, especially on textured or matte finishes. Instead, opt for a soft cloth and gentle circular motions when cleaning.
3. Avoid Wax and Polish on Certain Finishes
Do not use wax, polish, or solvent-based protectants on matte, satin, brushed, or textured vinyl wraps. These products can leave unwanted shine or residue, and even cause discoloration.
If you want to enhance shine on gloss wraps, use vinyl-safe spray sealants designed for wraps.
4. Spot Clean Immediately
For spills, food splashes, or stains, clean the area right away. Letting residue sit for too long can stain or harden the wrap, especially on lighter colors.
5. Be Careful Around Heat
Keep your wrapped fridge away from open flames or direct, prolonged heat sources like ovens or radiators. Although most vinyl wraps are heat-resistant, consistent high heat can reduce lifespan or cause warping.
6. No Pressure Washing
Avoid high-pressure sprays when cleaning. The force can lift edges or damage seams, especially on older wraps.
Final Thoughts
Wrapping your fridge is one of the easiest and most creative ways to refresh your kitchen without the cost or hassle of replacing appliances. Whether you're going for a bold, modern look or a subtle, sophisticated upgrade, vinyl wrapping offers a stylish, budget-friendly solution that protects your fridge while elevating your interior design.
With so many textures, finishes, and colors to choose from, your options are endless. Plus, with easy DIY application and low-maintenance care, vinyl wraps are perfect for any homeowner or renter looking to personalize their space.
Ready to upgrade your kitchen look?
Explore Yeswrap’s premium appliance vinyl wraps for every size and style of fridge. Find the perfect finish and transform your kitchen today.
FAQs
Can you vinyl wrap a fridge?
Yes, you can vinyl wrap a fridge. It’s a popular way to give your appliance a fresh look without the cost of replacement. Vinyl wraps are designed to adhere to flat surfaces like those found on refrigerators, making them ideal for quick makeovers.
Is vinyl wrap safe for kitchen appliances?
Absolutely. High-quality vinyl wraps, like those from Yeswrap, are made with safe, non-toxic materials that won’t damage your appliance’s surface. They’re heat-resistant, waterproof, and built to withstand typical kitchen conditions.
How long does fridge vinyl wrap last?
With proper care, a vinyl-wrapped fridge can last 3 to 5 years or longer. The longevity depends on factors like cleaning habits, exposure to direct sunlight, and the type of wrap finish you choose.
Can I remove the vinyl later?
Yes. Vinyl wraps are removable and typically leave no residue if removed properly. Just warm the film with a heat gun or hair dryer and peel it back gently. It’s a great option for renters or those who like to change styles often.
Will it stick to textured surfaces?
Vinyl adheres best to smooth, clean surfaces. While it may stick to lightly textured areas, deeper textures can prevent full adhesion and may result in bubbling. For best results, stick to flat, non-porous surfaces or lightly sand the area smooth before application.