How Much Does It Cost to Vinyl Wrap a Bicycle
Want to give your bicycle a fresh new look without spending a fortune on paint? A vinyl wrap is one of the easiest and most cost-effective ways to transform your bike’s appearance while protecting its original finish. A vinyl-wrapped bicycle not only enhances your bike’s appearance but also provides a layer of protection for its frame. The best part? You can change the design whenever you like without harming your bike’s paint.
If you’re curious about how much it costs to vinyl wrap a bicycle, this guide breaks down everything you need to know. We’ll cover pricing ranges, factors that affect the cost, and tips to maximize your value for your money.
Bicycle Wrap Cost Ranges
Determining the exact cost of vinyl wrapping a bicycle can be challenging because it depends on several variables, including your bike’s size, the design you choose, and whether you plan to install it yourself or hire a professional. Still, we can establish some general price ranges to help set expectations.
For a straightforward single-color DIY wrap, you can typically expect to spend between $100 and $200. This is ideal for riders who want a simple refresh or a new finish without the added expense of professional labor.
If you prefer custom graphics, detailed patterns, or branded designs, costs usually rise to $150–$350 for DIY kits. These are great for cyclists who want to personalize their ride with bold visuals while keeping costs reasonable.
Professional installation naturally comes at a premium. A basic professional wrap, usually in a solid color and covering most or all of the frame, often falls between $300 and $500. This includes expert prep and application for a smooth, long-lasting result.
For riders who desire specialty finishes, such as chrome, carbon fiber, or intricate custom artwork, pricing can range from $400 to $600 or more, particularly for e-bikes or uniquely shaped frames.
Because prices vary by region, material brand, and design complexity, it’s always wise to get a personalized quote from a local vinyl wrap shop to better understand the total cost for your specific bike.
Factors Influencing the Cost of Vinyl Wrapping a Bicycle
The price of wrapping a bicycle can vary widely because several factors come into play. Understanding these elements can help you plan your budget and make informed decisions about the look and finish you want.
1. Bicycle Size and Shape
Larger frames or bikes with unusual shapes require more vinyl and take longer to wrap. Road bikes with slim frames cost less than bulky mountain bikes or e-bikes that have more surface area and intricate parts to cover. The more material and time needed, the higher the overall price.
2. Vinyl Quality
Premium vinyl offers superior durability, UV resistance, and a better finish, but it comes at a higher cost. Cheaper vinyl may save money upfront, but it is more likely to fade, peel, or wear out faster, ultimately costing more in the long run.
3. Wrap Type and Finish
The style of wrap you choose directly impacts the price. Basic matte or gloss finishes are affordable, while specialty options, such as chrome, carbon fiber, metallic, or color-shift, cost significantly more because of the advanced materials and application techniques involved.
4. Complexity of the Design
Simple, single-color wraps are quick to apply and less expensive. However, multi-color schemes, custom graphics, or intricate artwork take extra time and precision. The more detailed the design, the more labor and design preparation are required, increasing the final price.
5. Professional Installation vs. DIY
While DIY wrapping is cheaper, professional installation ensures a seamless, bubble-free finish. Skilled installers also prep the surface properly and apply the vinyl with precision, which adds to labor costs but results in a better outcome and longer-lasting wrap.
6. Location and Shop Rates
Where you live also affects pricing. Vinyl wrap services in urban areas or regions with a high cost of living tend to be more expensive than those in smaller towns. Local demand and competition among shops can also influence rates.
How to Transform Your Bicycle with Vinyl
Vinyl wrapping is one of the most versatile and cost-effective ways to give your bicycle a completely new identity. From bold full-frame makeovers to subtle accent graphics, vinyl allows you to experiment with colors, finishes, and custom designs that paint simply can’t match.
1. Full Wrap
A full wrap covers every visible part of your bike’s frame, creating a completely uniform look. This process typically involves removing and dismantling the frame so each section can be wrapped individually for a flawless finish. Full wraps are perfect if you’re looking for a total transformation—whether it’s switching to a new color scheme or applying detailed artwork across the entire bike.
2. Partial Wrap
If you want to add flair without fully changing your bike’s appearance, a partial wrap is a great choice. This approach targets specific sections such as the top tube, down tube, seat tube, or chainstays, allowing you to create bold accents or subtle highlights. You can even add decals or stripes to enhance certain areas, giving your bike a fresh and stylish update without a full overhaul.
3. Custom Wrap
A custom wrap offers unlimited creative freedom. You can collaborate with a designer or use digital mockups to create a completely personalized look, from intricate patterns to multi-color fades or even branded themes. This is the best option if you want your bicycle to truly stand out with a one-of-a-kind design that reflects your personality and style.
How to DIY Apply Bicycle Vinyl Wrap?
Applying vinyl wrap to your bicycle is a straightforward process that can dramatically change its look while protecting the original paint. With the right materials, a bit of patience, and careful attention to detail, you can achieve professional-looking results at home. Here’s a step-by-step Bicycle wrapping guide:
1. Choose Your Vinyl Wrap
Start by selecting the type of vinyl wrap you want. Choose from a wide range of vinyl from Yeswrap, including metallic, chrome, matte, satin, gloss, or printable wraps.
2. Clean the Bicycle Frame
Thoroughly wash your bike frame using mild soap and water. Remove any dirt, grease, or debris, as even small particles can cause imperfections in the wrap. A clean surface ensures the vinyl adheres properly.
3. Wipe Down with Alcohol
After washing, use isopropyl alcohol and a microfiber cloth to completely remove any remaining residue. This step eliminates oils or cleaning agents that could prevent strong adhesion.
4. Remove Old Decals and Stickers
If your bike has old stickers or factory decals, peel them off carefully before wrapping. This prevents uneven surfaces and ensures a smooth, professional finish.
5. Measure and Cut the Vinyl
Cut the vinyl into appropriately sized pieces for each section of the frame. Use scissors for simple cuts or an X-Acto knife for precision work on detailed areas. Pre-cutting reduces excess waste and makes application easier.
6. Apply the Vinyl Wrap
Peel the backing off one piece at a time and position it on the frame. Start with flat or straight sections before moving to curved areas. Take your time to ensure proper alignment.
7. Use Heat for Better Adhesion
Gently warm the vinyl using a heat gun or hairdryer. Heat makes the material more flexible, allowing it to conform smoothly around curves and edges. Be careful not to overheat and damage the vinyl.
8. Smooth Out Air Bubbles
As you press the vinyl onto the surface, use your hands or a squeegee to push out any trapped air bubbles. Work from the center outward for a smooth, even finish.
9. Repeat and Finish
Continue applying vinyl piece by piece until the entire wrapped area is covered. Once finished, give the wrap a final pass with heat to set the adhesive and improve durability.
How to Maintain and Care for a Bicycle Vinyl Wrap
To keep your wrap looking vibrant and lasting longer, it’s essential to follow proper cleaning and storage practices. Here’s how you can care for your bicycle vinyl wrap effectively:
1. Regular Cleaning
Treat your bike’s vinyl wrap much like you would care for a car wrap. Clean it gently with a mild soap-and-water solution or simply spray it down with water and wipe it dry using a microfiber cloth. Avoid using excess soap, as leftover residue can attract dirt and make the surface look dull.
2. Skip Waxing and Polishing
Most high-quality wraps are laminated with a protective clear coat, so there’s no need to wax or polish them. Using wax-based products may cause buildup and interfere with the wrap’s finish.
3. Preventing and Fixing Scratches
While durable, vinyl wraps can still be scratched if scraped against hard objects. Minor surface marks are often less noticeable over time. For deeper scratches, you can apply a small piece of matching vinyl over the area. Heat and pressure from riding can help the patch blend seamlessly with the rest of the wrap.
4. Safe Storage
If you’re storing your bike for an extended period (such as during winter), keep it in a clean, dry, and well-ventilated space. Moisture can lead to mildew or adhesive weakening over time. Storing it in a protective bike bag, box, or even covering the wrapped frame with plastic can further shield it from dust and weather exposure.
5. Avoid Harsh Chemicals
Vinyl wraps are resilient but not invincible. Stay away from strong cleaning agents or chemicals like acetone, alcohol-based solvents, bleach, or lacquer thinner, as these can dull or damage the wrap’s surface. Stick to gentle, pH-neutral cleaners designed for vinyl care.
Different Colors and Styles Available for Bicycle Wrap
One of the best parts about vinyl wrapping your bicycle is the endless range of colors, textures, and finishes available. Whether you want a subtle upgrade or a bold, attention-grabbing look, Yeswrap always has the vinyl style to suit every rider’s taste.
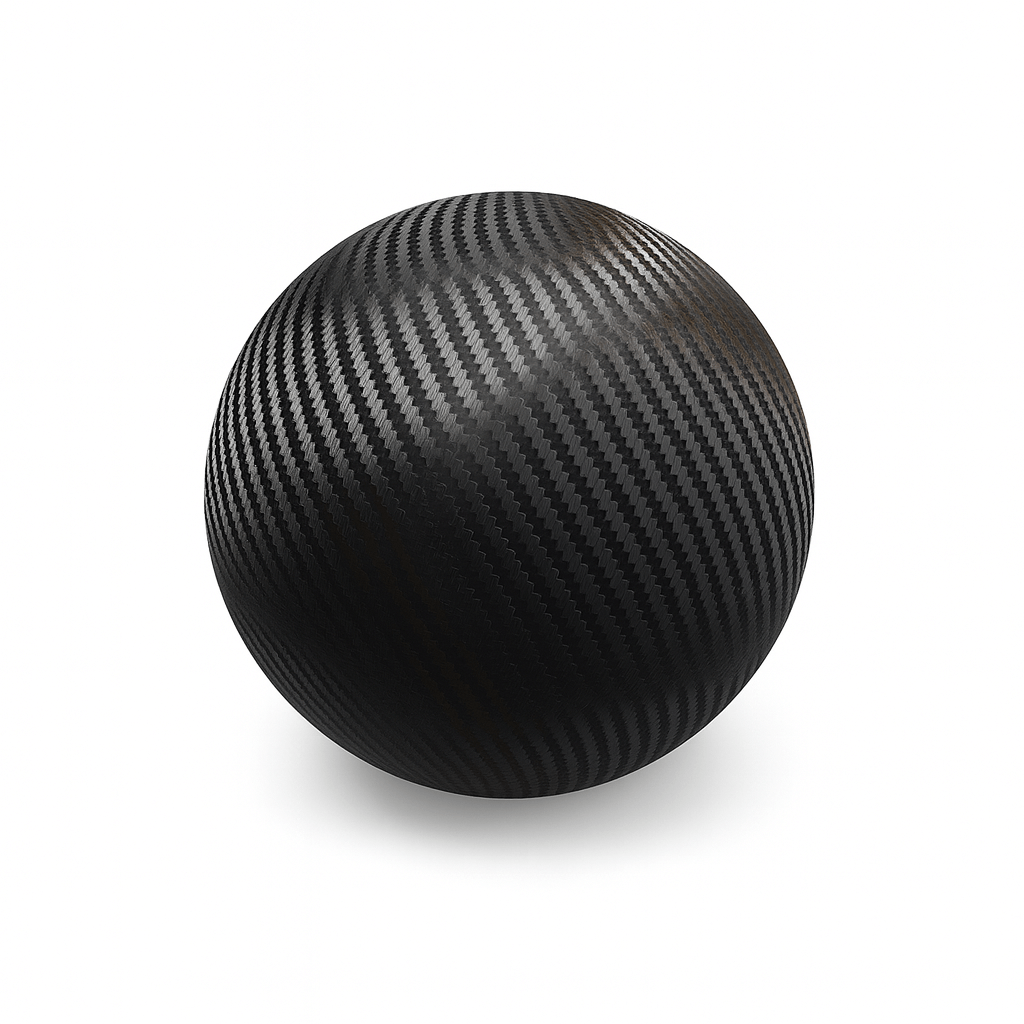
1. Matte Black Vinyl Wrap
If you prefer a minimalist aesthetic with a modern edge, matte black is a timeless choice. Its flat, non-reflective finish gives your bike a stealthy and refined look while exuding understated elegance. The velvety surface offers a sophisticated feel that pairs well with any frame design, making it ideal for riders who value clean lines and subtle confidence over flashy designs.
2. Metallic Vinyl Wraps
For cyclists who want their bike to sparkle in the sunlight, metallic vinyl is the perfect option. Infused with fine metallic flakes, these wraps create a shimmering effect that shifts beautifully under changing light. Shades like Midnight Purple provide a bold, color-shifting appeal, while Gloss Metallic Rosewood Red delivers rich depth and striking highlights. Metallic wraps don’t just turn heads—they add a premium finish that looks dynamic in every environment.
3. Glossy Vinyl Wraps
If you’re after the polished look of a freshly painted frame, high-gloss vinyl wraps are the way to go. They mimic the depth and shine of automotive paint, instantly elevating your bike’s appearance. Colors like Glossy Pearl White add a clean, timeless elegance, while Glossy Khaki Green offers a contemporary twist that balances classic appeal with modern style. Glossy wraps are perfect for riders who love a sleek, showroom-quality finish.
4. Satin Vinyl Wraps
Satin finishes strike the perfect balance between matte and gloss. They deliver a smooth, soft sheen that reflects just enough light for visual interest without being overly reflective. This makes satin wraps versatile and ideal for those who want subtle sophistication with a hint of luxury.
5. Custom Printed and Specialty Wraps
For a truly one-of-a-kind look, custom printed wraps allow you to bring your designs to life, whether geometric patterns, bold graphics, or even personalized branding. Specialty finishes like carbon fiber textures, chrome wraps, or color-shift films add unique depth and dimension for riders who want to make a strong visual statement.
Final Words
Vinyl wrapping your bicycle is an excellent way to combine personalization, protection, and affordability in one package. Compared to traditional paint, it’s far more budget-friendly, easier to apply or update, and opens up countless design possibilities. With options ranging from sleek matte finishes to bold custom graphics, you can completely transform the look of your bike—and even switch it up whenever you want a fresh style.
While some riders may prefer the classic appeal of painted frames, vinyl wraps offer a modern, flexible alternative that lets you express your personality without permanent changes. Plus, the added benefit of surface protection means your bike’s original finish stays preserved underneath.
Keep in mind that factors like bike size, wrap quality, and design complexity all influence the cost, so it’s smart to gather quotes from local wrap professionals if you’re considering professional installation. Whether you go DIY or hire an expert, the investment pays off by giving your bike a unique appearance and extending its lifespan.
FAQs
1. How long does a bicycle vinyl wrap last?
A well-applied vinyl wrap typically lasts 3 to 5 years, depending on how well it’s maintained and the conditions it’s exposed to. Regular cleaning, proper storage, and avoiding prolonged sun exposure can help extend its lifespan.
2. Can I wrap a carbon or aluminum frame?
Yes. Vinyl wraps adhere well to both carbon and aluminum frames, but proper surface preparation is crucial. When wrapping carbon frames, be especially careful with heat application—use low, controlled heat to avoid damaging the material.
3. Can the original decals be saved?
In most cases, decals need to be removed before wrapping for a smooth finish. While it’s possible to peel off a wrap without damaging factory paint, original decals may not survive the process intact. If keeping them is important, consider reapplying replacement decals over the wrap after installation.