Garage Door Wraps
Is your garage door dragging down your home’s curb appeal? You’re not alone. For many homeowners, the garage door is a large, front-facing feature that often gets overlooked, like faded paint, weather stains, or a bland factory finish can quietly make your entire house look dated or neglected.
But here’s the good news: a garage door vinyl wrap offers a simple, stylish, and surprisingly affordable way to turn that eyesore into a showpiece. Whether you want a sleek wood grain texture, a bold carbon fiber pattern, or a custom design printed with your favorite image, wraps give you the creative freedom to personalize your exterior with minimal effort.

In this guide, we’ll walk you through everything you need to know about garage door wraps, from the types and finishes available to installation tips, cost breakdowns, care instructions, and whether you should DIY or hire a pro. If you’ve ever considered updating your exterior, this might just be the easiest transformation you can make.
What Are Garage Door Wraps?
Garage door wraps are sheets of premium vinyl material applied directly to the exterior surface of a garage door to change or enhance its appearance. Much like a car wrap, this vinyl adheres smoothly to the door, creating a clean, finished look that can dramatically improve curb appeal. The garage door vinyl wrap acts like a second skin, offering both visual transformation and surface protection.
How Is Wrapping Different from Painting?
While both wrapping and painting serve to refresh the appearance of a garage door, they differ significantly in process, performance, and practicality.
Painting requires surface preparation, drying time, and careful application to achieve a professional finish. Once applied, the paint becomes a permanent feature of the door and can be costly or time-consuming to change or update. In contrast, a vinyl wrap can be applied more quickly and does not involve fumes, long wait times, or the risk of uneven coverage.
Unlike paint, which is typically limited to solid colors or basic patterns, vinyl wraps are available in a wide variety of finishes, including gloss, matte, brushed metal, carbon fiber, and realistic wood textures. Homeowners can also opt for fully custom-printed designs, allowing them to personalize their garage door with anything from a scenic mural to a sleek, modern pattern.
Why Wrap Your Garage Door?
Wrapping your garage door is more than just a cosmetic upgrade. It is a practical, affordable, and highly customizable solution that delivers both style and functionality. Wrapping your garage doors has several benefits, which are as follows:
Boost Curb Appeal Instantly
The garage door takes up a significant portion of a home's front elevation, and if it's dull, worn, or visually disconnected from the rest of your exterior, it can bring down the overall look of your property. A vinyl wrap allows you to change that instantly. With clean lines, fresh colors, and a professional finish, a wrapped garage door can become a standout feature that enhances the visual harmony of your home.
An Affordable Alternative to Replacement
Replacing a garage door can be costly, especially if you want a high-end design or custom materials. Even professional repainting comes with preparation costs, labor, and long-term maintenance. In comparison, a garage door vinyl wrap is a budget-friendly solution that achieves a similar aesthetic effect for a fraction of the cost. If your door is still structurally sound but looks outdated or mismatched, wrapping is the smarter financial choice.
Weather and UV Protection
Vinyl wraps don’t just look good, but work hard to protect your garage door as well. A high-quality vinyl wrap acts as a shield against sun exposure, rain, snow, and dust. It resists fading, cracking, and peeling, even in extreme weather conditions. This protective layer helps preserve the underlying surface, reducing the need for maintenance or future repairs. Over time, this can extend the lifespan of your garage door and maintain its visual appeal with minimal upkeep.
Easy to Update or Remove
Unlike paint, which is permanent and difficult to reverse, a wrap can be removed without damaging the original surface underneath. This makes it a perfect option for homeowners who enjoy changing styles or for renters who want a temporary upgrade without affecting the property. If you ever decide to try a new color, graphic, or design, you can easily remove the old wrap and apply a fresh one.
Creative Customization
With vinyl wraps, your design options are nearly endless. Choose from solid colors, textured finishes like brushed steel or wood grain, or go fully custom with a printed mural, company logo, or seasonal design. You can align the wrap with your home’s paint palette, make it a contrasting focal point, or even incorporate fun graphics to reflect your personality. This level of creative freedom is rarely possible with paint or prefabricated doors.
Garage Door Wrap Design Ideas
Trust me, wrapping your garage door is the most exciting thing to upgrade your home! Here are some popular garage door wrap design ideas to help you get inspired:
Wood Grain Finish for Rustic Homes
If your home has a farmhouse, cabin, or rustic architectural style, a wood grain vinyl wrap is a perfect match. Wood Grain wraps mimic the appearance of natural wood without the maintenance or expense. From deep walnut to light oak, you can choose a texture and tone that complements your exterior walls and trim. This design is especially appealing for homeowners who want the warm, classic feel of wood without having to worry about warping, rotting, or refinishing.
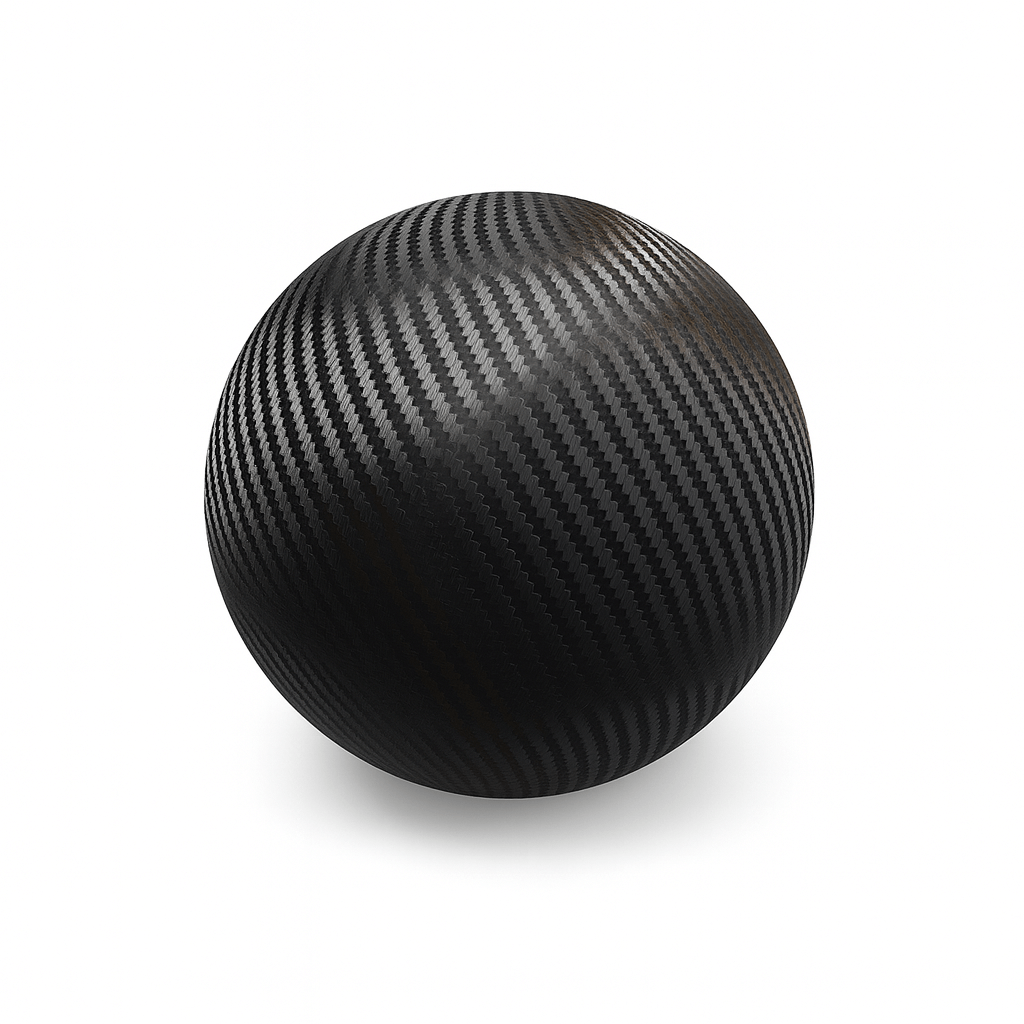
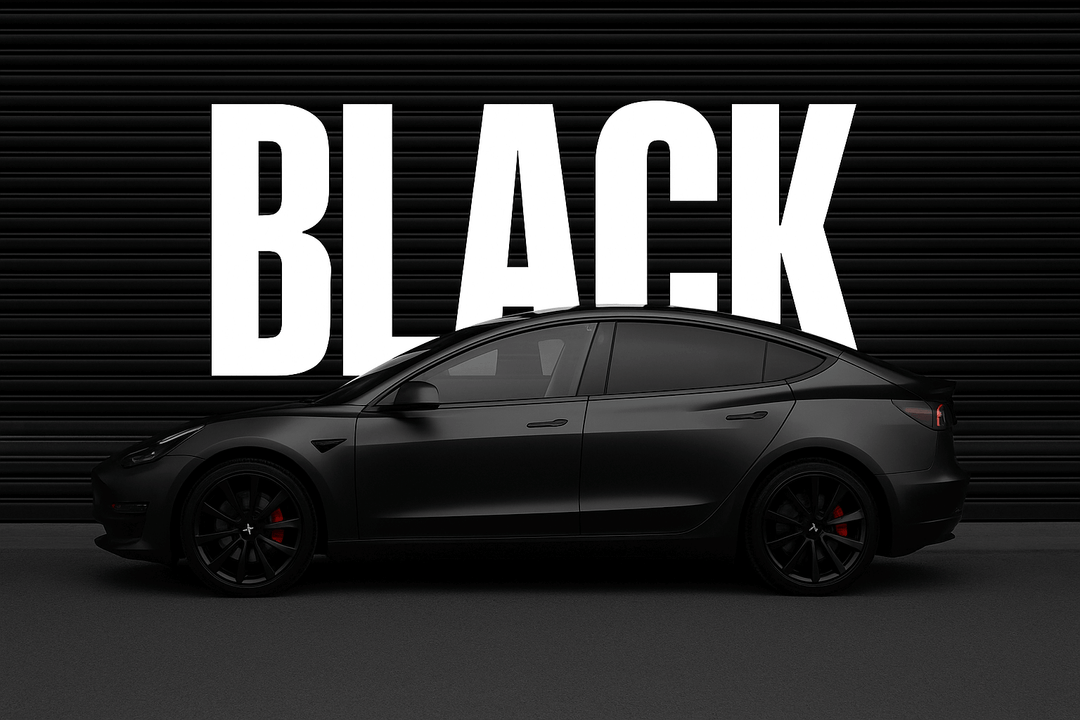
Carbon Fiber or Matte Black for Modern Homes
For a sleek and contemporary look, carbon fiber or matte black wraps offer a clean, sophisticated finish. Carbon fiber gives your garage door a high-tech edge with its subtle texture and reflective surface, while matte black brings a bold and minimalist feel. Both finishes work well with modern architecture and pair beautifully with dark window frames, metal siding, and geometric landscaping.
Festive Seasonal Wraps
Add a touch of holiday cheer to your home’s exterior with seasonal garage door wraps. These are perfect for occasions like Halloween, Christmas, or even patriotic events. For Halloween, you might wrap your door in a spooky haunted house scene. During the winter holidays, opt for snowflakes, Christmas lights, or a wrapped gift design.
Custom Printed Wraps
If you're looking to make a truly personal statement, custom printed wraps allow you to feature anything you can imagine. You could display a scenic mural, a favorite vacation photo, or even a picture of your car or pet. For businesses operating from home, a garage door wrap can feature a company logo or contact information, turning your property into a branding opportunity.
3D Illusion Wraps
Want to make people do a double take? 3D illusion wraps are a creative way to add visual interest and surprise. These wraps create the illusion of depth and dimension—some popular designs include fake windows, garage interiors with classic cars, or brick walls with hidden tunnels. They’re especially fun for homeowners who enjoy playful, artistic designs that stand out in the neighborhood.
Different Types of Garage Door Vinyl Wraps
Yeswrap's vinyl films for garage door wrapping come in a wide range of finishes and styles. Whether you’re going for something bold and modern or warm and rustic, there’s a vinyl option to match your vision.
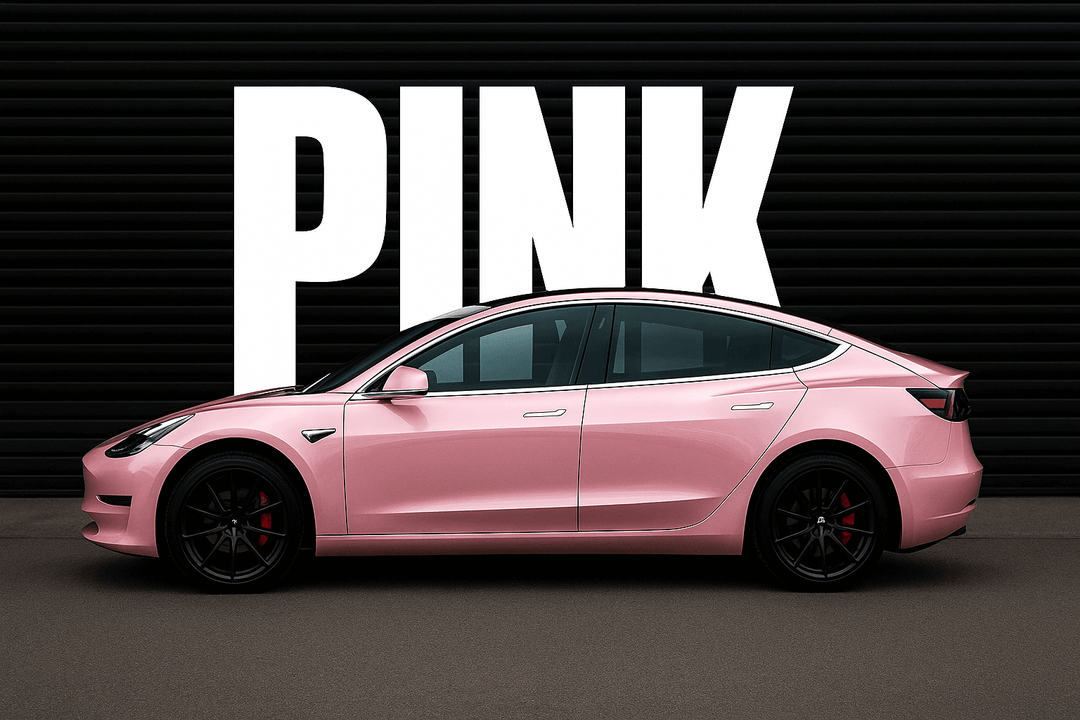
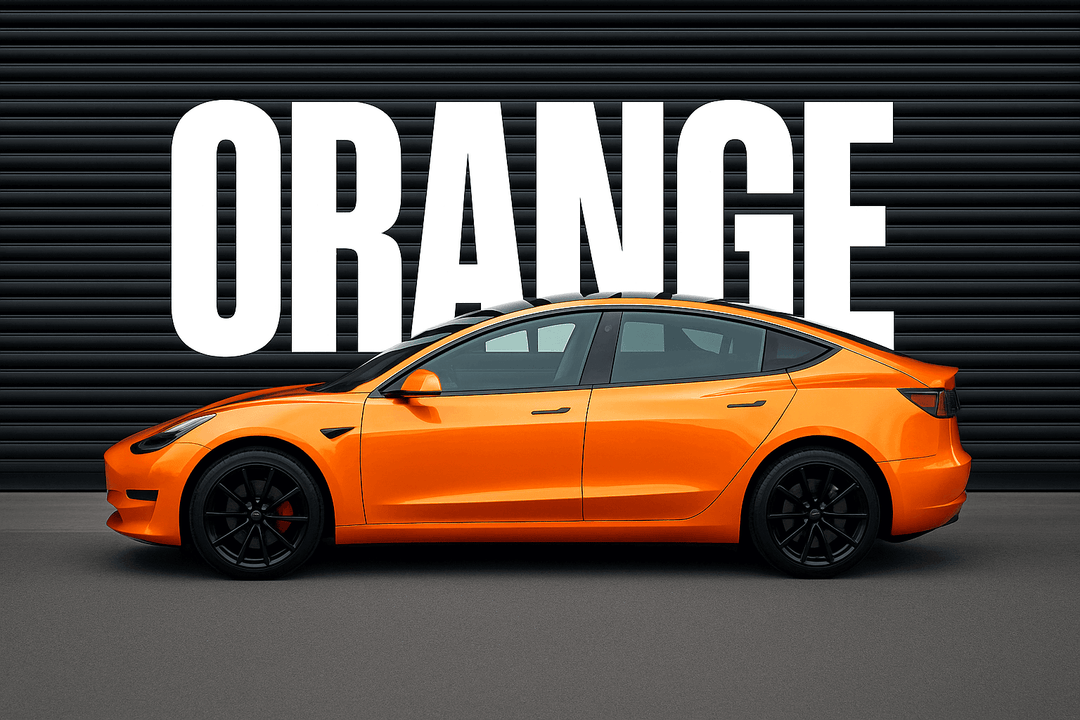
Glossy Vinyl Wrap
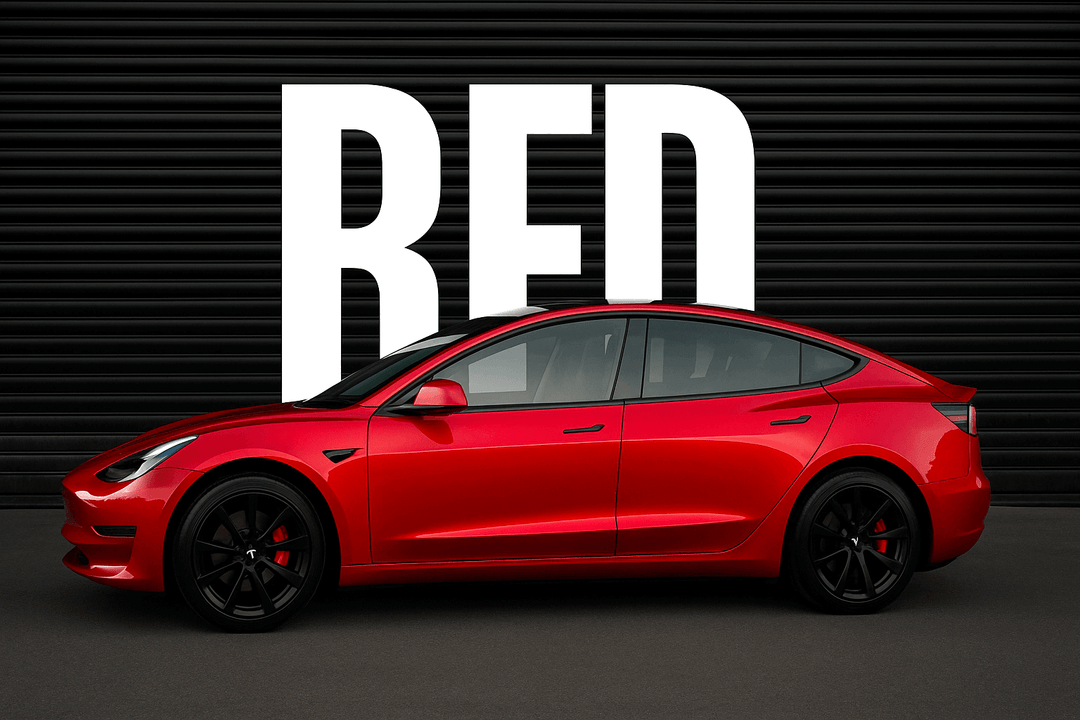
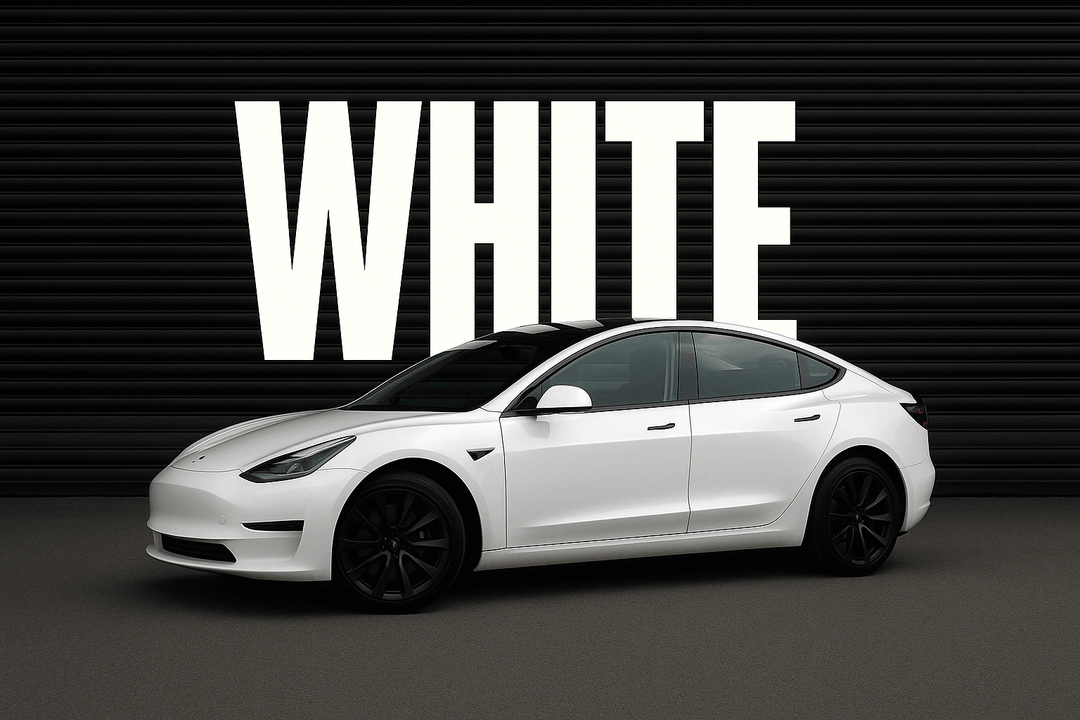
Glossy vinyl wraps offer a smooth, reflective finish that gives your garage door a bright and polished appearance. This is an excellent choice if you're aiming for a clean, contemporary look that stands out from the street. Yeswrap’s glossy wraps are available in a wide spectrum of colors, from deep reds to icy blues and tend to make surfaces appear newer and more vibrant.
Some high-gloss variations, like color shift or white chameleon, even add a touch of depth or subtle color-shifting effects when viewed from different angles. If you want a garage door that feels fresh and professionally finished, a glossy wrap is a reliable option.
Matte Vinyl Wrap
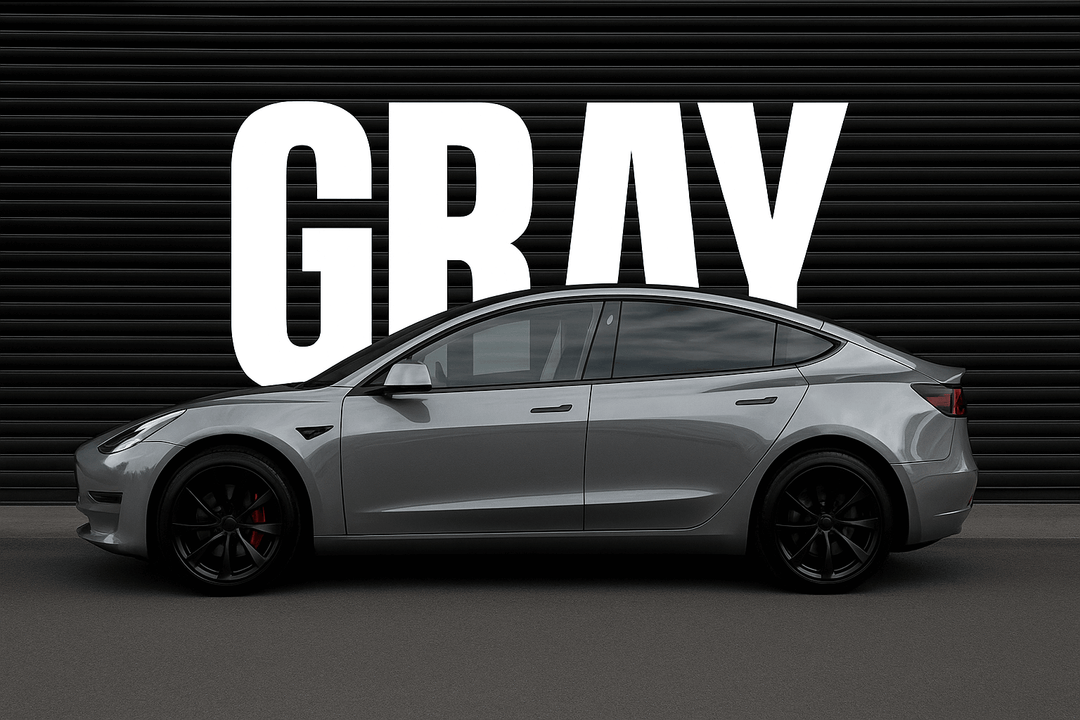
For homeowners who prefer a more understated and modern aesthetic, matte vinyl wraps deliver a smooth, glare-free finish that feels sophisticated and minimal. Unlike glossy finishes, matte wraps reduce reflection, making them ideal for subtle design statements or pairing with dark, neutral exterior color palettes.
Matte wraps are particularly good at hiding minor imperfections in the garage door’s surface and offer a clean texture that works well with industrial, minimalist, or modern home designs. Some our matte films even offer chameleon effects that shift between soft hues like white-red, white-blue, or white-gold for a dynamic yet muted appearance.
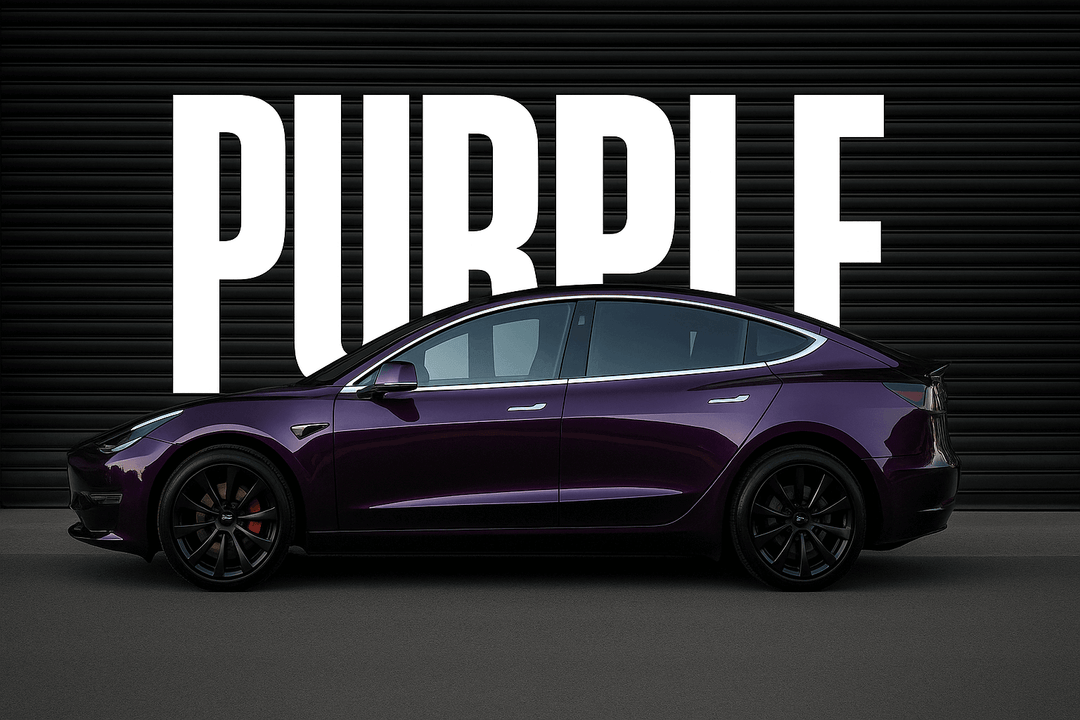
Metallic Vinyl Wrap
Metallic wraps bring a sense of depth and luxury to your garage door by incorporating reflective flakes and pigments into the vinyl. These wraps shimmer under sunlight and change slightly depending on the angle and lighting conditions, creating a visually dynamic surface.
This category includes several subtypes:
-
Gloss metallic: Polished and sleek
-
Candy metallic: Rich, vibrant hues with a liquid-like depth
-
Rainbow metallic: Color-shifting brilliance for bold designs
-
Glitter metallic: Eye-catching sparkle
-
Matte metallic: A more subtle shimmer with a soft finish
-
Brushed metallic: A textured, industrial feel that mimics brushed aluminum or steel
Whether you want something elegant or edgy, metallic wraps provide an extra layer of visual interest.
Printed Vinyl Wrap
Printed vinyl wraps are ideal for those looking for full creative control. Whether you want a custom graphic, mural, business logo, or even a photo of your pet or favorite landscape, printed wraps let you showcase your personal style right on your garage door.
Because each printed wrap is tailored to your design, they often involve additional production steps and are priced higher than standard films. However, the ability to fully customize your garage door makes printed vinyl an excellent choice for branding, holiday displays, or artistic home features.
Textured Vinyl Wrap
Textured vinyl wraps are designed to imitate the look and feel of natural materials, offering the visual richness of surfaces like wood, stone, or marble without the upkeep or cost. A wood grain textured wrap, for example, can turn a plain garage door into a charming barn-style entrance. Similarly, brushed steel or stone finishes can give your garage a high-end, architectural appearance.
These wraps also add a tactile quality, creating dimension and character. Textured vinyls are particularly popular in rustic, craftsman, and industrial-style homes. They are also easy to clean and maintain, making them practical for long-term use.
How Much Do Garage Door Wraps Cost?
The cost of wrapping a garage door can vary depending on the type of vinyl you choose, whether you hire a professional, and how customized the design is.Here’s a general breakdown of what you can expect to spend:
|
Type of Wrap |
Estimated Cost |
Includes |
|
DIY Basic Vinyl Wrap |
$150 – $450 |
Vinyl material only |
|
Professional Installation |
$400 – $900 |
Vinyl + labor (standard design) |
|
Custom Printed Wraps |
$700 – $1,200 |
Fully customized print + installation |
Factors That Affect the Price
Several variables can influence the total cost of wrapping your garage door. Here are the most important ones to consider:
1. Garage Door Size
The dimensions of your door play a major role in pricing. A single-car garage door requires less material and time to wrap compared to a wider double-car or three-car door. Larger surfaces may also involve more seams or panel trimming, which adds to the labor.
2. Vinyl Quality
Not all vinyl is the same. Entry-level monomeric calendered vinyl is more affordable but may not last as long, especially under intense sun exposure. Yeswrap’s premium calendered polymeric vinyl, which conforms better to surfaces and resists weathering, comes at affordable price but offers better performance and longevity.
3. Design Complexity
Standard solid-color wraps are easier to produce and install, keeping costs lower. On the other hand, printed graphics, patterns, and full custom designs require additional production steps and precise application, especially if images or text need to align across door panels.
4. Local Labor Rates
If you’re hiring a professional installer, regional labor costs can influence the final price. Areas with higher demand or limited availability of wrap specialists may charge more for the same service compared to regions with more competition.
Tools Needed to Install a Garage Door Vinyl Wrap
Installing a vinyl wrap on your garage door is a project that many homeowners can take on with the right preparation and tools. Below is a list of essential tools and materials if you want to do it yourself:
1. Measuring Tape
Before anything else, you need to measure your garage door accurately. This ensures you order the correct size of vinyl film and helps avoid waste or shortage. While standard garage doors are typically 16 feet wide and 7 to 8 feet tall, every door is slightly different. Use a sturdy measuring tape to capture both width and height, and double-check the dimensions before purchasing your wrap.
2. Utility Knife or Precision Cutter
Once your vinyl is laid out, you’ll need a sharp cutting tool to trim it to the proper shape. A utility knife or vinyl-specific cutter is ideal for making clean, precise cuts, especially around door handles, hinges, or raised panels. Dull blades can cause jagged edges or accidental tears, so make sure your knife is in good condition before starting.
3. Squeegee or Application Tool
A wrap squeegee is essential for pressing the vinyl onto the surface and smoothing out air bubbles as you work. Choose a squeegee with a soft felt edge to prevent scratching the wrap. This tool allows you to apply even pressure and helps the vinyl adhere securely to every part of the door’s surface.
4. Cleaning Supplies
Before applying any vinyl, thoroughly wash your garage door to remove dust, dirt, grease, and other contaminants. Use a mild detergent and water, then wipe everything down with a microfiber cloth. Avoid using any oil-based cleaners or wax products, as they can interfere with the adhesive bond.
5. Heat Gun
A heat gun is useful for softening the vinyl so it can stretch slightly and conform to the door’s surface. This is particularly important if your garage door has panels, grooves, or raised sections. Applying gentle heat activates the adhesive and makes it easier to press the vinyl into corners and edges. It also helps to set the wrap once it’s in place for a longer-lasting hold.
6. Ladder or Step Stool
Most garage doors are taller than a person’s reach, so you’ll likely need a ladder or a sturdy step stool to work comfortably at the top of the door. Make sure whatever you use is stable and tall enough to allow you to apply the wrap safely and evenly across the entire height of the door.
Step-By-Step Guide to Installing a Garage Door Wrap
Installing a garage door vinyl wrap can be a rewarding DIY project when done with patience and above list tools. Here’s a step-by-step guide to help you wrap your garage door with confidence.
Step 1: Clean the Surface Thoroughly
Before applying any vinyl, start by cleaning your garage door to remove dust, dirt, grease, or any other debris. Use a mild detergent mixed with water and wipe the door down using a soft sponge or microfiber cloth. Once clean, rinse thoroughly and let the surface dry completely. This step is critical, as any contaminants can prevent proper adhesion or cause air bubbles under the wrap.
Step 2: Measure Your Garage Door
Use a measuring tape to get the exact width and height of your garage door. Even if you know your door is a standard size, measuring ensures precision. Always add a few extra inches to your vinyl measurements to allow for slight adjustments, trimming, and stretching. It’s better to have a bit more material than to fall short during installation.
Step 3: Cut the Vinyl to Size
Roll out your vinyl wrap on a clean surface. Using a utility knife or precision cutter, trim the material based on your measurements. Leave about two to three inches of extra vinyl on each side. This additional margin will help with proper alignment and allow you to wrap around edges for a cleaner finish.
Step 4: Align and Begin Application
Start at one end of the garage door—typically the top corner—and carefully peel back a portion of the vinyl’s backing paper. Lightly position the exposed adhesive section on the garage door, making sure it is aligned evenly. Begin applying it in small sections to maintain control.
Step 5: Smooth the Vinyl with a Squeegee
Use a soft-edge squeegee to press the vinyl onto the surface as you go. Work slowly and steadily, pushing air and wrinkles outward from the center toward the edges. Only peel off small portions of the backing at a time to prevent the vinyl from sticking to itself or becoming misaligned.
Step 6: Apply Heat to Contour the Vinyl
Once a section of the vinyl is in place, gently use a heat gun to warm it. The heat makes the material more flexible and helps it conform to any contours, grooves, or ridges on your garage door. Don’t overheat—aim for a soft warmness that lets you stretch and mold the vinyl easily. Use the squeegee immediately after heating to secure the vinyl and improve bonding.
Step 7: Trim Excess Material
After covering the full surface, use your utility knife to trim off any excess vinyl along the edges and corners. Cut slowly and precisely to avoid damaging the film or scratching the door’s surface. For sectioned or paneled garage doors, carefully trim around each panel recess or divider.
Step 8: Seal the Edges
Reheat the trimmed edges with the heat gun and press them down firmly with the squeegee. This step ensures the vinyl bonds well along seams and corners, reducing the risk of lifting over time. Make sure the vinyl is tucked securely along all borders and any panel lines.
Step 9: Remove Air Bubbles
Inspect the entire wrap for trapped air bubbles. For minor bubbles, gently lift the area and reapply using the squeegee. For stubborn bubbles, use an air release tool or a fine pin to puncture the bubble and press it out smoothly. Heat can also help soften the vinyl around uneven areas for easier correction.
Step 10: Final Inspection and Finish
Give the entire garage door a final pass with your heat gun, applying low heat evenly across the wrap to set the adhesive fully. Walk around and inspect all edges, corners, and seams to ensure everything is sealed properly and no areas are lifting or wrinkling.
How to Maintain a Vinyl Garage Door Wrap
A vinyl garage door wrap is like any exterior surface; it requires proper care to preserve its appearance and extend its lifespan. With just a few simple maintenance habits, you can keep your wrap looking vibrant, clean, and well-protected for many years.
Here are the essential steps to maintaining a garage door vinyl wrap:
1. Clean Regularly with Gentle Products
Dust, dirt, and air pollution can gradually dull the finish of your vinyl wrap, especially if your garage faces the street. To keep it looking fresh, wash the surface regularly using a soft sponge or microfiber cloth, mild car soap, and warm water. Rinse thoroughly to remove any residue.
Avoid using abrasive cleaners, brushes, or pressure washers, which can scratch or lift the vinyl. Stick to gentle hand-washing methods to protect both the surface and the adhesive.
2. Avoid Contact with Sharp or Abrasive Objects
Be mindful of what comes into contact with your garage door. Tools, lawn equipment, bicycles, or metal items leaned against the door can cause scratches or punctures in the vinyl. Even minor damage can grow worse over time if not addressed, so take care to keep sharp objects away from the surface.
If a small tear or scrape occurs, consider using a vinyl repair patch or contacting a wrap professional to repair the affected area promptly.
3. Use a UV Protectant Spray
Prolonged exposure to sunlight can slowly fade or discolor vinyl over time, especially in regions with intense UV radiation. To help guard against sun damage, you may apply a UV protectant spray designed specifically for vinyl surfaces.
These sprays add an invisible layer of protection that can reduce fading and keep colors looking bold and rich. Be sure to follow the manufacturer’s directions, and test the product on a small area before full application.
4. Inspect the Wrap Periodically
Take a few minutes every couple of months to visually inspect your garage door wrap. Look for signs of wear such as peeling edges, bubbling, discoloration, or cracks. Early detection allows for quicker and easier repairs before the damage spreads or becomes costly to fix.
If you notice any lifting edges, use a heat gun and a squeegee to reseal them gently. For more serious damage, replacement of the affected section may be necessary.
5. Avoid Harsh Weather When Possible
While high-quality vinyl is designed to withstand the elements, minimizing exposure to extreme conditions when possible will help preserve its condition. For example, if you live in an area prone to snow, salt, or heavy rain, consider rinsing the wrap after storms to remove buildup.
Wrap Your Garage Door Today!
If your garage door looks dull, outdated, or simply doesn't reflect the character of your home, it might be time for a change, and vinyl wrapping is one of the easiest and most impactful ways to do it. A garage door wrap offers a fast, affordable, and stylish solution to upgrade your exterior without the hassle of paint or the expense of replacement.
Not only does a vinyl wrap improve curb appeal, but it also serves as a protective barrier against sun exposure, weather, and daily wear. With minimal maintenance and long-lasting durability, this upgrade is both practical and visually rewarding.
Ready to make your garage door stand out? Visit the Yeswrap online store and explore a wide range of high-quality vinyl wraps designed for exterior use. Choose the perfect finish, place your order, and give your garage door the transformation it deserves—starting today.
Common Questions About Garage Door Wraps
If you're considering a vinyl wrap for your garage door, you're not alone in having a few questions before making the leap. Here are some of the most frequently asked questions to help you understand what to expect from this home improvement upgrade.
How Long Do Garage Door Wraps Last?
With proper installation and care, a high-quality garage door vinyl wrap can last anywhere from five to seven years. Factors such as climate, sun exposure, and maintenance routines can influence longevity. Using a UV protectant spray and regular gentle cleaning can help extend the life of the wrap.
Will Vinyl Wrap Damage My Garage Door?
No, it won’t—provided it’s installed and removed correctly. Vinyl wraps are designed to be safe for most surfaces and often act as a protective layer against environmental elements. When removed properly, the wrap should leave the original surface intact and may even preserve the paint underneath by shielding it from sun and moisture.
Can I Wrap a Garage Door with Panels or Windows?
Yes, you can. Sectioned or paneled garage doors can still be wrapped effectively, though it may take more time and precision. Each panel may require separate application or trimming to maintain clean lines. If your garage door has windows, you can either wrap around them or use perforated vinyl that allows for visibility while still carrying the design.
Is Wrapping Better Than Painting?
For many homeowners, wrapping is the better option. It’s quicker to install, often more affordable, and offers far greater design flexibility. Vinyl wraps are also reversible, allowing you to update or remove the design later without the commitment of permanent paint. If you like the idea of trying new looks over time, wrapping is an excellent choice.
How Long Does Installation Take?
The time required depends on the installer’s experience and the size of the garage door.
-
DIY Installation: Typically takes between 3 to 6 hours for a single door, depending on complexity and preparation.
-
Professional Installation: Usually completed within 1 to 2 hours, thanks to specialized tools and experience.