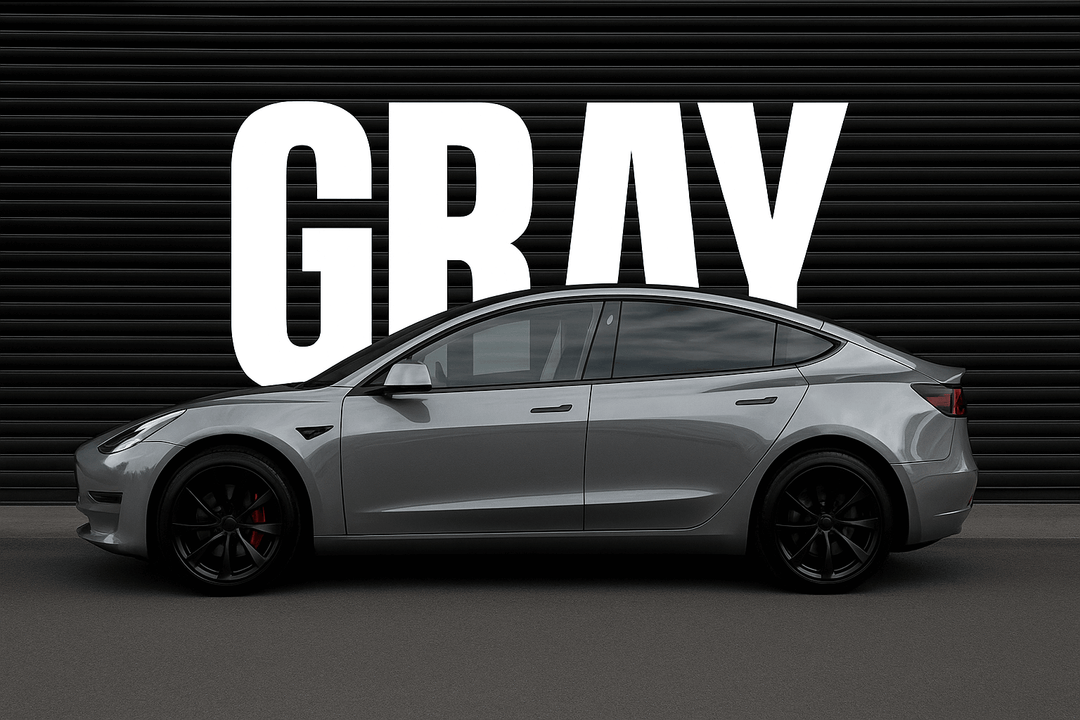
Conquer Curves: How to Vinyl Wrap Around Corners with Ease
You've taken on the exciting challenge of DIY wrapping your car with top-notch vinyl. While applying it to flat surfaces was straightforward, tackling the curves can be a bit tricky. Thankfully, Yeswrap offers a comprehensive guide to help you navigate those curves with ease.
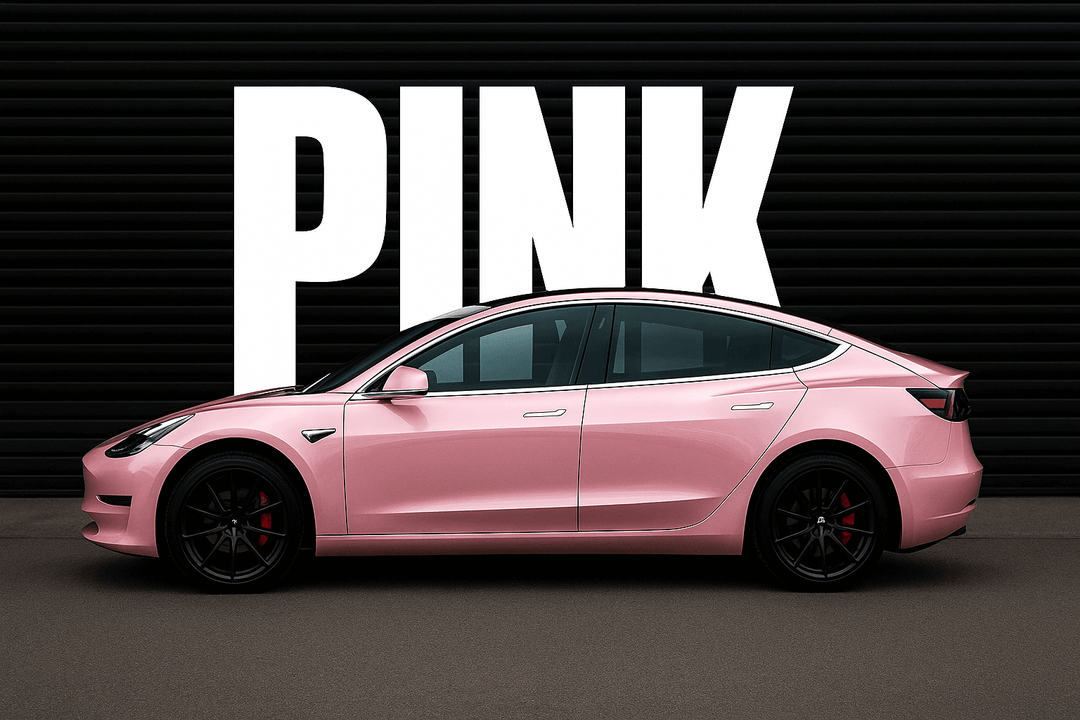
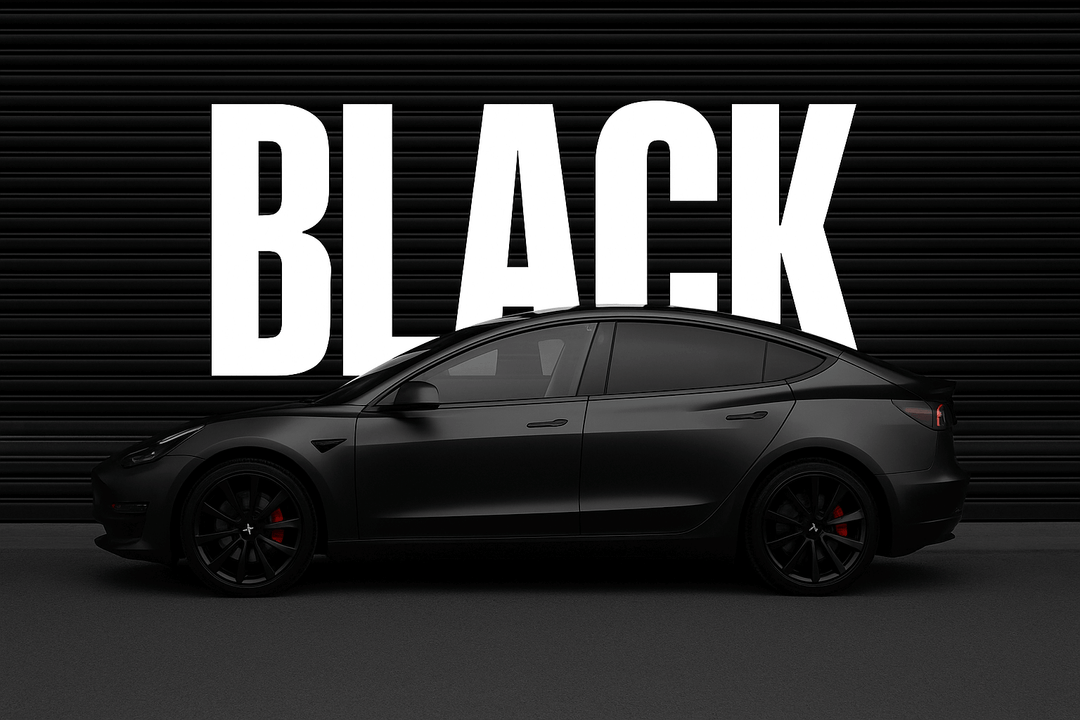
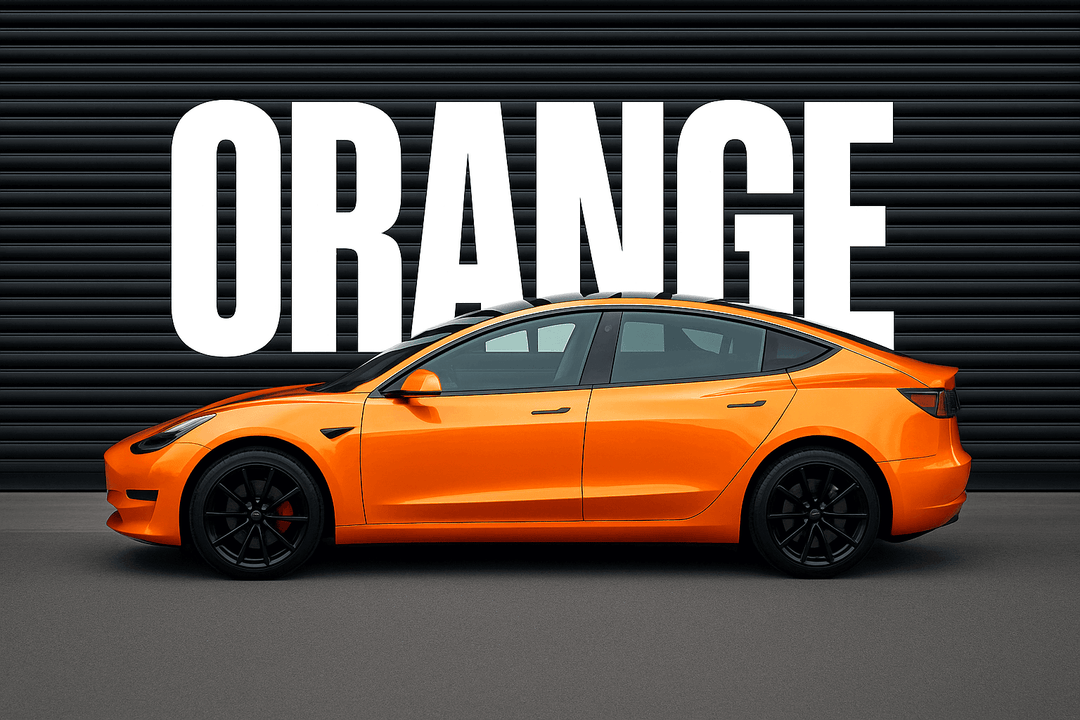
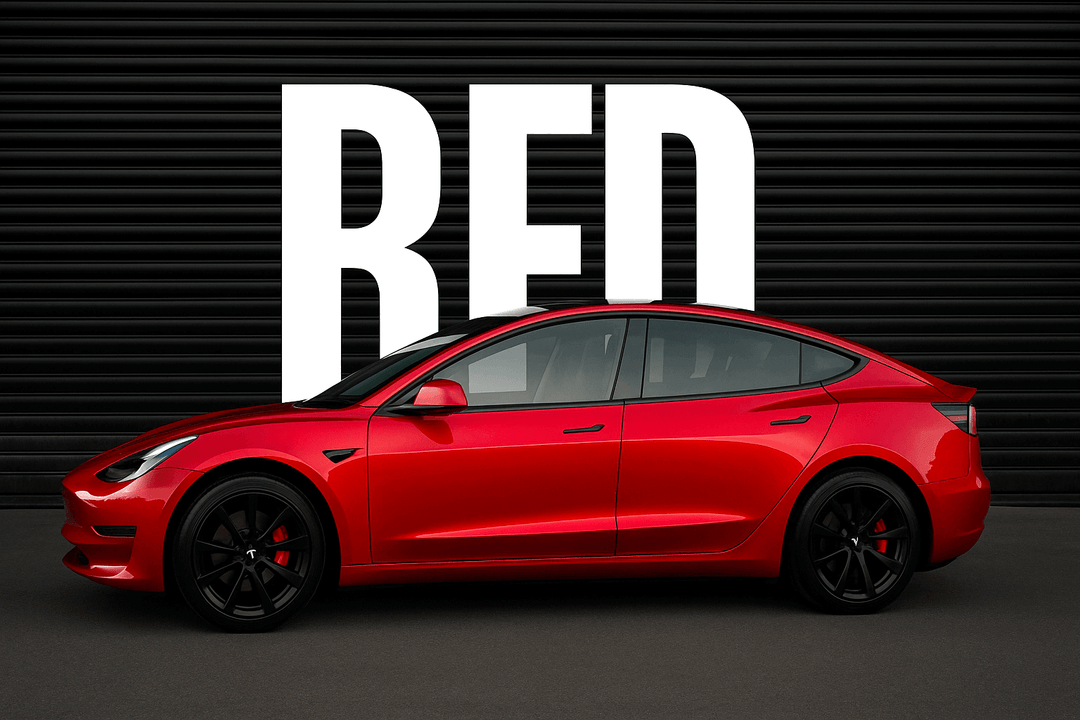
As vinyl wraps gain traction, they’ve become a hot topic among car enthusiasts. Many people are opting for vinyl wraps instead of traditional paint jobs, as wrapping is a more affordable and superior option that offers excellent protection from the elements, UV rays, and potential road damage.
Applying vinyl to a car can be quite challenging for beginners, and if not done correctly, it may result in an unsightly finish. It's essential to wrap the vinyl around the vehicle with care, paying attention to its curves and contours, to ensure that the final look is truly seamless.
Why Wrapping Around Corner Correctly Is Important?
Achieving a flawless finish demands both expertise and finesse, as wrapping vinyl around the edges can be quite challenging due to the numerous curved edges, complex corners, door handles, spoilers, and various small nooks. If the wrapping isn't executed properly, the film may gather in those areas, resulting in unsightly wrinkles at the corners and the edges may not seal properly, resulting in tears and gradual peeling of the vinyl over time.
Tools Needed For Applying Vinyl Film
Before you begin, make sure you have all the essential tools and materials:
- Vinyl: Start with a premium quality vinyl wrap. Explore our wide range of vinyl films available in various colors and finishes to find the perfect match for your project.
- Measuring Tape: Use this to accurately measure your vinyl and cut it to the correct size.
- Cleaning Solution: Any car cleaning product will work to ensure the surface is spotless before application.
- A Piece of Cloth: A soft, lint-free microfiber cloth is ideal for wiping down surfaces without leaving any residue.
- Painter’s Tape: This helps you gauge how much vinyl will extend beyond the edges, ensuring precise coverage.
- Utility Knife: A sharp utility knife is essential for cutting the vinyl wrap to fit specific sections of your car.
- Marker Pen: Use a marker to make clear, accurate marks on your vinyl wrap, so you know exactly where to cut.
- Straight Edge: A straight edge will assist in making clean, precise cuts on the vinyl.
- Squeegee: This tool is crucial for removing creases and air bubbles from beneath the vinyl, ensuring a smooth application.
- Heat Gun: A heat gun will make the vinyl more malleable, allowing it to stretch properly over curves and fit into crevices.
The Common Method: Cold Stretch Wrap
An effective and proven technique is the cold stretch method. This approach is shapes the vinyl film around corners without applying any extra heat at the start.
Essentially, this method that the entire film maintains a uniform temperature, allowing it to be evenly stretched across the surface when applied. In this comprehensive tutorial, we will guide you through the complete process of wrapping your vinyl around corners to achieve a sleek and polished appearance.
Clean And Dry Vehicle Surface
To kick off the wrapping process, it's essential to ensure the car is both clean and completely dry. Begin by applying a cleaning solution to the car's surface, then take a microfiber cloth to wipe away any imperfections or marks. No water or cleaning solution must remain on the surface.
Make sure to give the car ample time to dry thoroughly before proceeding with the installation. Any lingering moisture can hinder adhesion, preventing the vinyl from wrapping correctly.
Measure The Wrapping Area And Cut The Vinyl
Start by taking your painter’s tape and measuring the length and width of the space where you plan to apply the vinyl. Be sure to leave at least 3 inches of tape extending beyond the edge. This extra length is essential for wrapping the vinyl around the edges, ensuring a neat and polished finish. By laying down the tape first, you can accurately determine how much vinyl you’ll need, simplifying the cutting process.
Apply Vinyl Over The Surface
Once we’ve cut the vinyl, we can carefully remove the backing and position the wrap at the center of the desired surface. It’s best to lay it down loosely at first to allow for any necessary adjustments. After the vinyl is in place, gently lift it back up and pull from the corners to create tension, helping to smooth out any creases or wrinkles.
For the best results, start by gently pulling away from the opposite corners to achieve a flawlessly smooth appearance. Once the majority of the wrinkles have disappeared, carefully reposition the vinyl sheet over the surface.
Remove Wrinkles And Air Bubbles
To eliminate any excess wrinkles and air bubbles, start by positioning a squeegee or roller at the center of the vinyl and then roll it outward. It's crucial to pay close attention to this step, as trapped air can prevent the vinyl from adhering correctly to the car, potentially leading to peeling in the future.
Heat Vinyl Around The Edges
After laying the vinyl on the smooth surface, use a heat gun to warm the edges where the vinyl has been applied. This will help stretch the vinyl, ensuring it wraps snugly around the corners. Once stretched, firmly press the vinyl down onto the surface. For those tricky spots, a squeegee or roller can be handy to ensure the vinyl adheres properly.
Cut Off Excess Vinyl
Then, just use a utility knife to trim away any excess vinyl that’s hanging off.
Heat The Vinyl
Next, it’s time to heat the vinyl. For this step, use a heat gun set to approximately 255° F to ensure the adhesive bonds securely to the surface. Move the heat gun in a sweeping motion over the vinyl to properly secure the wrap on the vehicle. After applying the vinyl, allow it to rest for about 24 hours before using the vehicle.
Tackling Complex Curves: The Pre-Stretch and Shrink Method
Applying vinyl wrap to complex curves on a vehicle can be challenging, but using the pre-stretch and shrink method ensures a smooth and professional finish. Here’s how to do it:
Apply Heat to the Vinyl
Start by heating the vinyl film that has been pre-cut to match the shape of the curved section. The heat will make the vinyl more flexible and easier to work with.
Stretch the Vinyl
Hold the film firmly from both ends and gently stretch it outward. As you do this, the film will curve perpendicular to the points of stretch, creating the necessary shape to fit over the complex curve.
Utilize Vinyl Memory
High-quality vinyl films have a memory feature, meaning they will return to the shape they were stretched into once applied. This property is crucial for achieving a smooth application over complex curves.
Cool the Vinyl in a Stretched Position
Allow the vinyl to cool down while it remains in the stretched position. This step helps set the shape, making it easier to apply to the curved section.
Apply the Vinyl to the Curve
Once the vinyl has cooled, carefully position it over the curved section of the vehicle. The pre-stretched film will naturally conform to the curve, minimizing the need for additional stretching.
Heat the Vinyl Again
After the vinyl is in place, apply heat to the film once more. The heat will activate the vinyl's memory, causing it to wrap itself snugly around the curve, ensuring a smooth and seamless finish.
Conclusion
Applying vinyl yourself can be quite a challenge, especially when it comes to achieving a flawless finish in those tricky corners. Yet, with some practice, the process becomes more manageable, and in just a few hours, you can transform your car's appearance dramatically. If you're feeling unsure about your skills, it might be best to leave the task to automotive professionals who can ensure a perfect result.


