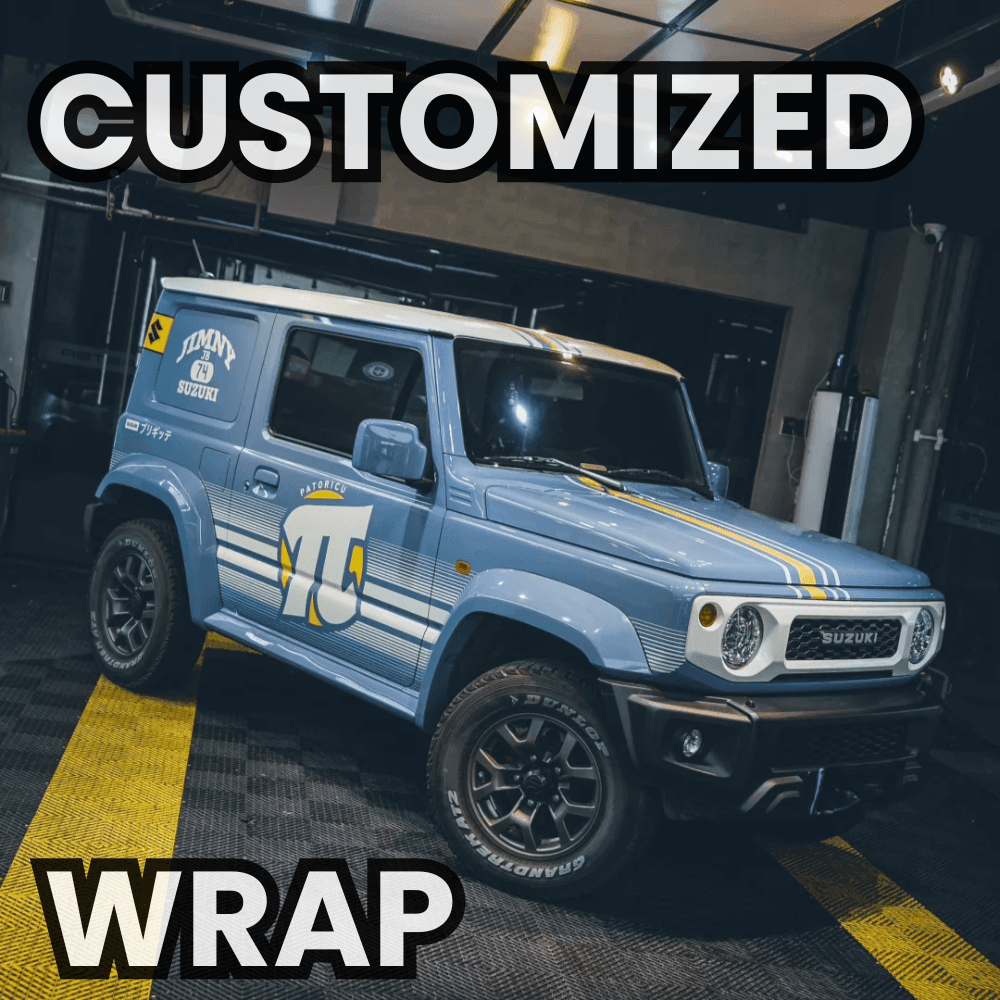
Best 5 DIY Partial Vehicle Wraps
If you’re looking for a budget-friendly way to enhance your car’s style, DIY partial vehicle wraps are the perfect solution. With just a few basic tools and some patience, you can transform key areas of your vehicle in just a few hours.
Partial wraps not only offer aesthetic appeal but also provide extra protection against minor scratches and weather damage. Whether you want to add a sleek blacked-out look to your pillar posts, protect your rocker panels, or upgrade your hood with a bold accent, there’s a wrap for every style and skill level.
The best part? Depending on the vinyl you choose, you can achieve a high-end appearance for under $300—a fraction of the cost of a professional wrap job. So, if you’re ready to upgrade your vehicle without breaking the bank, check out these five easy DIY partial wrap ideas that will turn heads without emptying your wallet.
Headlight & Tail Light Wraps
Your headlights and taillights are some of the most noticeable parts of your car, making them a prime spot for a stylish upgrade. If you’re looking to achieve a sleek, smoked-out look or add a subtle color tint, wrapping your lights with tinted vinyl film is the easiest and safest way to do it. Unlike spray-on tints or dips, vinyl wraps are removable, allowing you to switch up your style or revert to factory settings without damaging your lights.
Why Wrap Your Lights?
Beyond the cool, customized look, headlight and taillight wraps offer practical benefits:
✔ Protection – Shields against minor scratches, debris, and UV damage.
✔ Reversible – Unlike paint, vinyl can be peeled off if you change your mind.
✔ Budget-Friendly – Costs a fraction of professional tinting or replacement lights.
Recommended Vinyl for Headlight Wraps
To get the best results, opt for light smoke or tinted film. These provide a darkened effect while still allowing your lights to shine through safely. Avoid anything too opaque, as it may reduce visibility at night.
Installation Tips
Applying a headlight or taillight wrap is simpler than it looks, but preparation is key to getting a smooth, bubble-free finish. Here’s how:
- Clean Thoroughly – Use Rapid Prep or rubbing alcohol to remove dirt and oils.
- Position & Apply – Align the vinyl carefully and apply using a squeegee or even a library card.
- Use Heat for Curves – A heat gun or blow-dryer makes the vinyl more flexible, allowing it to contour smoothly over rounded surfaces.
- Trim Excess – A razor blade will help you achieve sharp, precise edges.
Rocker Panel Wraps
Rocker panels take a beating from road debris, dirt, and moisture, making them one of the most vulnerable areas of your vehicle. Over time, this exposure can lead to scratches, chips, and even rust. A vinyl wrap not only enhances the look of your rocker panels but also acts as a protective barrier, helping to maintain your car’s finish while giving it a sleek, custom appearance.
Why Wrap Your Rocker Panels?
✔ Protection – Shields against dirt, gravel, and road salt, preventing long-term damage.
✔ Enhanced Style – Adds a sporty or rugged touch, depending on the vinyl choice.
✔ Cost-Effective – More affordable than repainting or replacing damaged panels.
Recommended Vinyl for Rocker Panel Wraps
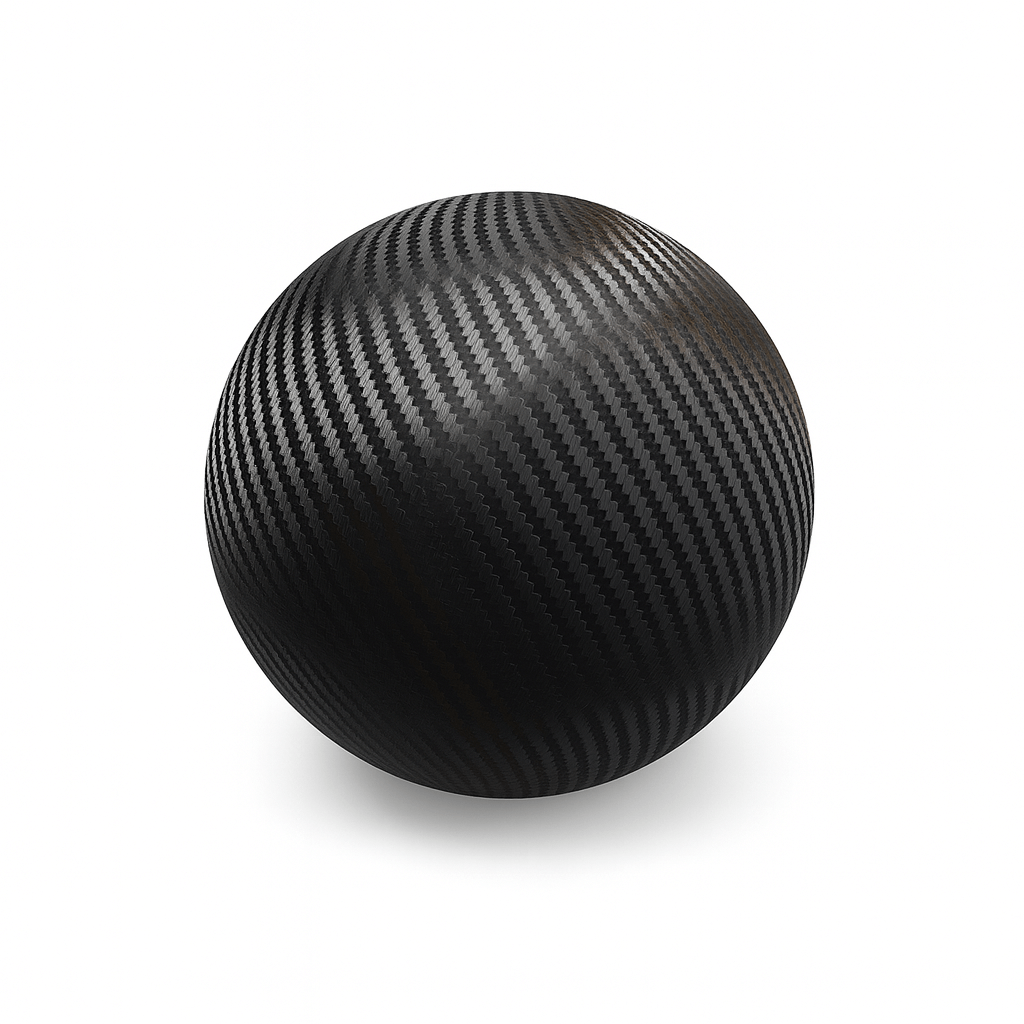
For the best results, choose carbon fiber or matte black vinyl. These options provide a high-end, OEM-style finish while offering excellent durability. Carbon fiber wraps add a performance-inspired look, while matte black creates a stealthy, clean aesthetic.
Installation Tips
-
Clean the Surface – Wash and dry thoroughly to remove dirt, grease, or wax.
-
Measure & Cut – Measure carefully and cut the vinyl slightly larger than needed to allow for adjustments.
-
Start from One Edge – Apply slowly, working from one side to the other, using a squeegee to remove air bubbles.
-
Use Heat for Contours – A heat gun or blow-dryer will help the vinyl conform to any curves or edges.
-
Trim Excess & Seal – Use a razor blade to trim excess vinyl and apply light heat to seal the edges.
Pillar Post Trim Wraps
Your car’s pillar posts might not be the first thing you notice, but they play a big role in defining its overall aesthetic. Upgrading them with a gloss black or carbon fiber vinyl wrap instantly gives your ride a luxury feel, mimicking the high-end trims found on premium models. Whether you’re going for a sleek, piano black finish or a sporty, carbon fiber touch, wrapping your pillar posts is an easy and affordable way to elevate your vehicle’s style.
Why Wrap Your Pillar Posts?
✔ Luxury Upgrade – This creates a modern, high-end look found in premium vehicles.
✔ Seamless Integration – Enhances the flow of your car’s design, especially with tinted windows.
✔ Cost-Effective – A small investment that makes a big visual impact.
Recommended Vinyl for Pillar Post Wraps
For a classic, glossy finish, go with gloss black vinyl to match factory-style luxury trims. If you prefer a performance-inspired look, carbon fiber vinyl adds a textured, race-inspired touch. Both options are durable and easy to clean.
Installation Tips
-
Clean the Surface – Use rubbing alcohol to remove dirt, dust, and grease.
-
Use Masking Tape for Precision – Outline the area with masking tape to guide your cuts.
-
Apply in One Smooth Motion – Start at one edge and slowly smooth the vinyl down, using a squeegee to eliminate bubbles.
-
Trim Excess Carefully – A razor blade helps create sharp, precise edges.
-
Seal with Heat – A heat gun or blow-dryer ensures a firm, long-lasting bond.
Rear View Mirror Wraps
Rear view mirrors might be small, but they pack a big visual punch when it comes to customizing your vehicle. Wrapping your mirrors is an easy way to make your car stand out and protect it against scratches, chips, and fading.
Why Wrap Your Rear View Mirrors?
✔ Custom Look – Choose from gloss, matte, metallic, carbon fiber, or even textured vinyl for a unique style.
✔ Protection – Shields against minor scratches, chips, and UV damage.
✔ Affordable & Reversible – A fraction of the cost of painting, and easy to remove if you change your mind.
Recommended Vinyl for Rear View Mirror Wraps
The best vinyl for your mirror wrap depends on your style preference:
-
Gloss or metallic for a factory-like finish.
-
Matte black for a stealthy, aggressive look.
-
Carbon fiber for a sporty, high-performance vibe.
-
Textured wraps like snake skin or crocodile skin for a one-of-a-kind statement.
Installation Tips
Rear view mirrors are tricky due to their curved shape, but with patience, you can achieve a seamless finish:
-
Clean the Surface – Remove dirt and oils using rubbing alcohol for better adhesion.
-
Measure & Cut Extra Vinyl – Leave extra material to handle curves without stretching too much.
-
Apply Heat Sparingly – A heat gun or blow dryer makes the vinyl more flexible, but don’t overheat or it may shrink.
-
Work in Sections – Start at the center and gradually press outward, using a squeegee to smooth it out.
-
Trim & Seal – Use a sharp razor blade for precise edges and apply light heat to ensure a long-lasting bond.
Hood Wraps
Few modifications can transform your car’s front-end presence like a hood wrap. Whether bold racing stripes, a sleek satin black finish, or a high-performance carbon fiber effect, wrapping your hood is a cost-effective way to enhance your vehicle’s style. Plus, it protects the paint underneath from sun damage, scratches, and road debris.
Why Wrap Your Hood?
✔ Sporty Aesthetic – Adds a racing-inspired look with stripes or carbon fiber accents.
✔ Paint Protection – Shields against UV rays, scratches, and minor wear.
✔ Custom Design Options – Choose from solid colors, textures, or custom graphics.
Recommended Vinyl for Hood Wraps
Your choice of vinyl wrap depends on your desired look:
-
Satin black – For a stealthy, aggressive appearance.
-
Textured finishes (carbon fiber, brushed metal) – These add a high-performance or luxury touch.
-
Custom graphics – For racing stripes, decals, or bold patterns.
Installation Tips
Hood wraps cover a large, flat surface, making them one of the easier DIY wrap projects, but proper technique is crucial:
-
Clean the Surface – Remove dust, dirt, and wax using rubbing alcohol for maximum adhesion.
-
Position the Vinyl – Lay it over the hood and secure it with masking tape before peeling the backing.
-
Use a Squeegee – Start from the center and smooth outward to avoid bubbles.
-
Apply Heat for Stretch – A heat gun or blow dryer helps the vinyl conform to any subtle curves.
-
Trim & Seal Edges – Use a sharp razor blade for clean cuts, then lightly heat the edges to ensure a strong seal.
Frequently Asked Questions
Can I Do Partial Wraps Myself?
Yes! With basic tools, patience, and the right technique, you can install partial wraps yourself. Many vinyl wraps are designed for DIY application, making them easy to work with, even for beginners. Just follow the proper cleaning, positioning, and heat application steps, and you’ll get a professional-looking result without paying for an expensive shop installation.
Can I Remove a Partial Wrap Easily?
Absolutely! Vinyl wraps are designed to be removable, making it easy to switch up your style whenever you want. To remove a wrap, simply apply heat with a heat gun or hairdryer, then peel it off slowly to avoid leaving a residue. If any adhesive remains, rubbing alcohol or a vinyl wrap remover will clean it up effortlessly.
How Long Do Vinyl Wraps Last?
Vinyl wraps typically last between 3 to 7 years, depending on:
✔ Quality of the vinyl – Higher-grade materials last longer.
✔ Installation method – Proper cleaning and heat application improve durability.
✔ Maintenance – Regular washing and avoiding harsh chemicals help extend lifespan.
DIY Partial Wrap Your Ride Today
Why settle for a stock look when you can give your car a custom, high-end appearance at a fraction of the cost? Partial vehicle wraps are the perfect way to upgrade your ride without breaking the bank!
With affordable vinyl options, easy installation, and endless design possibilities, there’s never been a better time to personalize your vehicle. From sleek pillar posts to eye-catching hood wraps, these mods are simple, stylish, and reversible—so you can switch up your look anytime.
Ready to give your car a fresh new vibe? Grab your favorite vinyl wrap and start your DIY transformation today! Let your creativity take the wheel!
Related Articles:
Does Vinyl Wrapping My Car Will Damage The Paint?